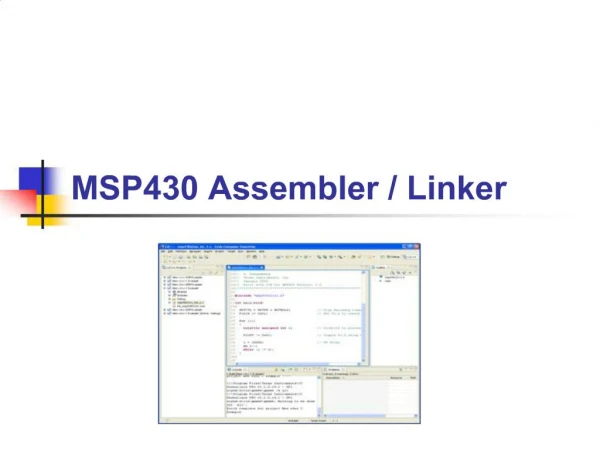
Flowchart and Assembly Code for Decision Making in THRSIM Simulation
This document provides a comprehensive guide to implementing decision-making logic using flowcharts and assembly code within the THRSIM simulator. It includes step-by-step assembly instructions involving LDAA, CMPA, and branches for various conditions, ensuring a thorough understanding of control flow. The process covers setting up a simulated LED output, adjusting delay values for timing accuracy, and resetting the simulator. Users will be able to enter and test code effectively, achieving precise timing in their simulations while reinforcing their assembly coding skills.

Flowchart and Assembly Code for Decision Making in THRSIM Simulation
E N D
Presentation Transcript
3 < A < 8 • Flowchart and assembler • LDAA VALA • CMPA #3 • BLE OUT • CMPA #8 • BGE OUT • Do action OUT continuation
A<2 or A>=6 • Flowchart and assembler • LDAA vala • CMPA #2 • BLT act • CMPA #6 • BGE out • act action for True • out continuation
2<=A<=5 • Flowchart and assembler • LDAA vala • CMPA #2 • BLT out • CMPA #5 • BGT out • action when true • out continuation
Simulation Assignment 1 • Enter the following code into THRSIM • ORG $50 • INNR RMB 1 • OTTR RMB 1 • ORG $E000 • LDAB #$FF • STAB $1007 configure port C for output • OL LDAA delayval try 1, try 10, etc • STAA ottr • TOP DECR INNR • BNE TOP • DEC OTTR • BNE TOP • EORB #$FF • STAB $1003 • BRA OL • LDA $FF • END BRA END
SimAsg 1 (cont) • Before running your code configure an LED on pin PC 0. To do this go to the connect window, choose LED. When the popup comes up scroll in the left side and select PC0. Then hit connect. Then say OK. • After entering the code run your code, using different values for DELAYVAL • Note the difference in the time it takes from when you click on RUN until accumulator A becomes FF. • Try the program with delay val of 1 and delay val of $F0. • Change the value until you achieve approximately 1 second.
Being able to reset simulator • If you want to be able to reset the simulator to rerun you code enter the following. • ORG $FFFE • FCB $E0 • FCB $00 • What does this do? It resets the PC when a reset occurs to value $E000