Download
1 / 7
70 likes | 230 Views
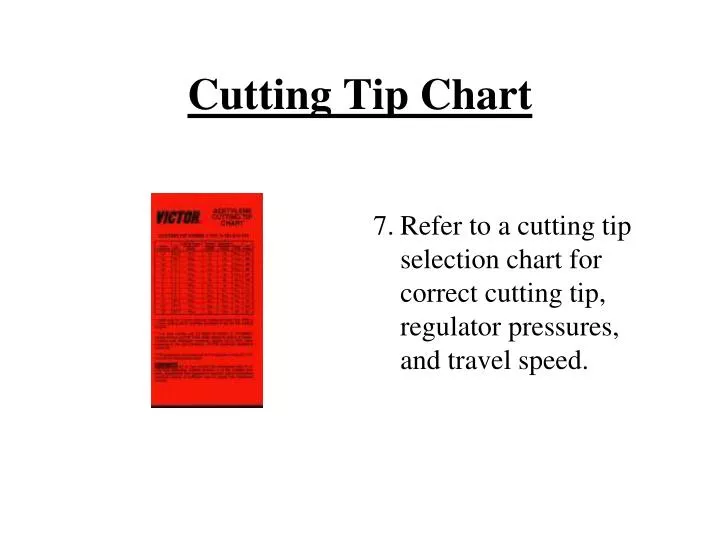
Cutting Tip Chart. 7. Refer to a cutting tip selection chart for correct cutting tip, regulator pressures, and travel speed. Lighting the Torch. 8. Open the oxygen valve on the welding torch all the way. Lighting the Torch Cont. Adjust the oxygen regulator to the desired delivery pressure.

E N D
Cutting Tip Chart 7. Refer to a cutting tip selection chart for correct cutting tip, regulator pressures, and travel speed.
Lighting the Torch 8. Open the oxygen valve on the welding torch all the way.
Lighting the Torch Cont. • Adjust the oxygen regulator to the desired delivery pressure. • DO NOT EXCEED 40 P.S.I.
Lighting the Torch Cont. • Adjust the fuel (Acetylene) regulator delivery pressure. • DO NOT EXCEED 15 P.S.I.
Lighting the Torch Cont. 11. Open the fuel valve on the torch handle approximately one-half turn and ignite the gas with a friction lighter (striker). • NOTE- Wear protective goggles or glasses (Shade #5) to shield the eyes from the bright light of the flame and leather gloves from potential burns when lighting the torch.
Lighting the Torch Cont. 12. Continue to increase the fuel supply at the torch handle until the flame clears the end of the tip about 1/8”, then reduce the supply slightly to return the flame to the tip.
Lighting the Torch Cont. 13. Slowly open the preheat oxygen control valve on the cutting attachment until the preheat flames establish a sharp inner cone (neutral flame).