Download

1 / 6
60 likes | 170 Views
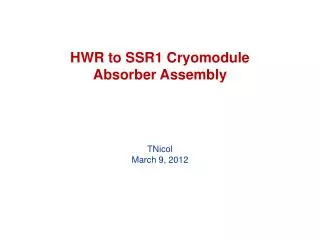
Sequence of the assembly of the Absorber. Insert Absorber Window into main body using the pre-threaded joint. Seal weld at nib. Weld the AL5456 tube into the pre-machine nib at main body. Leak test the space between Safety and Absorber Window at this point.

E N D
Insert Absorber Window into main body using the pre-threaded joint. Seal weld at nib.
Weld the AL5456 tube into the pre-machine nib at main body. Leak test the space between Safety and Absorber Window at this point
Insert the S.S heat conduction tube and weld it to the pre-buttered Inconel piece.
Insert the main support tubes from both ends. One slot to be machined at tube to allow to pass the Vacuum pipe which has G10 collar fitted to gain additional support from this tube
Insert and weld the GHe and LH2 pipes before assembling into the Coil tube.