Download
1 / 5
50 likes | 148 Views
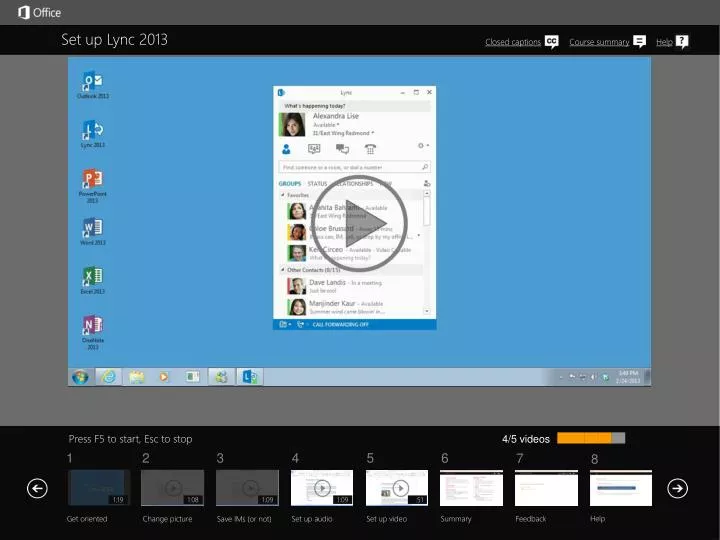
Set up Lync 2013. Closed captions. I’ll just click OK, and I’m all set. And that sounds pretty good, so I guess I’m finished. Before you join a meeting or make a call, make sure your audio is set up the way you want. and select a device from the list.

E N D
Set up Lync 2013 Closed captions I’ll just click OK, and I’m all set. And that sounds pretty good, so I guess I’m finished. Before you join a meeting or make a call, make sure your audio is set up the way you want. and select a device from the list. For example, you can select a headset connected to your computer, or just use your PC mic and speakers. [If you like what you heard, then you’re all set. If not, check your audio device settings and try again. Goodbye.] [Here’s the wind up and the pitch] [Here’s what I’ve heard] Here’s the wind up and the pitch Click the Options button – it’s the one that looks like a gear – then click the Audio Device tab, Then click Check Call Quality to hear how you sound. Okay, looks good. Testing, testing, testing... Now the mic. Ok, that’s good. Now mine sounds a little low, so... [To check your call quality, record a short message after the tone. Then wait to hear how you sound.] If there’s no sound at all, check your system volume and make sure your speakers are turned up. Now adjust the volume of the speakers using the volume controls. If you don’t see the device you want, just connect it and install it, and Lync will automatically detect it. Press F5 to start, Esc to stop 4/5 videos 1:19 1:08 1:09 1:09 :51 Help Get oriented Change picture Set up audio Set up video Feedback Summary Save IMs (or not)
Set up Lync 2013 Closed captions make sure the camera is connected to your computer, and the drivers are installed and updated. If Lync tells you that it didn’t detect a camera – but you know you have one – It shows me what it would look like if I were on a video call or in a Lync meeting. Now this video isn’t going out yet – it’s just a preview. or an attached camera like mine here, Lync will detect it automatically, and you’ll see your video in the window. If your computer has a built-in camera like you see on a lot of laptops and other devices, Click the Options button and then click the Video Device tab. Before you join a meeting or make a video call, you should make sure your camera is set up and positioned properly. Or if another program on your computer is using the camera, close that program, and try again. Now keep in mind that you don’t need a camera to see other people’s videos – only if you want them to see yours. Press F5 to start, Esc to stop 5/5 videos 1:19 1:08 1:09 1:09 :51 Help Get oriented Change picture Set up audio Set up video Feedback Summary Save IMs (or not)
See also More training courses Office Compatibility Pack Help Course summary—Set up Lync 2013 Course summary Sign in and get oriented To change views: Click the tabs below your picture (Contacts->Chat rooms->Conversations->Phone) To open the QuickLync menu: Point at a contact, then click an icon to send an IM, make a phone or video call, or see a contact card. Change your picture • Click Options button, then click My Picture. • ClickEdit or Change Picture, browse to and click new picture. • Click Open->Save->OK. Set your conversation history • Click Options button, then click Personal. • Select or clear check box Save IM conversations in my email Conversation History folder. Set up your audio • Click Options button, then click Audio Device. • Select audio device to use for calls. • Test volume settings. • Make test call to check audio quality. Set up your video • Click Options button, then click Video Device. • If you have a built-in video camera, view test image and adjust settings. • If you have an external video camera but Lync doesn’t detect it, check to ensure a good connection and make sure device drivers are installed and up to date. Press F5 to start, Esc to stop 2 3 4 1 5 6 7 8 1:19 1:08 1:09 1:09 :51 Help Get oriented Change picture Set up audio Set up video Summary Feedback Save IMs (or not)
Check out more courses Help Rating and comments Course summary How did we do? Please tell us what you think Thank you for viewing this course! Press F5 to start, Esc to stop 2 3 4 1 5 6 7 8 1:19 1:08 1:09 1:09 :51 Help Get oriented Change picture Set up audio Set up video Summary Feedback Save IMs (or not)
If you download a course and the videos don’t play Click Enable Editing if you see that button. If that doesn’t work, you may have PowerPoint 2007 or earlier. If you do, you need to get the PowerPoint Viewer. If you have PowerPoint 2010, you need the QuickTime player, or you can upgrade to PowerPoint 2013. Help Help Course summary Using PowerPoint’s video controls Point at the bottom edge of any video to start, stop, pause, or rewind. You drag to rewind. Stopping a course If you’re viewing online, click your browser’s Back button. If you’re viewing offline, press Esc. If you’re watching a video, press Esc once to stop the video, again to stop the course. Going places You can go to any part of a course by clicking the thumbnails (light or shaded) below the video. You can also click the forward and back arrows, or press Page Up or Page Down. Press F5 to start, Esc to stop 2 3 4 1 5 6 7 8 1:19 1:08 1:09 1:09 :51 Help Get oriented Change picture Set up audio Set up video Summary Feedback Save IMs (or not)