Download

1 / 6
60 likes | 206 Views
Enhance your water quality monitoring by upgrading old-style ORP and pH sensors. This guide outlines the steps to replace exposed ORP sensors safely and efficiently. Begin by removing existing fittings for old sensors and then install the new PVC sleeve into the existing tee. Next, slide the new sensor into the sleeve and secure it by turning clockwise. Finally, connect the new cables to the sensor and attach the tinned leads to your controller as needed. Ensure proper installation for optimal performance.

E N D
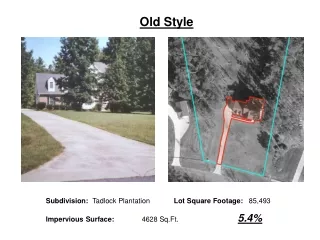
Old style ORP and pH sensors. The exposed red sensor is an ORP sensor. This connecter predates the connector to the right which includes a PVC sleeve and an o-ring sealed retainer nut.
New Sensor Hardware Install the new PVC sleeve into existing ¾” tee.
New Sensor Slide the new sensor into the sleeve and turn it clock-wise until tight.
New Cables Connect the new style cables to the new sensor (s). Connect the open ended tinned leads into the controller as required.