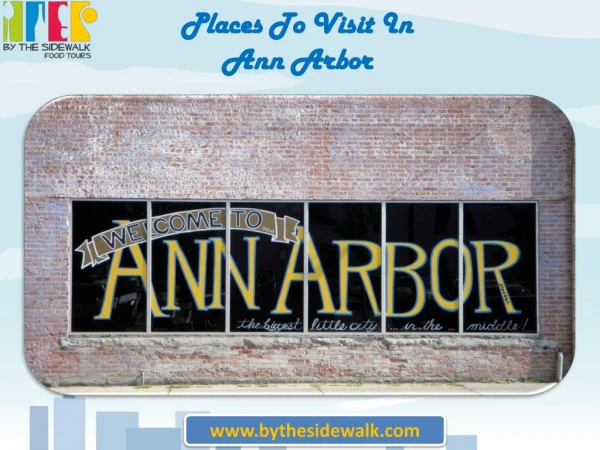
Download
1 / 7
70 likes | 219 Views
The Scope: Relocation of offices from Adrian to Ann Arbor, MI 3 Floors 450 Answer workstations, 9 EE6 Executive Offices The Challenges: Highly competitive b id Extremely FAST turnaround times Everything angled—the building, the workstations, the rooms

E N D
The Scope: Relocation of offices from Adrian to Ann Arbor, MI 3 Floors 450 Answer workstations, 9 EE6 Executive Offices The Challenges: Highly competitive bid Extremely FAST turnaround times Everything angled—the building, the workstations, the rooms Did I mention extremely fast turnaround times? At Stake: If we win this project, we win the headquarters project too—another large project!
OMG!! Panic sets in! (One of many times throughout this whole process) How will I be able to design 450 workstations (PLUS ancillary furniture) in just a couple of short weeks? TEAMWORK! With the help of three other designers, we were able to divide and conquer. Since I had created the original typicals, I was able to share them with the other designers so they could help lay out the floors. I originally had them drawn as blocks, but found out the text wouldn’t print for the panels (kind of important!) so I ended up exploding them and it was back to the old way of planning. I later ended up using FAVORITES! That made planning so much easier per floor. In order to make sure my drawings did not crash on me, I would freeze areas that I was not working in. I also used alternatives to be able to break up the floor. The second floor had two wings (only one is shown to the right). CET Support showed me how to rotate a view since the one wing was at an odd angle. Thanks Jason!
The Mockup…. Once the clienthad narrowed down the competition, each company ordered and installed a mockup. Working with the architectural firm, Steelcase and our own internal sales staff, I was able to spin the workstation around to be able to view it from all angles. We then added enhancements where we felt necessary. The end result was perfect.
And finally…. …we won! Yeah? Now the fun really began! It was time to clean up the drawings and get them ready for order entry. This time I was not able to enlist any more help and this is where FAVORITES came in handy. Since there were so many changes to the typicals, I altered one cluster of typicals and created a Favorite. Each cluster had all the electrical and accessories requested included. From there I created a Favorite and simply copied them per area and per floor. I also used Favorites for all of my ancillary furniture since those were also repeated per floor. This drawing depicts the repetition of ancillary furniture as well as workstation typicals. See how many times “A1” has been duplicated. Since this was this installation drawing for the ancillary furniture only, red text was used in paper views to be able to easily identify where each grouping went. Product was tagged according to these letters.
And just for fun…. …we get to draw and spec the Privacy Wall too! Was the client crazy! By this point, I was at my wits end and couldn’t possibly take on any more work—especially curved Privacy Wall! I have be working with architectural walls since pre I-Line for several years, but this was beyond me. We ended up having to enlist the help of Steelcase. Together we worked through details. Steelcase completed the drawings and specs in Smart Tools and they were able to send me their files for me to complete installation documents per our standards. This drawing was a combination of AutoCAD and Smart Tools. Since this was so custom, the Privacy Wall façade was drawn in Smart Tools first, then exported and corrected in AutoCAD (mainly to show the correct connections as depicted in the detail drawings) and finally imported back into Smart Tools. The actual specification was created in Smart Tools. The details were drawn in AutoCAD. We tried to create everything in Smart Tools, but we were limited by the software’s capabilities. Overall, I think we did a great job considering the obstacles!
The importance of Part Tagging…. Part Tagging became crucial as well. In working with our Project Manager we decided that we needed to have areas of furniture tagged per Steelcase color coding. That way as furniture came off the truck, it could be staged in its designated area instead of all of the furniture coming in all at once and staging wherever there was room. Each area had three to four different colors. This drawing depicts the installation drawing for the BLUE area only. This section was Part Tagged “Blue”. Everything came in with a blue sticker and was staged in this area. This floor also had red and green sections.
Not using Smart Tools is not an option in my book! I firmly believe that I never would have been able to complete this project in the timeframes given if it hadn’t been for Smart Tools. As it was I was already squeezing every minute out of every day and weekend I could to work on this project and I still felt behind. Compared to a year ago when I worked on another large project (at least half the size of this one), the software has improved tremendously! From that project I learned how to work in larger drawings and it gave me the confidence to try again. Looking Ahead… Since winning this project, we have begun working on some areas of the headquarters. A mockup has been created for that location and preliminary drawings have been completed for 6 private offices (all in Smart Tools of course!). We have also been working on projects in Chicago and Canada. This was certainly a HUGE win for NBS!! Not only did we win the project… I feel I had a personal win as well. I proved to myself that I could draw 450 workstations in Smart Tools! At the beginning of the year I set a goal for myself to really push Smart Tools to the limits. By doing this, it also encourages the rest of our design staff that they can do it too! 14 of our 16 designers are also using the software. Of that 14, we have four designers (myself included) who are the “go to gals”. We went to the original training over two years ago and continue to work with Steelcase and CET to improve the software. Thanks for always listening! We want to see this succeed as much as you do!!! The success here was not only winning the project and securing future business, it was also succeeding on a personal level.