Download
1 / 43
430 likes | 487 Views
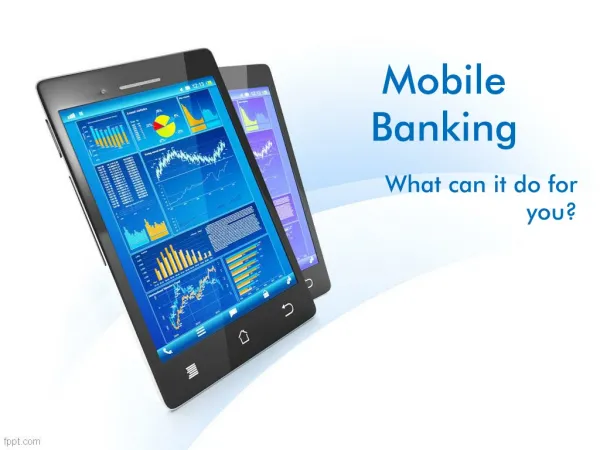
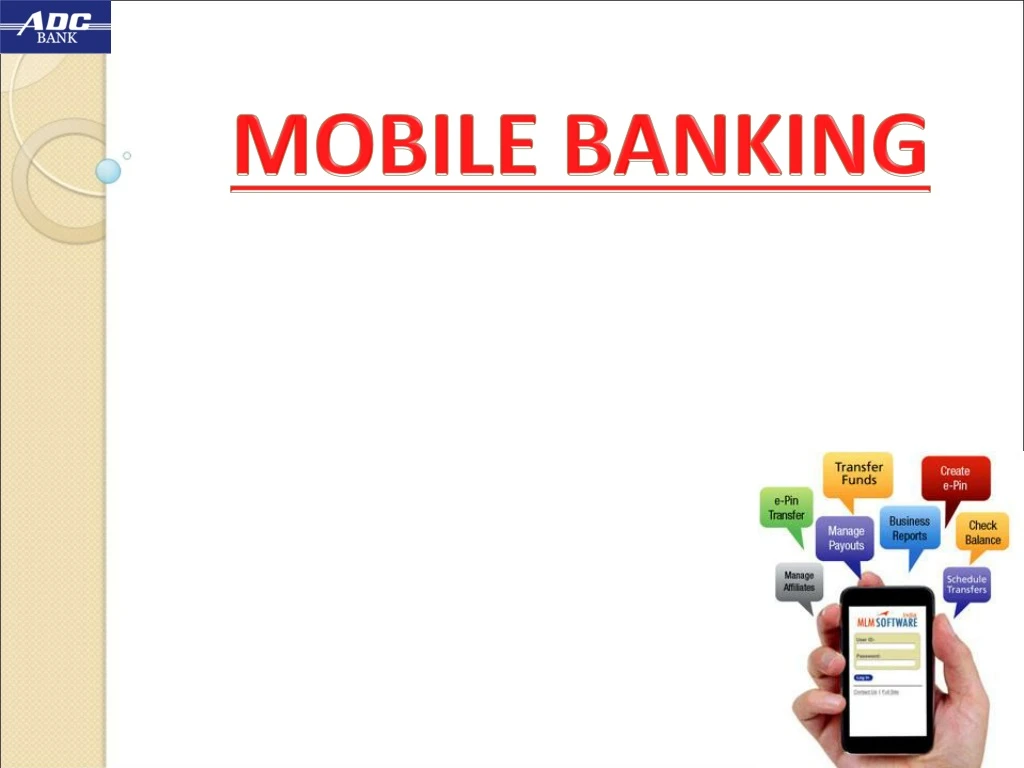
MOBILE BANKING. Since 1925. Financial Mobile Banking services have been approved by RBI. The APP is now available on the play store for android devices. The customer can use mobile banking for the bellow services. Mobile Banking (Financial). www.adcbank.coop info@adcbank.coop.

E N D
Since 1925 Financial Mobile Banking services have been approved by RBI. The APP is now available on the play store for android devices. The customer can use mobile banking for the bellow services Mobile Banking (Financial) www.adcbank.coop info@adcbank.coop
Customer can download the AP P from PLAY STORE. Once the APP is installed the APP LOGO on any device will look as shown in the image beside. Firstly the APP will ask for the Registration. Once when we click on the ADC Bank APP icon. We will have Register one time to use the Application.
Once the INSTALLATION is successful the screen will appear as shown in the same slide. Following MENU appears on the APP screen: 1) New Registration 2) Bank’s Products 3) Available Offers 4) FAQ 5) Contact Us First screen - Mobile APP
On clicking New Registration Application will ask to Enter Account Number. Enter Your Account Number and click PROCEED NEW REGISTRATION Screen
NEW REGISTRATION Screen The next screen will show User Name and CIF Number, user needs to select it and process further. If user is already registered application will show error.
After Successful completion of registration Login Screen will appear. USER NAME will display automatically Enter 4-digit Pin Number and click LOGIN LOGIN Screen
Forgot M-pin When user click on Forgot Mpin a OTP will sent to user’s registered mobile number After entering OTP user can change Mpin and Tpin.
After Login User Home screen will appear. • Following details are mentioned in the Home screen: • User Name • Last Login date & time • User Profile • Profile Picture • A/C Type, A/C Number & Balance • Menu Options • Banking • IMPS • Requests • Settings • Notification • Logout Home screen - Mobile APP
On Clicking USER PROFILE Following details will be display on the screen • Customer Name • CIF Number • Registered Mobile Number • Address USER PROFILE - Mobile APP
Now User can add His / Her Profile picture in NEW Application User needs to click on Picture Icon on the Home Screen, application will ask to Add Picture. User can Take Picture or Choose picture from the Gallery. PROFILE PICTURE - Mobile APP
NOTIFICATION Screen displays latest Alert and Notification on User’s Mobile Application Screen. NOTIFICATION SCREEN - Mobile APP
In the Banking Option following options are available • My Account • Fund Transfer Within Bank • Fund Transfer Other Bank • Account Statement MENU - BANKING
In the My Account Option Customer can check all the accounts present in one CIF. • User can check following details from My Account • All Account Number present in CIF and Balance of that account • Mini Statement • Account Details MY ACCOUNT - BANKING
Account Details will display account information like • A/C Number • Type of Account • Branch name • Available Balance • IFSC Code • MMID ACCOUNT DETAILS - BANKING
Synchronization will synchronize Account information with Mobile Application SYNCHRONIZATION - BANKING
Fund Transfer within bank will display information as below • Own Account Transfer (Self Account ADC to ADC) • Third Party Quick Transfer (ADC to ADC Quick Transfer) • Third Party Beneficiary Transfer (ADC to ADC beneficiary Transfer) FUND TRANSFER WITHIN BANK - BANKING
With Own Account Transfer link user will transfer Fund from his / her ADC account to other ADC account Customer have to select From account and To account to transfer fund, than Enter the amount to transfer and click on TRANSFER Link OWN ACCOUNT TRANSFER - BANKING
Confirmation Screen will display the details entered by user. User required to enter OTP and TPIN to transfer the fund to other account. OWN ACCOUNT TRANSFER - BANKING
In third party quick transfer user does not need to add Beneficiary. User needs to enter the beneficiary account number as shown in screen for third party quick transfer. THIRD PARTY QUICK TRANSFER - BANKING
In third party beneficiary transfer user needs to add Beneficiary first. Beneficiary can be added from the Manage Beneficiary in Setting screen. User can Schedule fund transfer at any date if Required, for that user need to enable schedule payment and Select date from the calendar. THIRD PARTY BENEFICIARY TRANSFER - BANKING
Account Statement Will Display transaction made from that Account. ACCOUNT STATEMENT - BANKING
Fund Transfer other bank will display two options as below • NEFT • IMPS • To Transfer Funds using NEFT or IMPS first user needs to add Beneficiary. FUND TRANSFER OTHER BANK - BANKING
Beneficiary Registration Error - BANKING IF no beneficiary has been registered application will show error message.
Setting screen has two options as below • Manage Beneficiary • Reset Pins SETTING SCREEN
MANAGE BENEFICIARY - SETTING Manage Beneficiary will display all added beneficiary information. To ADD beneficiary click on ADD BENEFICIARY.
To add beneficiary user needs to enter details as displayed in screen • Nick Name (To display name while transfer funds) • Full Name • Mobile Number • E-mail ID ADD BENEFICIARY - SETTING
After saving the details application will display user’s entered details for confirmation. CONFIRM BENEFICIARY - SETTING
After confirmation beneficiary will displayed on the screen. To transfer funds first user needs to Active beneficiary, For that click on beneficiary who is showing pending. MANAGE BENEFICIARY - SETTING
After activation of Beneficiary user needs to select transfer type for that beneficiary to transfer funds. • Transfer types are as below • Within Bank Account • Account Number • Confirm Account Number • Other Bank Account • Account Number • Account Type • IFSC Code • IMPS • Mobile Number • MMID ADD TRANSFER TYPE - SETTING
Enter the details as shown in figure after selecting the transfer type. ADD TRANSFER TYPE - SETTING
Application will show the details entered by user to confirm transfer type. Enter OTP and click SUBMIT. CONFIRM TRANSFER TYPE - SETTING
Click on ACTIVATE for beneficiary activation ACTIVATE BENEFICIARY - SETTING
Application will ask to confirmation activation of beneficiary CONFIRM ACTIVATE BENEFICIARY - SETTING
After successfully activation application will show the beneficiary details. Beneficiary can DEACTIVATE or DELETE even after activation confirmation. BENEFICIARY CONFIRMED - SETTING
User can change MPIN or TPIN from Reset Pins. RESET PINS - SETTING
24 X 7 Transfer have following options are available • Transfer to Account • Transfer to Mobile Number • View MMID • Generate MMID • Delete MMID 24 X 7 Transfer
P2A Quick Payment – 24 X 7 Transfer In P2A (Person To Account) Quick Payment user needs to enter beneficiary details as shown to Instant transfer to account. Do not need to register beneficiary
P2P Quick Payment – 24 X 7 Transfer From P2P (Person to Person) Quick Payment user can transfer amount through Mobile number And MMID. For that he/she needs to have beneficiary registered mobile number and MMID. Do not need to register beneficiary.
Transfer to Mobile – 24 X 7 Transfer From Transfer to mobile user can transfer amount through Mobile number and MMID. For that he/she needs to have beneficiary registered mobile number and MMID. Beneficiary needs to register.
Requests From Scheduled Payment View/Delete user can view or delete the scheduled payment that he/she made for transfer.
Since 1925 www.adcbank.coop Ib.mb@adcbank.coop