Download

1 / 10
0 likes | 14 Views
We at BigBirdWeb are proud to provide the best hosting options that meet your requirements. Our web hosting service gives your website a solid base and makes sure it is always easily accessible to your clients. It does not matter if you are looking for performance and speed; our range of SSD VPS hosting plans takes care of all your needs. Our SSD technology guarantees lightning-quick data access, improving the responsiveness and user experience of your website. Itu2019s a performance boost for your online presence, not just hosting.<br>Join Now :- https://bigbirdweb.com/<br><br><br><br>

E N D
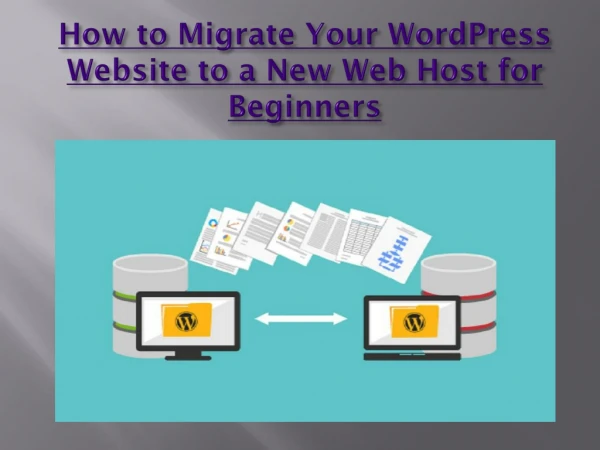
How to Migrate Your WordPress Site to a New Host Without Downtime A Step-by-Step Guide
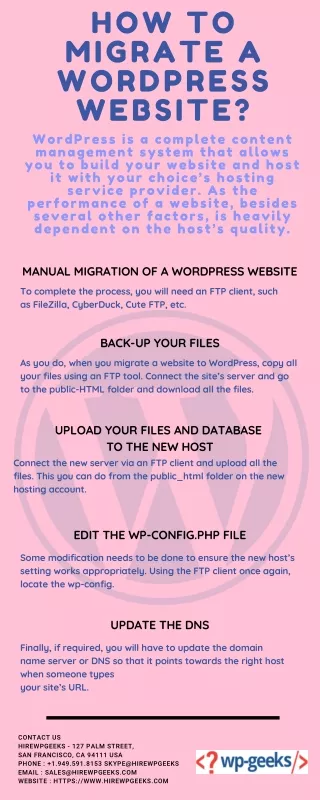
1. Reliability and Uptime: Ensure the new host has a good track record for reliability and uptime. 2. Speed and Performance: Look for hosts that offer SSD storage and other performance enhancements. 3. Customer Support: Choose a host with excellent customer support available 24/7. 4. Scalability: Make sure the host can accommodate your future growth. Step 1: Choose a New Hosting Provider
1. Use a Plugin: Plugins like UpdraftPlus, Duplicator, or All-in-One WP Migration make it easy to back up your site. 2. Download the Backup: Once the backup is created, download it to your local computer for safekeeping. Step 2: Backup Your Current Website
1. Sign Up: Register for a new account with your chosen hosting provider. 2. Set Up Your Environment: Follow the host’s setup instructions, which usually include creating a new database and user. Step 3: Set Up Your New Hosting Account
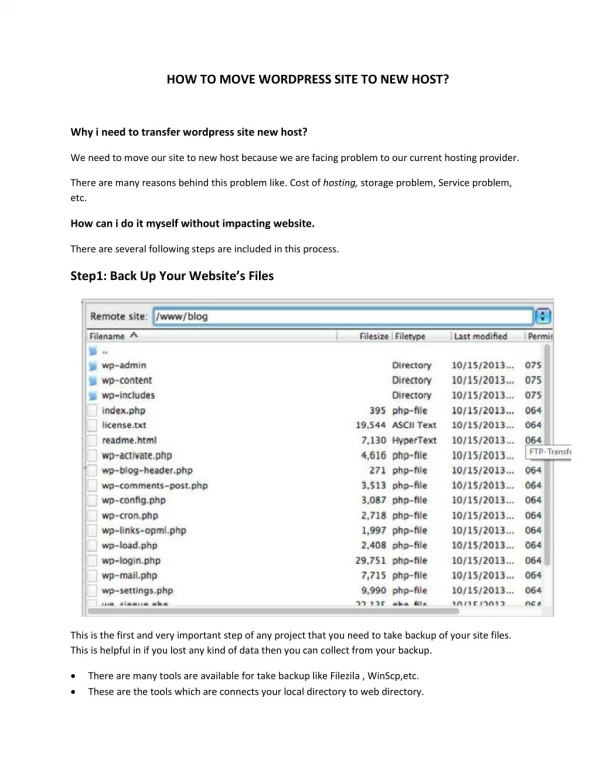
1. Use an FTP Client: Programs like FileZilla can help you transfer your files from your local computer to the new host’s server. 2. Upload All Files: Ensure you transfer all the files, including the wp-content folder, themes, plugins, and media. Step 4: Upload Your Website Files to the New Host
1. Access phpMyAdmin: Most hosting providers offer phpMyAdmin for database management. 2. Import the Backup: Use phpMyAdmin to import the database backup you created earlier. 3. Update wp-config.php: Edit the wp-config.php file in your WordPress root directory to reflect the new database credentials. Step 5: Import Your Database to the New Host
1. Log In to Your Domain Registrar: Access your domain registrar’s control panel. 2. Update Nameservers: Change the DNS settings to point to your new hosting provider’s nameservers. 3. Propagation: DNS changes can take up to 48 hours to propagate fully, but usually, it happens much faster. Step 6: Update DNS Settings
1. Edit Hosts File: You can temporarily edit your local hosts file to preview your site on the new server. 2. Use a Temporary URL: Some hosting providers offer a temporary URL to test your site. 3. Check Functionality: Ensure all themes, plugins, and database connections are working correctly. Step 7: Test Your Website
1. Check for Issues: Look for broken links, missing images, or any other problems. 2. Monitor Traffic: Use analytics tools to monitor traffic and ensure there are no significant drops. 3. User Feedback: Ask your users to report any issues they encounter. Step 8: Monitor the Migration
1. Minimize Updates: Avoid making any updates or changes to your site during the migration process. 2. Communicate with Your Users: Inform your users about the migration and any potential short-term issues. 3. Seek Professional Help: If you’re not comfortable handling the migration yourself, consider hiring a professional service. Additional Tips for a Smooth Migration