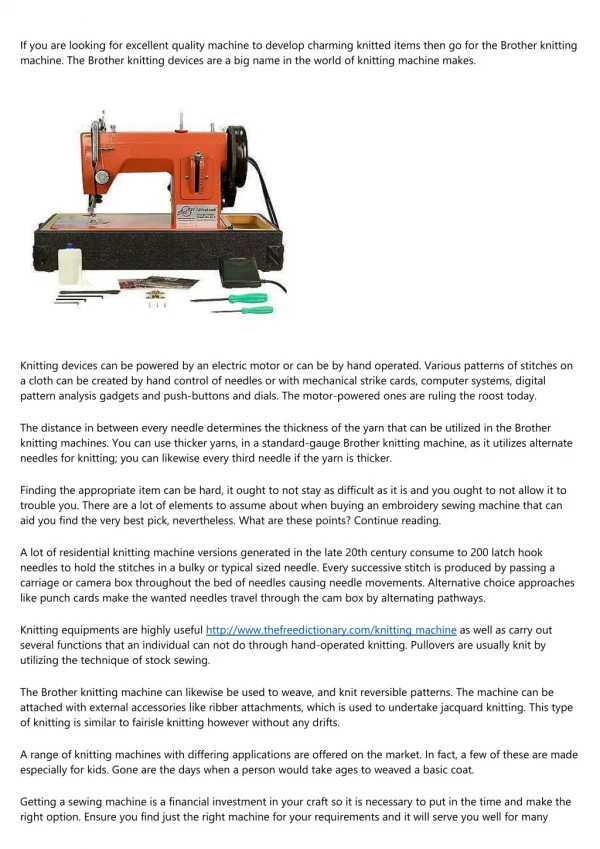
Download
1 / 31
350 likes | 546 Views
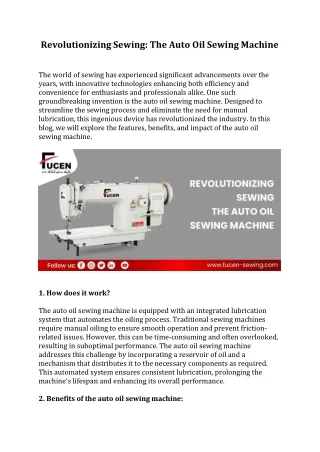
Parts of the Sewing machine. I can’t wait to start sewing!. This is our Valley Forge Middle School Sewing Machine. Spool pin holds the spool of thread. #3 on Diagram. Spool Pin. The bobbin winder winds the thread from the spool to the bobbin , mechanically. #1 on Diagram.

E N D
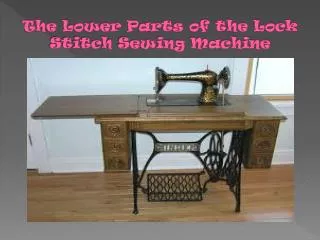
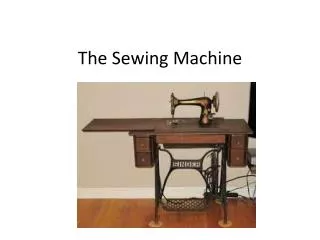
I can’t wait to start sewing! This is our Valley Forge Middle School Sewing Machine
Spool pin holds the spool of thread. #3 on Diagram Spool Pin
The bobbin winder winds the thread from the spool to the bobbin, mechanically. #1 on Diagram Bobbin Winder
Stitch length determines the length of the stitch The range on our machine is from 0 to 4. 0 the shortest stitch, 4 the longest. Stitch Length #2 on Diagram
Stitch width determines the width of the stitch Stitch Width Dial #5 on Diagram
The tension dial sets how taut the machine keeps the thread depending on different fabrics. DO NOT move this dial. It should be set on the green mark. Tension Dial #5 on Diagram
The hand wheel raises and lowers the needle. You must always pull the hand wheel towards yourself to prevent tangling of the threads. # 13 on Diagram Hand wheel
The pattern selector lets you determine what kind ofstitch you will be making, such as straightstitches or an embroidery stitch or zig-zag. Pattern Selector Not on Diagram
The Stitch Selector Display will tell you what type of stitching you are set to do. Stitch Selector Display # 12 on Diagram
The take-up-lever pulls the thread back after each stitch, so that the stitches will lay evenly into the fabric. Take-Up-Lever #7 on Diagram
The reverse lever allows you to stitch in reverse. We use reverse to make our stitches secure at the beginning and end of seams. # 10 on Diagram Reverse Lever
The presser foot lifter gently lifts the presser foot up and lowers it against the feed dogs. Note: the presser foot must be lowered before you begin to sew; or fabric will not move through the machine! Presser foot Lifter Not on Diagram
The presser foot holds the fabric against the feed dogs; so the feed dogs can pull your fabric through the machine. Presser foot #9 on Diagram
Feed dogs are a “teeth-like” part that works with the presser foot to pull your fabric through the machine. Feed Dogs Not on Diagram
Place where the bobbin is placed. #8 on Diagram Bobbin Case
Needle Not on Diagram
Pull your thread through the thread cutter after sewing to cut the threads. Thread Cutter # 6 on Diagram
Accessories compartment is where additional machine accessories are kept. It slides off to the left to make sewing surface smaller. Accessories Compartment #11 on Diagram
The foot pedal operates the speed of the sewing machine, electrically. Not on Diagram Foot Pedal
The power switch turns on the power on the sewing machine and also turns off the power, electrically. Power Switch Not on the Diagram
Threading the machine Your first test of Patience!
Step 1 Place your spool of the thread on the pin – make sure the pin goes through the center hole on the spool of thread Locate the spool pin on the top of the machine. Gently pull off the round disk (spool holder)
Step 2 Bring the thread over to the number “1” and guide it around that piece. Avoid the metal thing.
Step 3 Bring thread down through the right groove.
Step 4 Continue down that groove and bring down to the “3”. Guide the thread around the part labeled “3” and bring up through left groove.
Step 5 Bringing your thread up through that left groove you will come to the “take up lever.” If you don’t see it there, turn the handwheel toward you until it appears. Then, guide your thread through that metal part (diagram on machine) and bring back down through the left groove.
Step 6 Continue bringing that thread down through the left groove.
Step 7 Bring thread down toward needle. You will see or feel a little hook-like thing. Guide your thread behind that hook.
Step 8 Take end of thread and stick it through the eye of the needle (the little hole at the bottom of the needle). Bring thread through the hole in the presser foot.
Congratulations!!!! You have threaded your machine! Now, let’s practice some more!