Download

1 / 14
320 likes | 2.49k Views
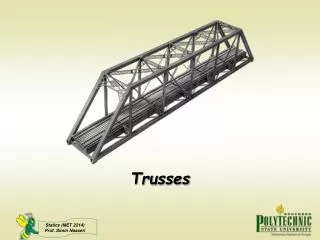
Mark out truss positions on the wall frame top plates. Lift trusses onto wall frames and position them where they can be retrieved for erection. . Erecting Roof Trusses - Gable.

E N D
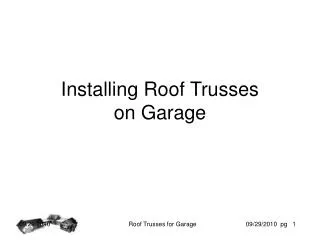
Mark out truss positions on the wall frame top plates. Lift trusses onto wall frames and position them where they can be retrieved for erection. Erecting Roof Trusses - Gable Try and think of the procedure as you go through these slides, each click of the mouse will reveal the next point and / or picture M. S. Martin – Oct. 2007
Start with a gable or raking truss at each end, align the heal of the truss with the outside of the wall plate. Erect and attach temporary braces to each end truss, ensure they are plumb & secure. Attach a taught string line to the apex of the gable trusses
One by one place each truss into position, use a gauge rod for correct spacings These days mitek make a proprietary spacer. Fix a temporary batten across the top for stability Check trusses are plumb and straight, fix temporary braces and ties as necessary
The heal position of each truss is now fixed to the top plate with a metal connector, similar to a tripple grip. Alternatively you can use a truss saddle, see bottom picture. Ensure all nailing meets specifications
Note: The gable end or raking truss have their top chords set one chord lower that a standard truss, to allow for outriggers & verge trimmers. See picture opposite.
Ensure that the bottom chords of trusses, fly over internal walls (non-load bearing). Minimum gap here is 12mm
Add trimmers for any skylights Fix bracing as per specification, fixing & bracing guidelines are also readily available
Lastly permanent bottom chord bracing is put in place, in the way of “longditudinal braces”
Mark out wall plates to suit hipped roof. Ensure correct number of trusses and types have been delivered. Check: Individual trusses are identified The number of each are counted Types & number checked against layout plan Erecting Roof Trusses - Hip
Use the layout plan to determine the station position of the truncated girder truss at each end. Erect and brace in position the heals at the pitching points Place braces in the centre and ends to keep it plumb and in – wind.
Erect the first standard truss, which would be placed at ½ span position. Tack on space batten to hold top chord and truss plumb. Nail off the heal to the top plate.
Fit permanent bracing members to hip ends, using jack or creeper trusses or stick timber Erect the remaining standard trusses between the hip ends to a string line. Using spacer battens tacked on to the top chords to hold them plumb & in position. Nail off heals of trusses. Remember proprietry spacer
Use truss layout plan to erect any remaining members Install permanent bracing and attach all patent metal connectors.