Download

1 / 5
60 likes | 88 Views
Learn to maintain your lawn mower and it's fundamental to adjust it toward the start and the finish of the period.

E N D
Figure out how to Maintain Your Lawn Mower So as to keep your Lawn Mower in first rate condition, it's fundamental to adjust it toward the start and the finish of the period. This is a short obvious manual for do it without anyone's help. During summers, petroleum fueled yard trimmers are utilized much of the time; so to keep it in great working condition, it is fundamental to adjust it before setting it back toward the finish of the period. This will guarantee its parts are held in acceptable condition. Change oil, sparkle attachments, and air channels on cutters and put on real effort to messy breaks. This ought to be done preceding putting away them for the winter season so it will accelerate with a draw of the string in the following spring. Contributing an hour or two for upkeep or taking it to an expert for overhauling, will improve the exhibition of the machine and save it in ideal condition for quite a long while.
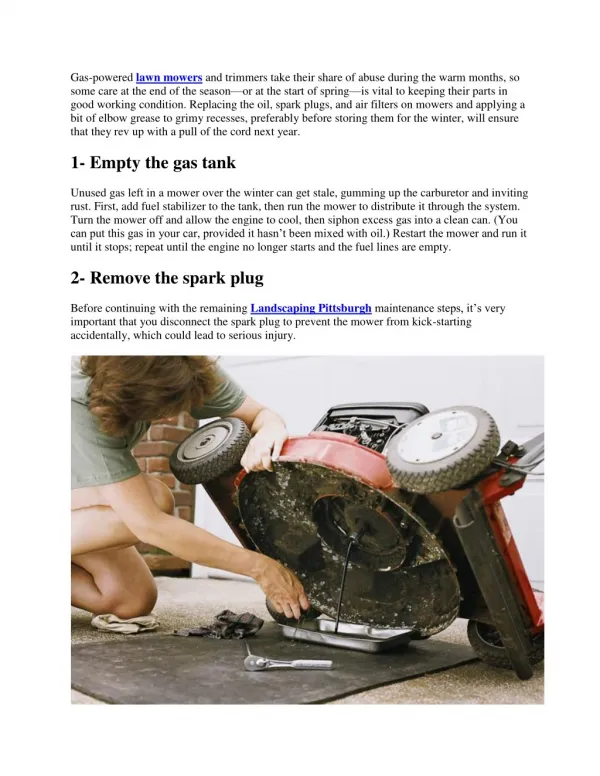
Here beneath are the adjusting tips clarified for a push trimmer in a bit by bit technique. A similar strategy can be utilized for other little petroleum fueled grass cutters, clippers and snow blowers. Step 1: Vacant the Petrol Tank If the petroleum is there in the grass cutter, it can get hard in the winter, standing up the carburetor and pulling in erosion. Above all else, embed fuel added substance to the tank, at that point after beginning the cutter to administer it through the framework. Mood killer the trimmer and permit the motor to quiet down. Channel off abundance petroleum into a perfect tin. Restart the yard cutter and run it till it ends. Re-try till the fuel tank is absolutely empty and the motor doesn't turn over. Stage 2: Detach the Spark Plug It's critical to separate the flash fitting preceding completing the remainder of the support cycle. This will ensure that the trimmer doesn't launch incidentally and guarantee your wellbeing.
Stage 3: Take Out the Blade Detach the sharp edge by relaxing the jolts that catch it set up so it is simpler to replace the oil and clean the base of the trimmer. When dealing with the cutting edge, make certain to put on thick gloves. Make the most of the chance to hone the cutting edge when it is off. Stage 4: Emptying the Oil You should supplant the oil if the cutter has a four cycle motor (Mowers and clippers additionally accompany two cycle motors, wherein the oil is blended in with the petroleum). To get the oil that may pour out, you have to put a spread under the trimmer and have a dish prepared. Spot the cutter on its side with the air channel and carburetor confronting upwards, so oil and left over petroleum don't scatter into them. Take out the oil tank plug and gradually move the trimmer till the oil starts to spill into the container. At the point when all the oil has been abandoned, supplant the plug.Lawn Mower
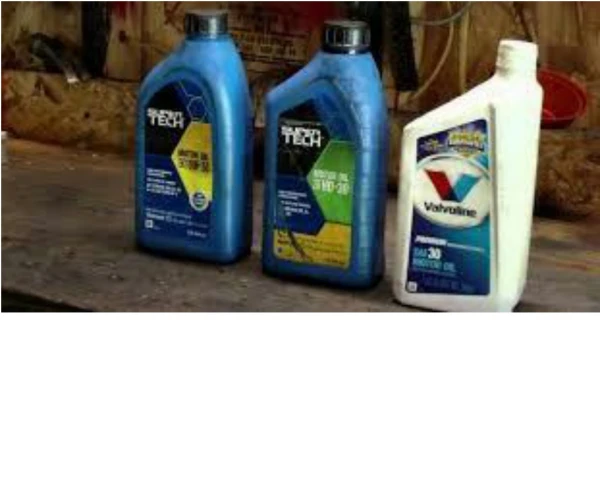
Stage 5: Clean the Undercarriage To scratch off the grass and soil layered on the cutter deck, utilize a clay blade and wire brush. This puts off erosion, clears the way to the launch shaft, and allows the aeromechanics of the deck to fill in as planned. Reattach the honed edge after the deck is cleaned. When you are finished with, turn the cutter in straight position, fill the oil tank with new SAE 30 or 30-weight oil, and reuse the pre-owned oil at an assistance station. Abstain from utilizing thicker oil like 10W-40. Stage 6: Replace the Air Filter Impure air channel keeps down the motor from consuming petroleum ably by restricting the air required for consuming. A garden trimmer with a paper channel ought to be changed with another one, and let the paper edges face outwards. Take it out in the event that it's an oil-splashed wipe channel, and wash it completely with cleanser and clean water, let it to dry totally, and include a smidgen of clean oil to it preceding putting it back. With a screwdriver or Popsicle stick clean the cooling blades of mud and flotsam and jetsam.
Stage 7: Change the Spark Plug Take off and change the flash fitting, utilizing an attachment pull with a sparkle plug attachment, which has a neoprene covering to watch the attachment's porcelain shell. For a few dollars, you will get another sparkle plug, which will guarantee better execution and a smooth dispatch coming spring season.