Download
1 / 14
140 likes | 362 Views
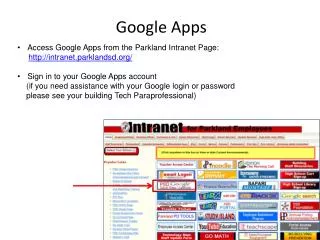
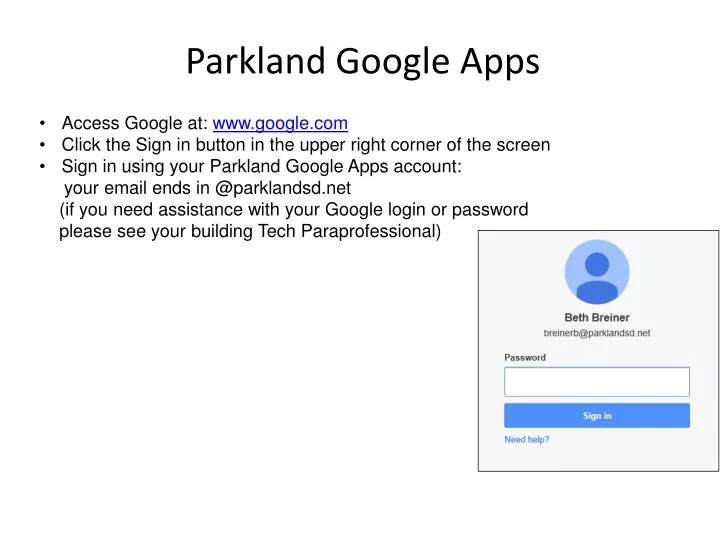
Parkland Google Apps. Access Google at: www.google.com Click the Sign in button in the upper right corner of the screen Sign in using your Parkland Google Apps account: your email ends in @parklandsd.net (if you need assistance with your Google login or password

E N D
Parkland Google Apps • Access Google at: www.google.com • Click the Sign in button in the upper right corner of the screen • Sign in using your Parkland Google Apps account: • your email ends in @parklandsd.net • (if you need assistance with your Google login or password • please see your building Tech Paraprofessional)
Creating a Google Document: 1. Click the Create button2. Select the type of document to be created3. Click on Untitled Document and enter the title of your document4. Google docs is very similar to Microsoft Word
Google Docs Features: Under the File Menu Option: Share: options to set view and edit permissions for a document and the link to share to access the doc Revision History: used to view previous versions of a document and/or revert to previous versions Print: prints docs in .PDF format (NOTE: to print in word format first click on File > Download As> Microsoft Word. Then print the word doc) Under the Edit Menu Option: Web Clipboard: saves a copied item to the user’s Google account for 30 days. User can log in to the account from anywhere and the copied item is available to be used for 30 days. Under the View Menu Option: Equation Toolbar: math symbols for equations
To Share a Google Document: • Click Share in the upper right hand corner of the screen • 2. Click Change on the right side of the Sharing Settings window. • 3. Select the desired visibility • setting: • Public on the web • Anyone with the link • Parkland School District • People at Parkland • School District with the • link • Specific People • 4. Select Edit, Comment or View • 5. Click Save • 6. Share the document URL
Special Notes about Google Docs: • Up to 50 users may edit a document simultaneously • If multiple users are simultaneously editing a document a tab appears with each user name. Click on a tab to open a chat box to chat with that particular user • A document may be shared with up to 200 users • Documents may be published to the web and shared with unlimited viewers • Published documents are view only, they cannot be edited • Google docs mailed as attachments or embedded files are view only, they cannot be edited
To Create a Form: • Click on the Create Button • Click on Form • Select the desired Form settings • Give the Form a Title
Entering Items on a Form: • Enter the question in the Question Title area • Add any desired help text in the Help Text field • Select the Question Type: • Text – for short answers • Paragraph Text – for open-ended items • Multiple Choice – provides for only ONE right answer, or one choice • Checkboxes – provides for multiple answers • Choose from a list – creates a drop-down menu list • Scale – creates a ranking for items • Click in the Required question checkbox as desired
Entering Items on a Form: • To add another question to a form click Add Item • Choose the desired type of item • Editing Options: • To edit a question, hover the mouse over the question and click on the pencil • icon • To copy a question, hover the mouse over the question and click on the copy icon on the right side of the question area • To delete a question, hover the mouse over the question and click the trash can icon
Confirmation Page Settings: • Click Done to signal the end of a form • Set the summary response; what the user will see after form submission • Set the remaining 3 confirmation page settings as desired
To preview a form: select View Live Form from the menu The live form will be displayed; click Edit This Form in the upper right corner to return to the editable version of the form. To add a theme (background) to a form: click theme from the menu bar, click on the desired background (theme) and click OK
To Share a Form: Click on the Send Form button: • Copy the URL to share • OR • Click on Embed to get the code to embed the form in a webpage or wikispace
Google Forms Spreadsheet View Responses to a Google Form appear in a spreadsheet
Special Notes about Google Forms: • Forms may be edited even after responses have been received • New items added to forms will appear to the RIGHT of existing columns on the spreadsheet regardless of the position of the item on the form • If it is necessary to rearrange the items on a form, make the positioning changes on the FORM NOT THE SPREADSHEET • To do any filtering or sorting on the spreadsheet connected to a form, first download the spreadsheet to excel and make the changes on the excel version, not the Google Spreadsheet version • Be sure to test any form prior to releasing the form. The test data may be removed prior to the release of the actual form.