Download

1 / 3
30 likes | 43 Views
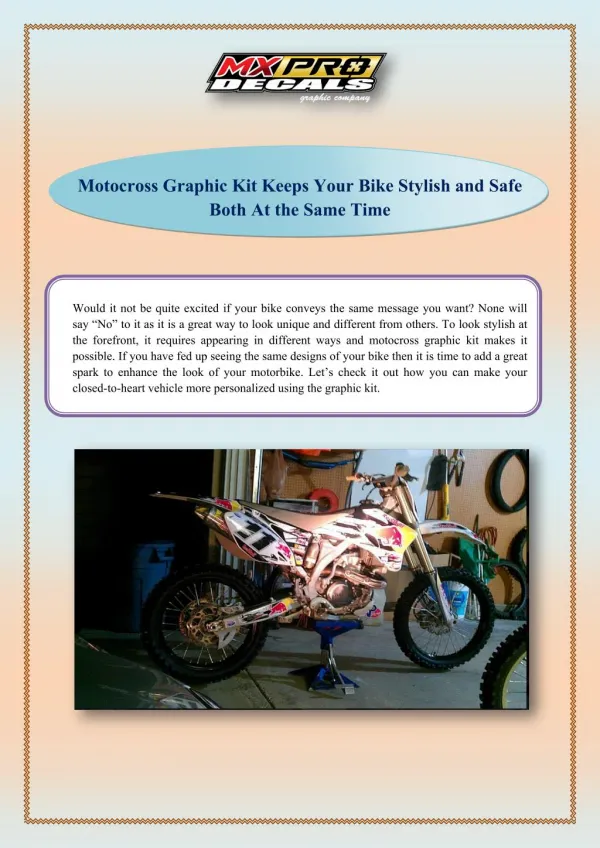
How do I apply my graphic kit the right way? You want to apply motocrosss stcikers like the pros? Then you are exactly right here. We show you how to do it!

E N D
How To Apply Motocross Graphic Kit Prepare Required Tools: Degreasing agents, for example brake cleaner / plastic squeegee / hot air hair dryer / scissors / household roll or a lint-free cloth! You can easily the best apply your new Motocross Graphic Kit! The basic principle is: From the middle stick outside! In the case of large parts, the carrier film should be used first peel off in the middle a strip one or two centimeters narrow cut out and then the two halves of the carrier film again glue it back onto the graphics! Now the graphics on the plastic part align and ideally to the recesses for the mounting holes orientate. Do you have the correct position on these holes and the edges the middle strip is found, on which there is now no carrier foil more, firmly pressed and glued on. Now you can go from this middle starting, peel off the carrier film piece by piece and by hand or go with the squeegee and press firmly. For smaller parts, it is sufficient to first use only half of the Remove carrier film (see pictures) and then also work from the center outwards and then the Remove the remaining carrier film and again from the center outwards to proceed. This should work without any problems on flat surfaces however, for example, including an air bubble, simply reinsert the decor Loosen the piece and remove the air bubble. It is often tricky Bulges, corners or the edges. The hot air dryer comes here at the latest for use. Carefully warm up the decor with the hair dryer, because that's how it will be Material a little softer and therefore easier to shape! Attention! When using the hot air dryer be careful and don't heat the graphics up to hot. If in doubt, prefer to start first try an old graphic kit or plastic, how much heat such a plastic can tolerate. But don't worry, you get a feeling very quickly when the material becomes noticeably and visibly softer with the added heat. Most films even require a certain amount of heat when applying, which is why the use of an ordinary hair dryer is out of the question. As well one should be careful - if the decors are applied directly to the bike should - with the handling near petrol tank and petrolcarrying Lines!
BACKYARD DESIGN USA L 230 N 4th St. Gadsen, AL 35901 United States info@backvarddesianusa.com Mo. - Fr. 8:30am - 4pm https://backyarddesignusa.com/how-to-apply-graphics/ https://www.facebook. com/bckvrddsanhttps://twitter.com/backvardesianhttps://www.instaaram.com/backvarddesianhttps://www.voutube.com/channel/UCdEWid8rOT6-7GbNSRItr8a