Download
1 / 34
510 likes | 918 Views
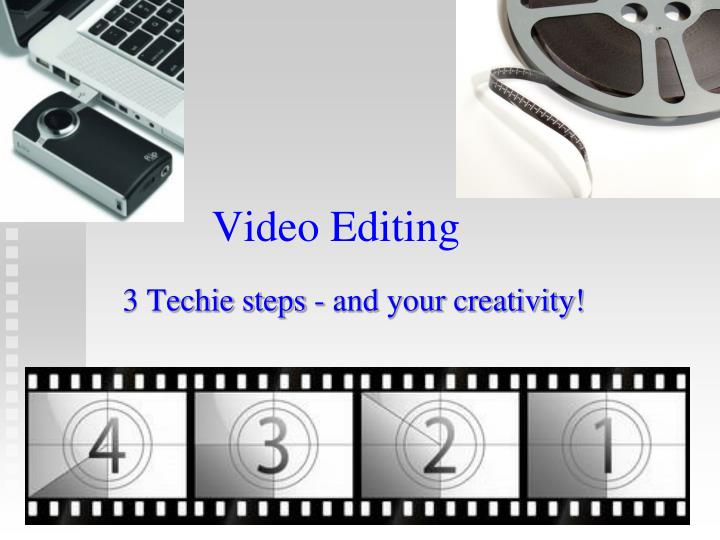
Video Editing. 3 Techie steps - and your creativity!. 3 Steps to Video Editing. Capturing or Importing Video into a Computer Editing Video on a Computer Exporting the edited Video off of the computer. Key Points.

E N D
Video Editing 3 Techie steps - and your creativity!
3 Steps to Video Editing • Capturing or Importing Video into a Computer • Editing Video on a Computer • Exporting the edited Video off of the computer
Key Points • Think BIG – Digital Video takes Lots of Time, Lots of Computer Power, and lots of storage space • Planning is the key to creating video efficiently
Importing Video • Video can come from three main sources • Digital Video Camera directly hooked to a computer via Firewire or USB • Analog Video imported through an analog to digital converter (Dazzle Box) • Pre-imported files from another source (e.g., Discovery Streaming)
Editing Video • Free Video Editing Tools • Windows Movie Maker 2 (Windows) • iMovie (Mac) • Non-Free (actually very expensive) • Adobe Premier (PC) • Final Cut Pro (Mac)
Exporting Video • You have several options to use on your movie once you are done editing • Export back out to a camera or VHS tape • Burn onto a VCD (Video CD) • Burn onto a DVD • Create a video file to watch on a computer (put on the web, e-mail, or show on a single machine)
Capturing Video from Camera • Your video camera must have Firewire (IEEE1394) • Most Mid to high-end computers (and all new Macs) have Firewire built in
Capturing Video from Camera Connect camera to computer via firewire Turn camera on in “play back” mode
Capturing Video from Camera The actual video is saved where you indicated.
Importing via USB • micro USB plug• mini USB plug• B-type plug• A-type receptacle• A-type plug
Importing via USB Connect camera to computer via usb Turn camera on in “play back” mode Go to My Computer and double click on your camera (or window + e) *Browse to the video file and copy it to your Movie Maker folder
Importing via USB There will be several files to browse through on your camera. If you know what type of video file your camera produces, finding the file will be easier. Check your camera’s manual. Un-hide extensions! DCIM! Don’t use camera manufacturer’s software!
Importing via USB The video file your camera produces may not be compatible with Movie Maker. Thus, you may have to convert it. Movie Maker accepts: .mpeg (.mp2), .wmv, .avi, .asf (United Streaming), .m1v, .mp2v, .mpe, .mpg, .mpv2, and .wm Zamzar.com, manufacturer, or ETC!
Importing via USB Once converted to an acceptable file type... Within Movie Maker, choose import video
Flip-Cams Easy to use Software is installed from the camera Video conversion from HD to other formats Videos can be edited with software already on your computer.
Step 2: Select “View your Flip Camcorder videos and click ‘OK’ ”
Step 5: Select video and click Create Movie and follow the prompts. (.wmv)
Step 6: Locate Movie in on your computer. • Start • My Documents • My Videos • FlipShare Data • Videos • YourVid.wmv • (Play close attention to file extensions)
Inserting a Video into PowerPoint • Under the insert tab click Movie
Post PowerPoint to your School InSites Page Presentations Add new presentation Name Presentation then click browse Locate the file Click add
Post your video to your School InSites Page. • First you must decrease the video’s size! • When finishing video in Windows Movie Maker choose • Show more choices • Other settings • Video for broadband (340kbps) • (screen capture on following slide)
School InSites Page File Manager Add a new category Name Category and Teaser Click Next Add New File Name, then browse and locate file Click add