Quick Guide to Integrate Salesforce with MuleSoft
0 likes | 47 Views
Quick Guide to Integrate Salesforce with MuleSoft

Quick Guide to Integrate Salesforce with MuleSoft
E N D
Presentation Transcript
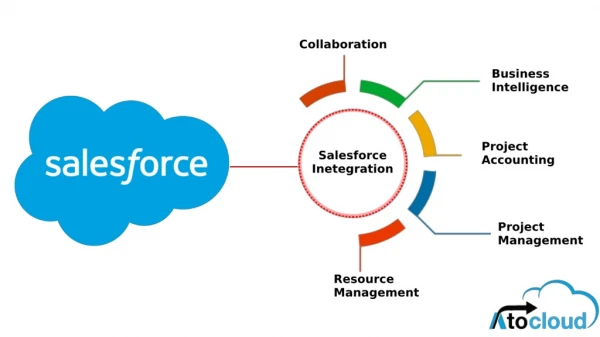
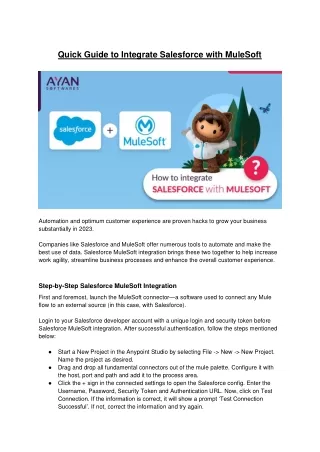
Quick Guide to Integrate Salesforce with MuleSoft Automation and optimum customer experience are proven hacks to grow your business substantially in 2023. Companies like Salesforce and MuleSoft offer numerous tools to automate and make the best use of data. Salesforce MuleSoft integration brings these two together to help increase work agility, streamline business processes and enhance the overall customer experience. Step-by-Step Salesforce MuleSoft Integration First and foremost, launch the MuleSoft connector—a software used to connect any Mule flow to an external source (in this case, with Salesforce). Login to your Salesforce developer account with a unique login and security token before Salesforce MuleSoft integration. After successful authentication, follow the steps mentioned below: ● Start a New Project in the Anypoint Studio by selecting File -> New -> New Project. Name the project as desired. ● Drag and drop all fundamental connectors out of the mule palette. Configure it with the host, port and path and add it to the process area. ● Click the + sign in the connected settings to open the Salesforce config. Enter the Username, Password, Security Token and Authentication URL. Now, click on Test Connection. If the information is correct, it will show a prompt ‘Test Connection Successful’. If not, correct the information and try again.
● Select the HTTP listener and type in metadata on the left-hand panel. Inside the Metadata Type ID, select JSON and choose your desired file. ● Go to the Salesforce Create connector attributes in the General section and select the Account Salesforce Object Type. ● Convert the message attributes in the metadata via the JSON file by simply dragging and dropping the required fields. ● Verify an empty account record before performing a POST request. ● In the Postman, post a call to the record creation API at http://localhost:8081 with a suitable request body. ● Upon successful implementation, you will receive a response code of Successfully Created. It will automatically insert this record in the Salesforce Account Object. MuleSoft and Salesforce integration is just a glimpse of what you can do when you harness the power of Salesforce Integration. Should you find the process complex, or want to explore other Salesforce Integration Services, connect with us. Our Salesforce experts will guide you through your project with utmost care, understanding and precision.