Download
1 / 11
110 likes | 121 Views
Learn about earthquakes, their causes, and examples in Ohio. Explore hands-on experiments using cheese and graham crackers to understand the forces and effects of earthquakes.

E N D
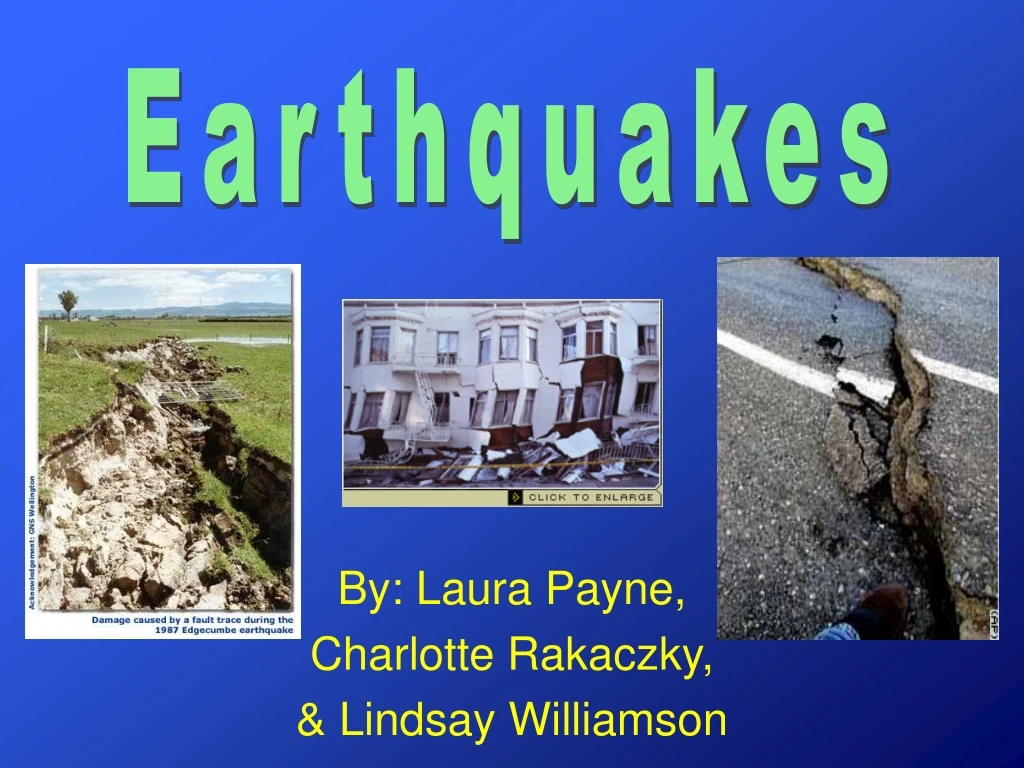
Earthquakes By: Laura Payne, Charlotte Rakaczky, & Lindsay Williamson
Earthquakes • An Earthquake is a vibration of the Earth produced when energy is quickly released from the Earth. • The spot where the energy is released from the Earth’s surface is called the focus. The Earth splits open at this spot and creates a crack called a fault. • Causes: -Stress: compressional, tensional, and shear -Strain: elastic deformation, plastic deformation, and rupture
Earthquakes in OHIO • March 9, 1943 in Cleveland. It was felt over 100,000 square kilometer area. • June 20, 1952 in Zanesville. It was felt over 26,000 square kilometers in southeastern Ohio. • June 20, 2006 in Willoughby.
Cheese Activity 1. Take a slice of cheese and pull on the edges. It should tear apart. 2. Eat it. Get a new slice. 3. Make a small incision in the middle of the new cheese slice with your fingernail, parallel to the edge of the cheese slice. 4. Pull on the two cheese edges parallel to the incision (so that you're pulling in a direction perpendicular to the incision). Watch how the small defect you've introduced into the cheese slice concentrates the tearing. Observe the shape of the growing fracture, especially the pointed tips where the tearing is taking place, and how the fracture tips move faster as the fracture gets bigger. Eat the torn up slice and get a new one. 5. Now try repeating this, only this time make two incisions near the middle of the cheese, maybe about an inch apart, and make them offset diagonally from each other. Now when you pull on the cheese, fractures will begin to grow from each of these defects. As the tips of these fractures begin to go past each other, they will begin to curve toward each other, and eventually link up into a single fracture.
Explanation • This experiment allows you to create tension fractures. Like the slice of cheese, the crusts of the Earth and other planets sometimes get pulled on by tectonic forces. This can create tension fractures, some of which will link together to form larger faults. • Tension fractures are also seen as deep cracks on glaciers, or as the magma-filled dikes which supply molten rock to the "curtain of fire" eruptions in Hawaii. • A more everyday example is cracks in the surface of an asphalt road. If you look at these cracks while you're walking down the road, you may find patterns of cracks much like the ones you produced in your cheese experiments. • When you pull on a piece of cheese, you are creating tensional stress throughout the cheese. If there is a defect in it (like the incision you made), the stress cannot be transmitted across that defect (the walls of the incision can't pull on each other). The stress is concentrated around the edges of the defect, causing the tear to occur directly on the incision.
Graham Cracker Activity 1. Break the graham cracker along the perforation. 2. Place the two pieces back together so they touch. 3. Move one piece away from you and one piece toward you keeping the edges touching. 4. Observe the tiny crumbs that form as they move side by side. These represent rocks breaking off the edges of two plates along a fault. 5. Now break one of the halves into two pieces. Notice that the edge is not smooth like the first two pieces you made. 6. Put the broken edges back together like you did with the first break. 7. Move one piece away from you and one toward you with the broken edges touching. • Notice that the two do not move as easily this time. This is the tension that builds up along a fault before an earthquake. 8. Keep moving the halves until they move. Notice the large pieces that break off. This represents a very much larger earthquake than the first time. It is much more destructive.
Explanation • The experiment demonstrates the forces that create earthquakes. It also shows the tension that can build up before a quake and the resultant debris created along a fault. • Earthquakes occur where there are breaks in the crust of the earth. Usually there are large plates of crust that move against each other. When the plates move side by side the rubbing together makes vibrations and these are earthquakes. The sliding plates grind off pieces of rock as they move. If the fault (break) is very uneven there can be a build up of extreme pressure. This will cause a much larger earthquake (vibration) when the rocks break or slip past each other.
National Science Academic Standards Earth and Space Science- Standard: Summarize the processes that shape Earth’s surface and describe evidence of those processes. -Our activity meets this standard because the students are able to see how earthquakes change the surface of Earth. Physical Science- Standard: Compare the characteristics of simple physical and chemical changes. -Our activity meets this standard with showing the students the differences of the Earth’s crust before and after the earthquake.
Standards Cont. Physical Science- Standard: Describe the forces that directly affect objects and their motion. -Our activity meets this standard through informing the students about the different causes of earthquakes and how they affect the Earth. Scientific Inquiry- Standard: Organize and evaluate observations, measurement and other data to formulate inferences and conclusions. -Our activity meets this standard because the students witness the different characteristics and outcomes of earthquakes and form opinions on the severity of earthquakes.
Sources • www.dlese.org/dds/index.jsp • http://whyfiles.org/094quake/index.php • http://www.gpc.edu/~pgore/geology/geo101/quakelec.htm • http://www.ode.state.oh.us/GD/Templates/Pages/ODE/ODEDetail.aspx?Page=3&TopicRelationID=334&Content=16764 • http://www.madsci.org/experiments/archive/871082838.Es.html • http://www.madsci.org/experiments/archive/1117652897.Es.html
Additional Information • http://www.bennett.karoo.net/topics/earthquakes.html • http://projects.crustal.ucsb.edu/understanding/ • http://www.aip.org/radio/html/deep_earthquakes.html