Download
1 / 4
40 likes | 62 Views
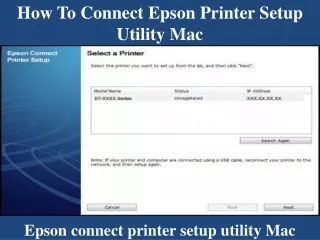
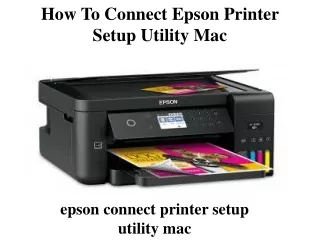
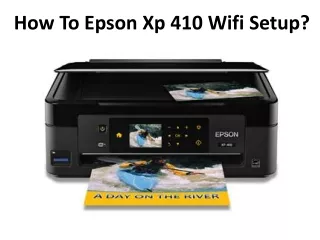
Epson connect printer setup utility Helpline 1-888-633-7151 To Know About Epson L355 Wifi Setup For Mac and Windows 10 in Easy Steps without any Hassle.

E N D
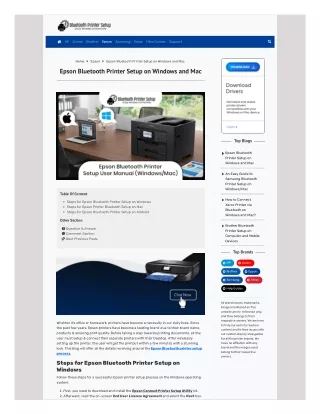
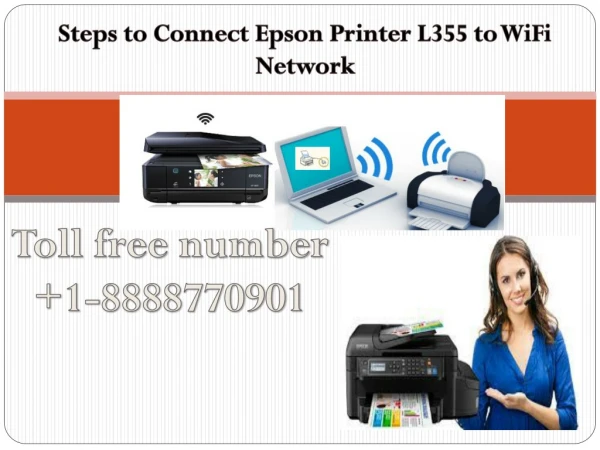
Steps to Connect Epson Printer L355 to WiFi Network Toll free number +1-8888770901
Steps to Connect Epson Printer L355 to WiFi Network • Step 1: First you have to make sure that your Epson printer is connected to a stable internet connection. If it is not connected, then you can do it by contacting the official Epson printer support. There you have to select the product name from present alternatives, click on “Manuals,” and then select the “Start Here” option. • Step 2: After connecting the internet, now you have to download the “Epson Connect Printer Setup Utility” which you will get on the official site. • Step 3: Now Install all downloaded files to proceed further • Step 4: After installation, the program will ask you to read the End-User License Agreement. Carefully go through the information. In the end, you will find an option of “Next” button. Click on it and move ahead with the process • Step 5: Now the program will ask you the permission for installation. Click on the “Install” button. When the process gets complete, then a “Finish” button will show up, click on it and finish the process of installation. • Step 6: Now look for your product in the list and after choosing the same click on the “Next” button • Step 7: After this, you will see an option of “Printer Registration” radio button, select it and then click “Next” • Step 8: When the printer registration will be done then next, you have to choose “Agree “button which will reflect at the end of the page. After this click on “Next” button • Step 9: Now you will see a message which will quote “Register a printer to Epson Connect.” Here it will ask your permission. Click on “OK” option and proceed further • Step 10: In case if you don’t have an account with Epson then you have to create one. To do so, you will need to fill a form which you will get from the official website. Go to the site and click on “Create an Epson Connect Account,” and then click on “Finish” button • Step 11: If you are registering a new printer with your existing account, then select “I already have an account” from the option. Fill out the “Add a new printer” form and after that click on “Add” button • Step 12: Now click on the “Close” button • Step 13: After closing the program now your printer will be successfully connected WIFI Network. Check it by printing some document to make sure that you got the desired result or not
Get in touch with us • Website name: www.epsonprintersupport247.com • Toll free number: +1-8888770901