Download
1 / 8
80 likes | 91 Views
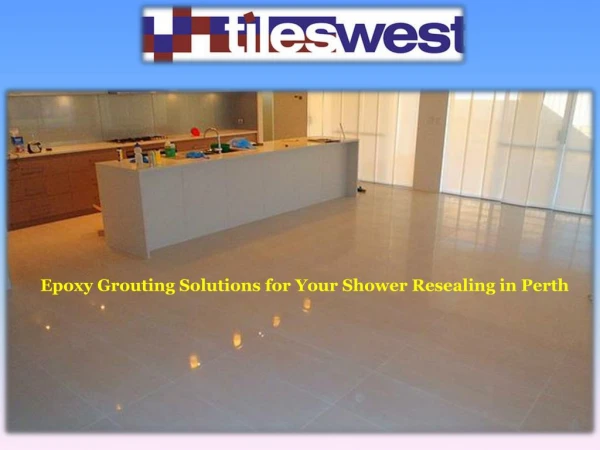
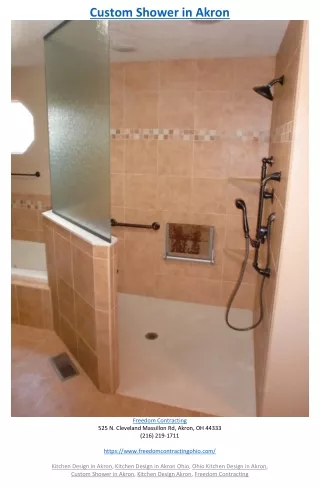
While getting the shower flooring installed, people have this in mind that it would stay safe, it would look beautiful and continue to complement the other parts of the home. Shower resealing experts then clean the floor thoroughly using liquid cleaner and warm water and their goal is to remove stains or tough marks.u00a0u00a0https://showersealed.com.au/regrouting-sealing/<br>

E N D
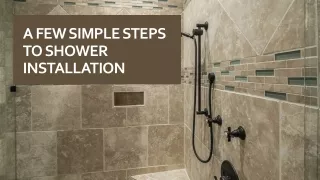
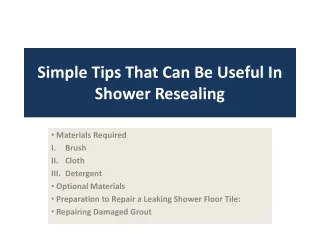
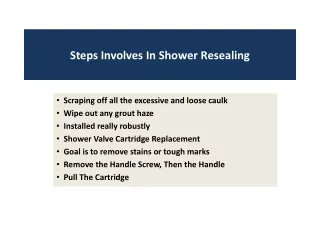
Steps Involves In Shower Resealing Scraping off all the excessive and loose caulk Wipe out any grout haze Installed really robustly Shower Valve Cartridge Replacement Goal is to remove stains or tough marks Remove the Handle Screw, Then the Handle Pull The Cartridge
While getting the shower flooring installed, people have this in mind that it would stay safe, it would look beautiful and continue to complement the other parts of the home. In most cases, it fulfils all the expectations, but often fails to stay safe from the wear and tear caused by water. In this situation, shower resealing becomes mandatory and not just this, but also, it has to be done by the experts.
Scraping Loose Caulk on Tiles Step 1 • The process would start by scraping off all the excessive and loose caulk present there and this can be done easily with the help of a small kitchen knife. If it has been installed really robustly there, you might have to use a screwdriver for the same or a putty knife to remove it to perfection. Step 2 • The grout has been removed and now you will have to wipe out any grout haze between the tiles and from inside the grout lines.
Sealer Grout Water Based Step 3 • Shower resealing experts then clean the floor thoroughly using liquid cleaner and warm water and their goal is to remove stains or tough marks. Step 4 • In the next step, shower sealing Gold Coast experts will rinse the floor with warm water and once done, they will leave your shower floor to dry completely. To dry the area completely, they will use a hair dryer and once done, the process of shower resealing can be started. Step 5 • Here, these people will apply grout sealer over the layer of grout and this sealer is mostly water-based, as it resists oil- and acid-based liquids. Then, they will also apply a thin layer of silicone caulk over the seam, but this would depend upon the type of tiles present there. They will apply the thickest layer of silicone along the corners of the shower.
Fix A Dripping Or Leaking Shower? • The good thing is that leaking showers Brisbane are very easy to tackle. • DIY is also very easy here and you will just have to arrange the tools. Tools Required Are • 4-in-1 screwdriver • Adjustable wrench • Handle puller • Pocketknife Materials Required • Cartridge • Plumber's grease • The Process of Repairing Leaking Showers Brisbane Starts with These Products and the Steps Include –
Shower Valve Cartridge Replacement • Leaking shower head replacement has to be done first up and this is to be done with an identical one STEP 1 • Remove The Handle Cap • You will first have to cut down the water supply and then, pry of the handle cap • You can expose the internal handle screw with this Step 2 • Remove the Handle Screw, Then the Handle • You will now have to remove the handle screw and ensure that the faucet is "off" • Heating with hairdryer is a wise idea, if the handle is tough and struck STEP 3 • Pull The Cartridge • Pulling up the cartridge is the next step and you will have to pry up the retaining clip • This can be done easily with a small screwdriver or awl • The next step involves removing the handle washer and then twisting the cartridge stem loose
Leaks shower getting damaged The first symptom of the shower getting damaged is water starting to drip out or leak from the joints of the shower. Leaking shower repair is very easy, provided that the same is done right when the leakage is detected. Therefore, as soon as the leakage is detected, the shower plumber should be called and in the premature stage, simply by changing the shower head, things can be brought back into shape.
Shower Sealed Po Box 7129 Southport Park 4215 https://showersealed.com.au/ sales@showersealed.com.au 8:30 to 17:00pm