Download
1 / 2
20 likes | 36 Views
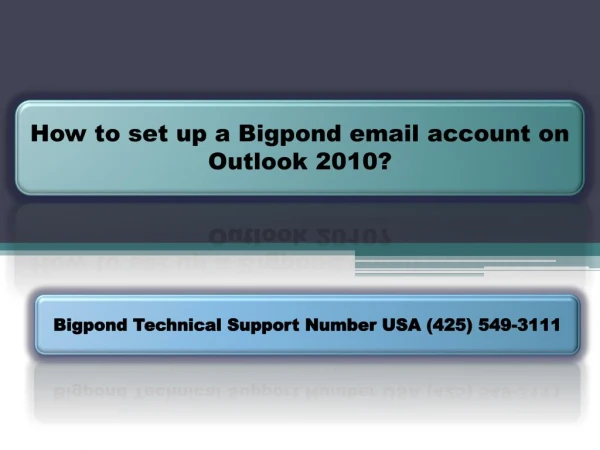
<br><br>In this pdf, you will learn Instant Guide To Set Up Bigpond Mail Account On Windows Mail 10. Follow the given steps in this pdf through which you can easily Set Up Bigpond Mail Account On Windows Mail 10. If you encounter any technical issues then Dial our toll-free number Bigpond Support Phone Number and get the fast solution to your problem.<br>

E N D
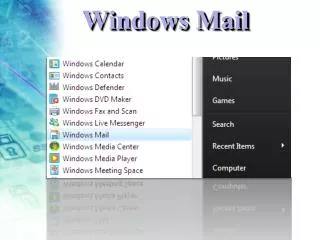
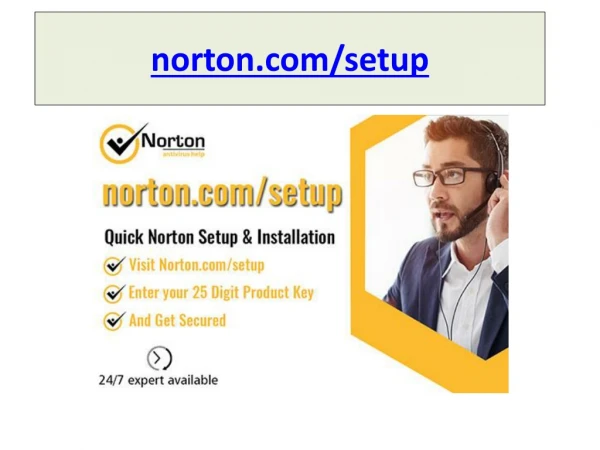
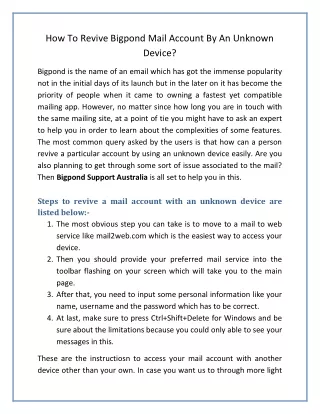
Instant Guide To Set Up Bigpond Mail Account On Windows Mail 10 Bigpond Mail account is a very easy-to-use platform that can be accessed anytime through a web browser or applications such as Windows MAIL 10. Bigpond Mail account holders can access their mail anywhere and anytime in an instant. You can also set up your Bigpond Mail account on different applications such as Windows Live Mail, Windows Vista Mail, and Windows Mail 10. If you use Windows Mail 10, add your Bigpond Mail account to it so you can manage and access emails within the Bigpond account and stay up-to-date. If you use a different app such as Windows Vista Mail, call our Bigpond customer Care Number Australia for support on setting up your Bigpond account. Follow the steps mentioned below in this article to instantly set up Bigpond Mail Account on your Windows Mail 10: STEPS TO SET UP BIGPOND MAIL ACCOUNT ON WINDOWS MAIL 10 1.Make sure you have your Bigpond email address and password before proceeding to set up a Bigpond Mail account on Windows Mail 10, else retrieve the password first. 2.In addition to this please note that you may incur data charges while setting up a Bigpond Mail account. 3.Now, to add a Bigpond account, open the Windows Mail 10 app and select the GEAR icon from the top by clicking. 4.Here, select the MANAGE ACCOUNTS option and then select the ADD ACCOUNT button.
5.Now, select the OTHER ACCOUNT (POP, IMAP) option from the screen and enter the email address and password for Bigpond. 6.Click on the DONE button to set up the Bigpond Mail account automatically, else proceed to the next step. Modify Bigpond Mail account settings: 1.Select the SETTINGS option from the top, click on the MANAGE ACCOUNTS and then select your Bigpond mail account. 2.Now, click on the CHANGE MAILBOX SYNC SETTINGS option from the screen and then select DONE to move back to ACCOUNT SETTINGS. 3. Next, click on the ADVANCED MAILBOX SETTINGS and update the server settings by: 4.Entering imap.telstra.com: 993:1 in the field beside INCOMING EMAIL SERVER. 5.Entering smtp.telstra.com: 465:1 in the field beside OUTGOING (SMTP) EMAIL SERVER. 6.Also, make sure that the OUTGOING SERVER REQUIRES AUTHENTICATION and USE THE SAME USERNAME AND PASSWORD FOR SENDING EMAIL box is ticked. 7.Additionally, tick the box beside REQUIRE SSL FOR INCOMING EMAIL and REQUIRE SSL FOR OUTGOING EMAIL and then click on DONE. Have a query related to your Bigpond Account? Get in touch with Bigpond Support Phone Number for quick and easy solutions. We provide flawless services to all our customers by resolving their problems in an instant, call, email, or chat with our Bigpond experts and leave all your Bigpond account-related worries behind. Original source