Download
1 / 47
640 likes | 1.34k Views
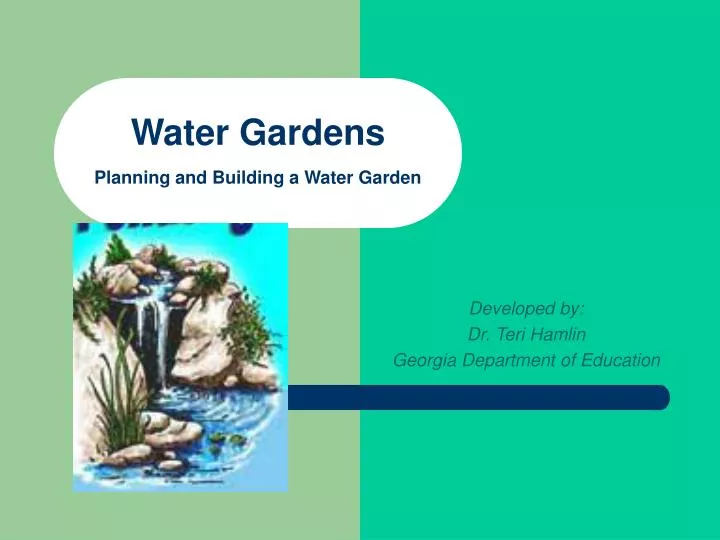
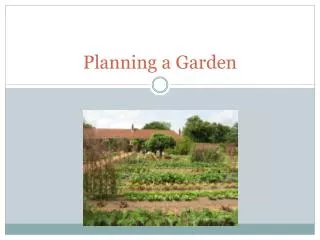
Water Gardens Planning and Building a Water Garden. Developed by: Dr. Teri Hamlin Georgia Department of Education. Watergardens. Before. After. Planning for Supplies Needed. Tools Spade Wheelbarrow Carpenter’s level Measuring tape Pair of heavy leather gloves Materials Filter

E N D
Water GardensPlanning and Building a Water Garden Developed by: Dr. Teri Hamlin Georgia Department of Education
Watergardens Before After
Planning for Supplies Needed • Tools • Spade • Wheelbarrow • Carpenter’s level • Measuring tape • Pair of heavy leather gloves • Materials • Filter • Pump • Liner • Edging
Planning : Building Codes & Safety • Comply with local building codes • Check with local authorities • Small Children • Foot-deep shelf around edge • Strategically place boulders
Selecting a Site • Level, well-drained location • Direct line between house and pond for electrical wiring • Nearby outdoor faucet • Balance of sun & shade • Sun promotion of flowering water plants • Shade for fish and water temperature • High water temperature promotes excessive algae growth and increase water evaporation
Pond Styles • Formal • geometric • Informal • abstract
Lighting • Underwater lights • Surface reflecting spotlights • Illuminate focal points (waterfall)
Pond Capacity • Depth: 18-24” • Determine size of pump and filter • Determine correct dosages of • plant fertilizers • algaecides • other chemical treatments
Pond Capacity • Rectangular Ponds - Length x Width x Depth x 7.5 = gallons Example: 10' x 20' x 1.5' x 7.5 = 2250 gallons. • Circular Ponds — Diameter x Diameter x depth x 5.9 = gallons. • Oval Ponds — Depth x Width x Length x 6.7 = gallons. • Irregular Ponds - It is difficult to calculate accurately the volume of an irregularly shaped pond. The best way is to determine the average width and length, and then use the equation for oval ponds above.
Choosing a Liner • Flexible Polyethylene Liner • Create pond any size or shape • Relatively inexpensive • Made of: • PVC (polyvinyl chloride) • Synthetic rubber (butyl rubber or ethylene diene monomer)
Choosing a Liner • Rubber liners • More durable than PVC • Stretchable • More resistant to ultraviolet light • Thicker the liner the longer it last • Rubber liners: 30-45 mil • PVC: 20-32 mil
Choosing a Liner • Performed shells • Rigid Fiberglass • Last 10-30 years • More expensive • Limited shape & size
Sizing the Liner • Outline the Shape — • Clear the site of plantings and other obstacles • Outline the pond shape on the ground. • Measure Pond Dimensions • Measure the maximum width and length of the pond; then determine the smallest rectangle that would enclose the pond area.
Sizing the Liner • Formula for Width = Width of pool (Depth x 2) 2' • Formula for Length = Length of pool (Depth x 2) 2' • Example: Pond is 24" deep and fits inside a 10x12' rectangle.To figure liner: • 10' (the width) 4' (the depth doubled) 2' (for overlap) = 16'.12' (the length) 4' (the depth doubled) 2' = 18‘ • So you’ll need a 16x18' liner for a 10x12' pond
Sizing the Liner To determine the liner size you need: length - add overall length plus twice the maximum depth width - add the overall width plus twice the maximum depth It is generally a good idea to add a foot to both of these measurements to allow for error and a few inches over the pond edge. Example: A pond 6 ft. Wide x 11 ft. Long and 1 1/2 ft. deep will need a liner 10 x 15. Width: 6 + 1.5 + 1.5 + 1 =10 Length: 11 + 1.5 + 1.5 + 1 =15
Installing a Flexible Liner • Installing a liner requires four basic steps: • 1. digging the hole • 2. laying down the liner • 3. filling the pond with water • 4. adding stones or other edging around the pond perimeter • Removing Turf • Use a flat shovel to remove patches or strips of sod within the pond area • remove the grass 6-12” beyond the perimeter
Digging the hole • Start along edge • Remove dirt by layers • Dig two inches deeper that pool depth • Create spot to over winter plants & fish • Dig Shelf for bog plants • Dig ledge for edging • Check to make sure pond is level
Preparing the Hole • Carefully inspect the hole for sharp stones or roots • Cushion the liner with an under layment of some kind. • Options include: • two to three inches of sand • fiberglass insulation material • newspaper • water garden suppliers offer a tough, flexible under layment material specifically designed for use with pond liners
Positioning the Liner • Warm, Sunny Day • Drape loosely into hole with overlap • Weight down w/flat stones • Fill pond w/water • As pond fills adjust liner & smooth out creases • Need enough liner around pond rim to extend under edging stones
Positioning the Liner Gradually fill the pond while smoothing creases and adjusting the liner as needed.
Adding Edging Materials • Push 20d nails through liner to keep in place • Position largest stones first around liner • Mortar stones in place to prevent movement
Building the Waterfall • Selection & Placement of stones effects flow and sound
Position any pond filters and/or pond skimmers and level these in their proper location
Installing a Preformed Shell • Mark the Shell Outline • Dig the Hole • Set the Shell • Backfill Around the Pond • Add Edging
Mark the Shell Outline • Place shell upright in desired location • Use plumbed stakes to transfer shape on ground • Mark outline with paint
Dig the Hole • Dig hole to conform shape of shell allowing 2” around perimeter • Cut ledges for plant shelves • Remove rocks and sharp objects • Flatten the bottom of the hole • Ensure the bottom of the hole is perfectly level in all directions, place a level on a 2x4 laid on the sand base
Set the Shell • Set pond shell into hole and check rim height • Rim should be 1” above ground • Check to make sure pond is level if not pull shell out and reset.
Backfilling Around the Pond • As fill pond with water, backfill the hole around the shell & pack gently • Important to: • Not allow the water inside the pond to rise above the backfilled earth • Try to equalize the pressure exerted on shell as you backfill
Adding Edging • After shell is filled with water, conceal exposed rim with rocks or overhanging plants • Allow rocks to hang over edging only a couple of inches to avoid weight damage
Types of Fountains • 2 basic types: • Sprays • Ornamental statuary Sound emitted from a sprinkling fountain can be peaceful and soothing. Ornamental statues and lighting can add charm to your water garden area.
Choosing a Pump • Determine size needed: • Calculate the volume of water in pond • Choose a pump that can move half the total volume in one hour • Ex: ponds holds 1000 gallons of water = pump 500 gph • Note: increase the capacity for waterfall or stream
Filtration • Purpose: • Trap waste and decaying matter • Help maintain balance pond • Increase water clarity
Filters • There are two basic types of filters: • Mechanical filters • Cartridge-type • Effectiveness based on size of filter • Requires high flow rate of water through filter • Biological filters • Beneficial bacteria feed on impurities in the water • Gravel based w/nitrifying bacteria • Does not require high rate of water
Adding Plants • Plants & Fish • create a balance • add life • add color & interest
Plants • Submerged plants • Grow entirely underwater • Provide food and hiding places for fish • Floating plants • Use to cover pond surface keep water cool • Limits algae growth • Require no soil • Water lilies: Hardy & Tropical
Plants • Lily pads are a very popular addition to backyard getaways. Miniature cattails add to the traditional look of a pond and are less likely to take over than the larger varieties.
Adding Fish and Snails • Fish • Control mosquitoes and algae • Red Comet, Calico Fantail, Japanese koi • Before adding fish acclimate fish to pool by adding pool water to bag four times every 15mins • Don’t feed for first 3-4 day then feed them daily amounts of only what they can eat in 10-15 mins. • Snails • Contribute eat algae
Fish • Fish are a great addition to any pond. They help control insects and are soothing to watch.
Pond Ratio • Snails • Place eight small snails in the pond per square yard • Fish • Each fish should have six square inches to one square foot of water • 2" fish: 1 square foot • 4" fish: 2 square feet • 6" fish: 3 square feet • 8" fish: 4 square feet • 12" fish: 6 square feet • Submerged plants • two groups of plants per square yard of surface area • Floating plants • Cover at least 50 percent of the surface
Routine Maintenance • pH 6.5-8.5 • Removal dead leaves • Change 20% of water each month


![WATER GARDENS, PLANTS, AND ALGAE – Chapter 17 [objectives]](https://cdn2.slideserve.com/5323854/water-gardens-plants-and-algae-chapter-17-objectives-dt.jpg)