Download

1 / 13
130 likes | 245 Views
Discover Dreamweaver, the powerful WYSIWYG web design software that simplifies website creation. With Dreamweaver, you can build web pages visually, just like crafting a PowerPoint slide, without the need to write complex code. This guide covers essential features, including page properties, adding hyperlinks, images, tables, and layers. Learn how to manage your website files in folders and utilize the Properties Bar for customizing text and images. Start designing with confidence using Dreamweaver's intuitive tools and create stunning websites effortlessly!

E N D
What is Dreamweaver? • “What You See Is What You Get” (WYSIWYG) web design software • Rather than writing code and trying to imagine what it will look like, you create a web page like it will actually appear • Kind of like putting together a PowerPoint slide
What about the HTML code? • Your Dreamweaver web page will still be an HTML file • Dreamweaver writes the code for you as you go along • You can look at the code any time, and edit it if you wish, by clicking “view” from the top menu, and selecting “code” • This is useful for adding Javascript
Some things to remember • Remember that each website you create should be in its own folder • All associated files (html files, jpegs, gifs, flash objects, etc.) must be in that folder • The first thing you should do is “Save As”
This is your main workspace – it’s what your webpage will actually look like Right clicking on the workspace brings up a menu At the bottom, you can define Page Properties
The Page Properties window lets you define the background, and choose the colours you want for text, links, etc.
The top toolbar • The “Common” tab on the toolbar is the one you will use most of the time
The main tools • Add a hyperlink • To an external page (another website) • To an internal page (another page on your site) • To an anchor on the same page • Insert an image • Should be .jpg or .gif • Remember it must be in the same folder! • Table • Insert a table • Much easier than writing the code! • Rollover Image • An image that changes when you move your cursor over top of it • You will need 2 images to do this • Named Anchor • Provides a placemarker that you can link to • Allows you to “jump” to a spot further down the page
The Most Important One! Draw Layer • Like drawing a textbox • Normally if you insert an object (picture, table, whatever) it will be fixed wherever you put it • A Layer allows you to move it wherever you want
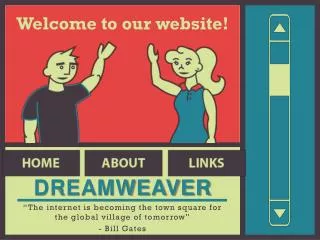
Instead of this… You can move the layers wherever you want The lines won’t show up when you view the page in a web browser
The Properties Bar • At the bottom of the page • When text is selected, the bar looks like the one above • You can change font, and create a link
The Properties Bar • When an image is selected, the bar looks like the one above • You can turn the image into a link (very cool when you are using a rollover image) • You can change the size/shape of an image • The hotspot tools let you select a part of the image you want to designate as a link • Clicking on different parts of the image will take you to different links • Some people design entire pages this way!