Download
1 / 16
180 likes | 862 Views
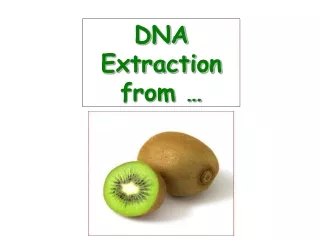
DNA Extraction from wheat germ. Protocol. Salk Institute Mobile Lab. Step #1. Obtain a numbered 50 ml conical vial with 10 ml of water. Write your number here:________. Step #2. To the tube with 10 ml water add 1g (1 pinch) of raw wheat germ.

E N D
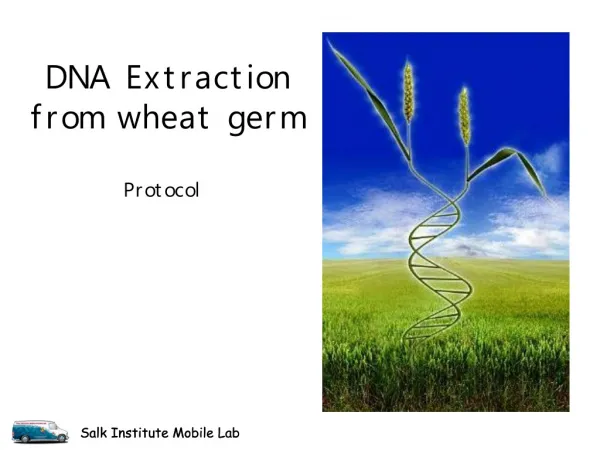
DNA Extraction from wheat germ Protocol Salk Institute Mobile Lab
Step #1 • Obtain a numbered 50 ml conical vial with 10 ml of water. • Write your number here:________
Step #2 • To the tube with 10 ml water add 1g (1 pinch) of raw wheat germ. • The wheat germ should settle to fill 1/2 the cone
Step #3 • Cap the tube and vigorously shake to mix for about 30 seconds. • What do you think the shaking is doing to the wheat cells?
After shaking - let the cell walls settle to the bottom • What’s in the cloudy solution? • Where is the DNA at this point?
Step #4 • Using a transfer pipet add 3 ml of 25% dish soap to the tube with water and wheat germ.
Steps #5-6-7 • Cap the tube and slowly invert several times to mix (DO NOT SHAKE). Loosen the cap slightly before placing tube in the hot water bath. • Heat at 65ºC for 5 minutes.
What do you think the soap will do? • How will the hot water bath help? • Bonus question: • Why does washing your hands with soap and hot water kill bacteria on your skin?
Steps #8-9 • While the tubes are heating carefully fill a 1.7 ml eppendorf tube half way (½) full with isopropanol. • Carefully place the open ½ filled epi into the rack • Prep for the next step by filling a transfer pipet with 3ml of isopropanol (leave in stock isopropanol tube)
Step #10 • Bring the 50 ml conical tube back to your table and as soon as possible add the 3ml of isopropanol to the tube.
Step #11 • Watch the DNA rise out of the green soap layer and into the isopropanol layer. • What color is DNA?? • What color do you think YOUR DNA is? • Why?
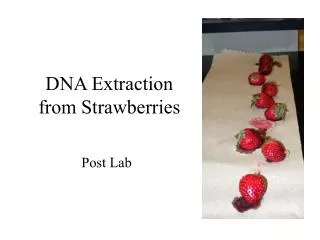
Step #12 • After waiting a few moments to allow the DNA to precipitate remove the DNA using an inoculation loop and place in your eppendorf tube. Try to avoid any wheat germ debris that is present.
Step #12 continued • Spinning the loop will help get the DNA off • Make sure to close the epi tube securely (you should hear it “click”) • Label your tube with your initials
Congratulations! • You have just done something that scientists do everyday in the lab! • Your DNA will last you for years – it’s very stable when stored in isopropanol • SOME RULES: • Your DNA tube should be put away during school - other teachers will confiscate it if you disturb their class! • You must show your parents at home your DNA and tell them what you learned!
Review: • We extracted DNA from wheat germ • And discovered that the color of DNA is … • No matter what organism it comes from, DNA in a tube looks the same! WHITE!