Download
1 / 6
60 likes | 193 Views
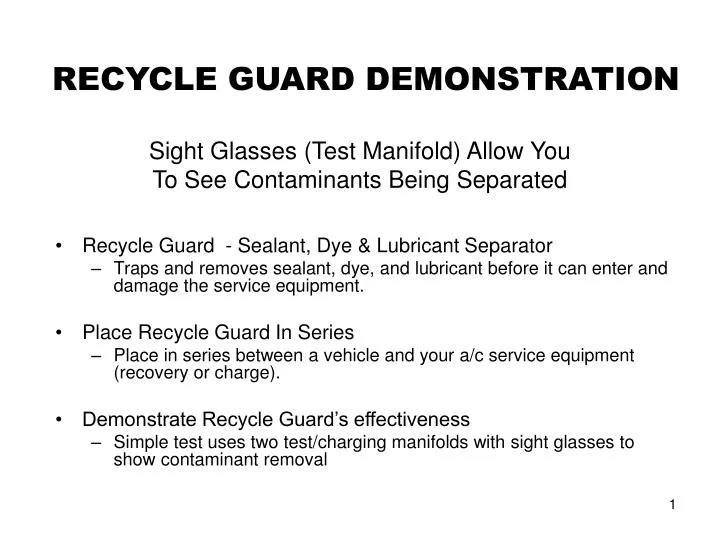
Sight Glasses (Test Manifold) Allow You To See Contaminants Being Separated. RECYCLE GUARD DEMONSTRATION. Recycle Guard - Sealant, Dye & Lubricant Separator Traps and removes sealant, dye, and lubricant before it can enter and damage the service equipment. Place Recycle Guard In Series

E N D
Sight Glasses (Test Manifold) Allow YouTo See Contaminants Being Separated RECYCLE GUARD DEMONSTRATION • Recycle Guard - Sealant, Dye & Lubricant Separator • Traps and removes sealant, dye, and lubricant before it can enter and damage the service equipment. • Place Recycle Guard In Series • Place in series between a vehicle and your a/c service equipment (recovery or charge). • Demonstrate Recycle Guard’s effectiveness • Simple test uses two test/charging manifolds with sight glasses to show contaminant removal
When using refrigerants alwayswear safety goggles and gloves!! This test requires a vehicle that is known to have UV dye in the a/c system. • Run the a/c system before hooking up the connections to the manifolds. This way, a good (warm) mix of refrigerant, sealant and dye is obtained. Then shut off the a/c system and engine. • Install the first charging manifold in series with the inlet port of the Recycle Guard Sealant, Dye & Lubricant Separator (between the vehicle and Recycle Guard). Connect the 16mm hi side coupler to the high side of the system, the 13mm low side coupler to the low side of the system. Then connect the (yellow) center hose to the inlet of the Recycle Guard. Make sure to open both high and low side ports and valves on the manifold gauge set. Refer to the instructions from the manufacturer of your test/charging manifold for proper hose connection and operation.
Connect the second manifold in series with the outlet port of the Recycle Guard unit – as follows: • Connect the low side (blue) hose of the manifold set to the outlet of the recycle guard. Note that the blue hose must be equipped with the correct fittings (1/2”ACME on both ends, in most automotive applications). Then connect the (yellow) center hose between the manifold and the recovery unit. Make sure to close the high side valve on the manifold, and to open the low side valve on the manifold. If you are using a 4 –valve manifold set, then all other valves MUST be closed!! • Begin the recovery process. Using a UV lamp, look at the sight glass of the first charging manifold. You will see refrigerant, dye, and lubricant flowing toward the Recycle Guard inlet port. Any sealant in the vehicle a/c system may be masked by the color of the dye, and therefore not visible.
Look next at the sight glass of the second charging manifold (located after the Recycle Guard unit). You will see only clear liquid refrigerant, on its way to the inlet port of the recovery/charging machine. • You can monitor the only very slight pressure drop over the Recycle Guard unit. Compare the pressures (use low pressure side for monitoring) between the #1 manifold and the #2 manifold. • All of the lubricant, dye, and any other liquid contaminant in the vehicle a/c system has been removed from the refrigerant by the Recycle Guard Separator, as the recovery is completed. Close all valves on both manifolds and place a small container under the Recycle Guard unit. Turn the Drain Valve at the bottom of the Recycle Guard Separator counterclockwise to let any collected contaminant drain out. This may take a few seconds, since the drain is only gravity driven.
A/C Recovery Machine Recycle Guard RECYCLE GUARD Demonstration Connections Test/Charging Manifold Test/Charging Manifold Center Hose Center Hose Vehicle 13 mm Low Side Coupler 13 mm Low Side Coupler 16 mm High Side Coupler
Materials Needed To EffectivelyDemonstrate Recycle Guard • A recovery machine with hoses. • One or two Recycle Guards, Part Number 72100. • A test vehicle. • A manifold gauge set with standard hose and automotive quick connect (16 & 13mm) adapters. The (yellow) center hose is to be fitted with a ½”ACME thread on the end that connects to the Recycle Guard. • A manifold gauge set with a low side hose that connects to a ½”ACME fitting (instead of the standard 13mm connection), and a (yellow) center hose that fits onto the intake of the recovery machine. Usually – in automotive applications this would be a ½”ACME fitting. • Sealant. • Lubricant. • Refrigerant • UV dye: A good quality dye that shows up quickly is recommended. Some dye brands appear to take longer to go into solution, and are not bright. • A UV lamp. • One Replacement Filter Pack, Part Number 72110. • Safety Goggles and Gloves.