Download
1 / 9
90 likes | 230 Views
This guide provides a comprehensive overview of the Visiting Student Application Service (VSAS) process for applying to elective courses at host institutions. It details each step, starting from receiving authorizations to track offers. You will learn how to create your application profile, review host institution information, upload required documents, search and apply for electives, and manage your application status. This essential resource ensures that you are well-prepared to navigate the VSAS system efficiently and successfully.

E N D
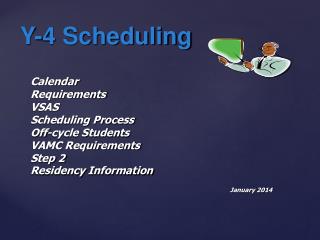
Visiting Student Application Service (VSAS)Student Software Screenshots
Step 1: Receive VSAS Authorizations Request authorizations from your visiting student coordinator or student affairs office. You will then receive a “VSAS: New User Instructions” e-mail with login information.
Step 2: Complete Application Profile Provide general contact information, including core clerkship completion dates.
Step 3: Review Host Institution Info Use the “Institutions” tab to review the application requirements and date on which a VSAS host institution will post their electives and begin accepting applications.
Step 4: Upload & Assign Documents Use the “Documents” tab to upload your CV, photo, immunization forms, and supplemental documentation. Assign those documents to a specific host institution or elective application.
Step 5: Search for Electives Browse electives at the VSAS host institutions once the institutions post their electives for review and application.
Step 6: Apply to Electives Submit your applications by indicating your preferred order of elective requests, assign documents to applications, and submit your billing information for VSAS fees.
Step 7: Track Offers Log in to VSAS to review your pending applications and accept or decline received offers.