Download
1 / 13
130 likes | 206 Views
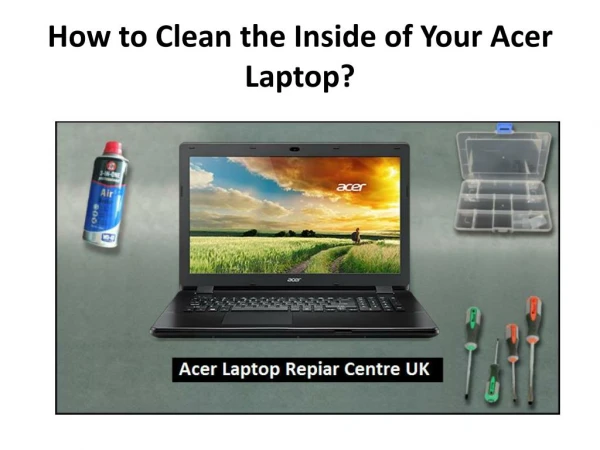
Cleaning is the most important task to improve the workability of your electronic gadgets. If you are using Acer laptop, you should clean it internally. Here we defined the full process to clean the inside of your Acer laptop with relative images. You can take online support at Acer laptop repair centre number UK 0208 089 0419 or get live chat help on visiting our website https://acer.laptop-repaircentre.co.uk/

E N D
To open the back panel, unscrew the 12 screws of your Acer laptop.
Pry the back panel off with flat head screw driver. Just insert it between gap of back pane and front panel and scrawling it slowly.
Cleaning of First Set of Component Unscrew the 4 screws and remove the hard drive and clean it with dry cotton.
Now remove the Battery by unscrew the 4 screws. Take it off and clean it.
Now its time to disconnect fan of Acer laptop. Unscrew the 2 screws and remove the fan and set it aside.
Remove the speakers by unscrew the 2 screws and clean it properly.
Cleaning The Second Set of Components Remove the three screws and lift the SD card . It is attached via clip.
Remove the four screws (one is hidden behind plastic tab). Remember the all connections. Two clips connections Six ribbon connections Two terminals connections
Use small flat head screw driver to remove ribbons. Do this task very carefully because, ribbon material is very soft.
The final step, remove the sound card which is mount with two screws. Note: remove all the parts step by step and in the mean time attach those part as you find before.
Thank You I hope you like this presentation and you got some knowledge from it. If you have any queries or doubt to complete this process, you can directly call us on Acer laptop repair centre number UK0208 089 0419 and get perfect solution.