Download
1 / 2
20 likes | 37 Views
Learn simple instructions to install a wifi repeater when you want to extend the coverage of the wifi router network to the opposite end of the house. Get in touch with us via a live chat or browse https://wifirepeateradmin.com/install-wifi-repeater/.

E N D
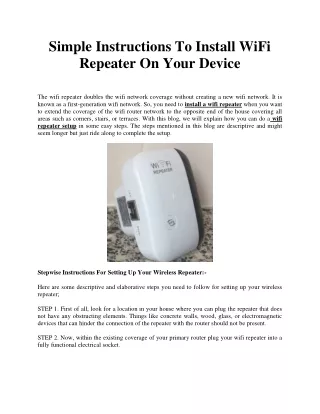
Simple Instructions To Install WiFi Repeater On Your Device The wifi repeater doubles the wifi network coverage without creating a new wifi network. It is known as a first-generation wifi network. So, you need to install a wifi repeater when you want to extend the coverage of the wifi router network to the opposite end of the house covering all areas such as corners, stairs, or terraces. With this blog, we will explain how you can do a wifi repeater setup in some easy steps. The steps mentioned in this blog are descriptive and might seem longer but just ride along to complete the setup. Stepwise Instructions For Setting Up Your Wireless Repeater:- Here are some descriptive and elaborative steps you need to follow for setting up your wireless repeater; STEP 1. First of all, look for a location in your house where you can plug the repeater that does not have any obstructing elements. Things like concrete walls, wood, glass, or electromagnetic devices that can hinder the connection of the repeater with the router should not be present. STEP 2. Now, within the existing coverage of your primary router plug your wifi repeater into a fully functional electrical socket.
STEP 3. Now, use a computer or laptop that is also in the same area, connect it to the PC device using an ethernet wire. Connecting the repeater using an ethernet wire is usually recommended because this eliminates the risk of dropping connection like in wifi connectivity. STEP 4. You can connect via wifi connection as well. STEP 5. After the repeater and computer or laptop are connected, go to the network properties of your computer’s local area. Firstly, click on the start menu and from there tap on the control panel to unfurl it. STEP 6. Now, click on the ‘view network status and tasks’ tab. Then, tap on the Manage network connections. STEP 7. Now, right-click on the local area network option and select the properties. Now choose the internet protocol 4 version and further select properties once again. STEP 8. After that, you have to enter the default common IP address i.e. 192.168.10.1. But, make sure your wifi repeater has been assigned the same IP address, check its label to be sure. STEP 9. Enter the subnet mask i.e., 255.255.255.0. STEP 10. The next step is to launch the internet browser and fill http://192.168.10.1 in the web address bar. STEP 11. Leave the field for DNS server address unattempted. Whereas, in the fields like username and passkey type admin in lower case. This will redirect you to the setup wizard page. STEP 12. Now, select the wireless repeater mode by clicking on the repeater option. Now choose the wireless network selection button when you see it and click on the refresh list option. STEP 13. Now, select the main wifi router’s network to link the repeater to the wifi router and then press the next button. STEP 14. Now, in the pre-shared key field enter the wifi network’s password if the network is safe and secured. STEP 15. Finally, tap on apply and restart the ok button to finish the wifi repeater setup. Wifi Repeater Setup Done n Dusted! Toodles! So, that is how you install a wifi repeater. Wasn’t that easy-peasy? Well, now you can enjoy wifi networks in each nook and corner of your house.