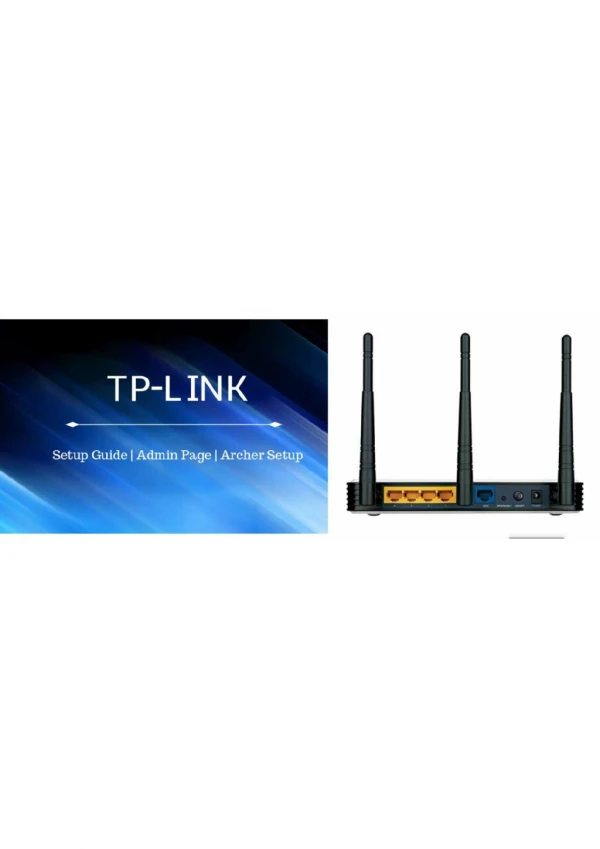
Complete Guide For TP-Link Access Point Setup
Want to know about TP-Link wifi router in Access point mode?Well, TP-link repeater helps to repeat the WiFi signals and expand them throughout the area to strengthen the wireless coverage and share a better browsing experience with the users. To know more visit https://wifirepeateradmin.com/tp-link-repeater-setup/

Complete Guide For TP-Link Access Point Setup
E N D
Presentation Transcript
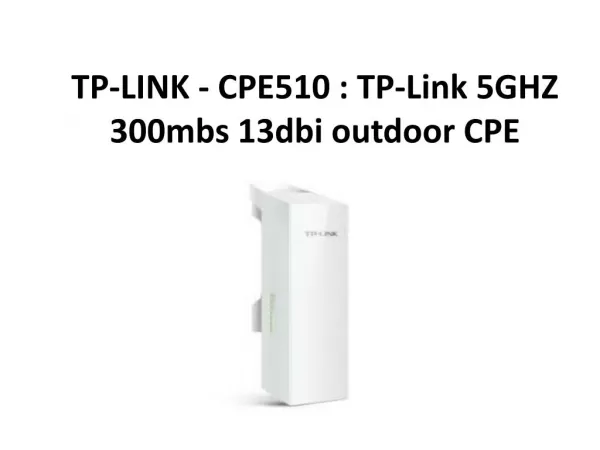
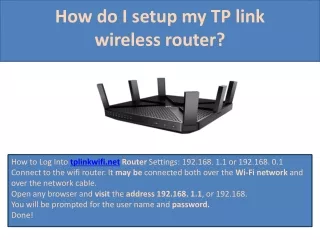
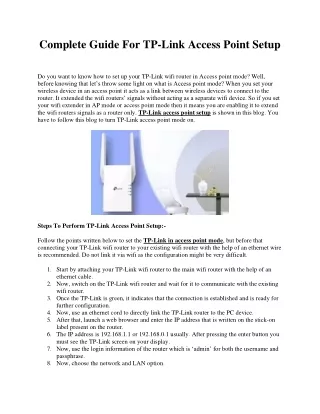
Complete Guide For TP-Link Access Point Setup Do you want to know how to set up your TP-Link wifi router in Access point mode? Well, before knowing that let’s throw some light on what is Access point mode? When you set your wireless device in an access point it acts as a link between wireless devices to connect to the router. It extended the wifi routers’ signals without acting as a separate wifi device. So if you set your wifi extender in AP mode or access point mode then it means you are enabling it to extend the wifi routers signals as a router only. TP-Link access point setup is shown in this blog. You have to follow this blog to turn TP-Link access point mode on. Steps To Perform TP-Link Access Point Setup:- Follow the points written below to set the TP-Link in access point mode, but before that connecting your TP-Link wifi router to your existing wifi router with the help of an ethernet wire is recommended. Do not link it via wifi as the configuration might be very difficult. 1.Start by attaching your TP-Link wifi router to the main wifi router with the help of an ethernet cable. 2.Now, switch on the TP-Link wifi router and wait for it to communicate with the existing wifi router. 3.Once the TP-Link is green, it indicates that the connection is established and is ready for further configuration. 4.Now, use an ethernet cord to directly link the TP-Link router to the PC device. 5.After that, launch a web browser and enter the IP address that is written on the stick-on label present on the router. 6.The IP address is 192.168.1.1 or 192.168.0.1 usually. After pressing the enter button you must see the TP-Link screen on your display. 7.Now, use the login information of the router which is ‘admin’ for both the username and passphrase. 8.Now, choose the network and LAN option.
9.Finally, proceed with configuring the TP-Link router to an address inside your home network. 10.After saving the new settings you will be logged out of the normal main screen. It is very important to assign an IP address. You are required to configure your TP-Link router outside the DHCP range 192.168.1.10 to 192.168.1.100 if your main wifi router presides in this range. For example, you can assign 192.168.1.210 to your TP-Link router. This ensures that there are no IP address conflicts between the routers even if they communicate. 1.Start by logging back into your TP-Link wifi router by filling in the new IP address. 2.Choose wireless and wireless settings from the given menu. 3.Now, keep an SSID that is different from any wifi router you have configured in the past. 4.Now, enable WPA2 as wireless security. 5.Afterward, set a strong wifi passphrase for the wireless security. 6.Now, open the DHCP and then DHCP settings and disable it by clicking on the toggle. 7.There is a requirement for only one DHCP server per network. 8.Your main wifi router is supposed to perform that task. 9.Now, click on save. Now, choose to reboot the system by clicking on System tools. 10.Now, allow the TP-Link wifi router to restart and wait for a minute to let it reload the configuration settings. 11.Now, detach the ethernet wire from the TP-Link wifi router and computer and then connect it via wifi. 12.Utilize the network SSID and passphrase to connect to the wifi router. TP-Link Access Point Mode Turned On! With this, you have completed the TP-Link access point setup. You need to follow the above- mentioned steps very precisely and carefully to turn on the TP-Link access point mode. These steps are quite technical for a person who does not have any idea about technology or IP addresses. So, if you are stuck and need some help, chat with our technical assistance team and get the best help in the shortest possible time.