1 / 2

Chandelier Installation Guide: 10 Pro Tips

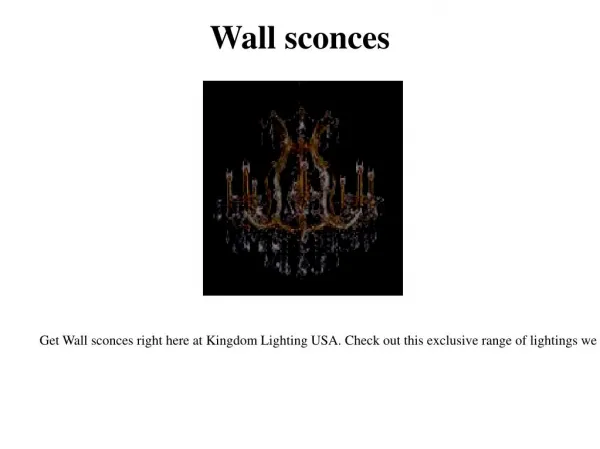
Hanging a chandelier? Follow these 10 essential steps to get the placement, height, and wiring just right for a flawless look.

Whispering3
Download Presentation

Chandelier Installation Guide: 10 Pro Tips

An Image/Link below is provided (as is) to download presentation Download Policy: Content on the Website is provided to you AS IS for your information and personal use and may not be sold / licensed / shared on other websites without getting consent from its author. Content is provided to you AS IS for your information and personal use only. Download presentation by click this link. While downloading, if for some reason you are not able to download a presentation, the publisher may have deleted the file from their server. During download, if you can't get a presentation, the file might be deleted by the publisher.

E N D

Presentation Transcript


  1. 10 Tips for Hanging a Chandelier Like a Pro 1. Choose the Right Size Before purchasing a chandelier, measure your room to determine the appropriate size. A general rule of thumb is to add the dimensions of the room (in feet) to determine the diameter of the chandelier (in inches). For example, a 10x12-foot room would suit a chandelier around 22 inches in diameter. 2. Consider the Height Ensure the chandelier is hung at the correct height. In a dining room, the bottom of the chandelier should be approximately 30-36 inches above the table. In entryways or open spaces, maintain at least 7 feet of clearance from the floor to the bottom of the chandelier. 3. Gather the Necessary Tools Having the proper tools on hand makes the installation process smoother. You will need: A ladder A drill Wire cutters/strippers Screwdrivers A voltage tester A wrench 4. Turn Off the Power Safety first! Before beginning any electrical work, turn off the power to the light fixture at the circuit breaker. Use a voltage tester to confirm that the power is off. 5. Secure the Mounting Bracket Install the mounting bracket that comes with the chandelier. This bracket attaches to the electrical box in the ceiling and provides a sturdy base for the fixture. Ensure it is tightly secured to avoid any wobbling or movement. 6. Assemble the Chandelier Before hanging, assemble the chandelier according to the manufacturer's instructions. This may include attaching arms, crystals, or other decorative elements. It's often easier to do this on the ground rather than once the fixture is hung.

  2. 7. Adjust the Chain Length If your chandelier hangs from a chain, adjust it to the desired length before installation. Remember to factor in the overall height of the room and the recommended clearance levels. 8. Connect the Wiring Carefully connect the chandelier wiring to the electrical box wires. Match the colors: black to black (or red), white to white, and ground to ground (usually green or bare copper). Use wire nuts to secure the connections and tuck the wires neatly into the electrical box. 9. Test the Fixture Once everything is connected and secure, turn the power back on and test the chandelier. Ensure all bulbs are functioning correctly and that the fixture is stable. 10. Add Finishing Touches With the chandelier installed and working, add any remaining decorative elements like shades or crystals. Clean the fixture to remove any fingerprints or dust, and enjoy the new centerpiece of your room! By following these tips, you can confidently hang a chandelier and transform your space with style and sophistication. - www.whisperinghomes.com

More Related