Download
1 / 4
40 likes | 52 Views
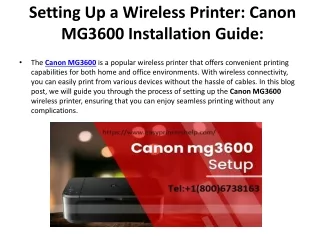
Best Guide To Setup Canon MAXIFY GX7020X Printer. For more assistance on Canon printers, reach our tech experts call us on 1-909-751-0101.<br>

E N D
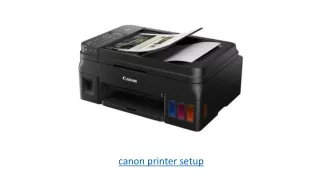
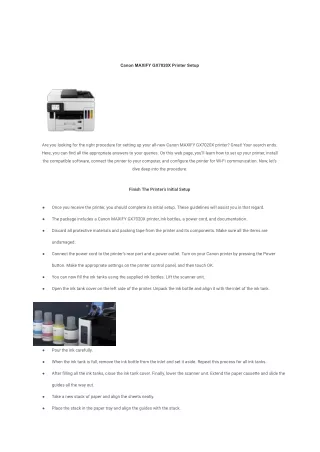
Canon MAXIFY GX7020X Printer Setup Are you looking for the right procedure for setting up your all-new Canon MAXIFY GX7020X printer? Great! Your search ends. Here, you can find all the appropriate answers to your queries. On this web page, you’ll learn how to set up your printer, install the compatible software, connect the printer to your computer, and configure the printer for Wi-Fi communication. Now, let’s dive deep into the procedure. Finish The Printer’s Initial Setup Once you receive the printer, you should complete its initial setup. These guidelines will assist you in that regard. ● The package includes a Canon MAXIFY GX7020X printer, ink bottles, a power cord, and documentation. ● Discard all protective materials and packing tape from the printer and its components. Make sure all the items are ● undamaged. Connect the power cord to the printer’s rear port and a power outlet. Turn on your Canon printer by pressing the Power ● button. Make the appropriate settings on the printer control panel, and then touch OK. You can now fill the ink tanks using the supplied ink bottles. Lift the scanner unit. ● Open the ink tank cover on the left side of the printer. Unpack the ink bottle and align it with the inlet of the ink tank. ● Pour the ink carefully. ● When the ink tank is full, remove the ink bottle from the inlet and set it aside. Repeat this process for all ink tanks. ● After filling all the ink tanks, close the ink tank cover. Finally, lower the scanner unit. Extend the paper cassette and slide the ● guides all the way out. Take a new stack of paper and align the sheets neatly. ● Place the stack in the paper tray and align the guides with the stack. ●
Insert the paper input tray back into the printer and pull out the output tray. ● Insert the included installation CD into your computer’s CD drive. ● If your computer does not have a CD drive, visit Canon’s official website and download the software for your operating ● system. Run the setup file and install the software on your computer by following the instructions. You did a great job! You have successfully completed the printer’s initial setup. The oncoming sections will give you detailed instructions for downloading/installing the software on your computer. Get The Updated Software From Canon’s Official Website From your browser, head to Canon’s official website. ● Type your printer model in the search area and reach its support page. ● Here, click the Software & Drivers tab. ● It will show you the compatible drivers for your Operating System. ● Choose the software you prefer the most and click Download. ● In a short duration, the chosen driver will be downloaded to your computer. ● Install The Downloaded Software Locate the setup file in the Downloads folder and run the setup file. ● Click Yes when User Account Control appears. ● If the software license agreement is displayed, accept the terms and conditions. ● When the Connection Type screen appears, select the option you want and connect the printer and computer accordingly. ● If you are connecting your devices wirelessly, make sure you connect them to the same network. ● For a USB connection, you need to connect the cable when prompted by the installer. ● Continue with the onscreen instructions to complete the installation. ● Canon GX7020 Wireless Settings
Wireless connection has always proved to be the best way to connect devices because you need not connect them via cable. To print your documents wirelessly from your computer using the Canon Maxify GX7020X printer, you need to connect them over the same network. Then, you can print your documents using the printer driver. On the Home screen of the printer control panel, touch the Setup icon. Then, select Device settings. ● If you have enabled User management settings, this screen will appear before the Home screen is displayed. ● Choose LAN Settings > Wireless Direct > Enable Wireless Direct. ● On the confirmation screen, select ON. ● Open the Settings menu on your smartphone/tablet/computer and enable Wi-Fi. ● It will show you a list of nearby wireless networks. ● Choose your printer name and enter the password in the appropriate field. ● If you are unaware of the password, touch Settings on the printer’s Home screen and select Device Settings > LAN Settings ● > Print Details. Your printer will start printing the network configuration page; refer to the page and find the credentials. ● Once you input your printer’s password in the appropriate field, a connection between your printer and smartphone will be ● established. Canon MAXIFY GX7020X USB Setup Refer to these guidelines if you prefer a wired connection to a wireless one. Here, we will show you how to complete your Canon Maxify printer’s USB setup. First and foremost, you should download the compatible software on your computer. We have covered the procedure in the ● previous sections. Once the software is downloaded to your computer, locate it and run the setup file. ● When User Account Control pops up, click the Yes button to proceed further. ● Accept the terms and conditions when the software’s license agreement screen appears. ● Connect the USB cable when prompted by the installer. ● Go ahead with the onscreen instructions and complete the installation. ●
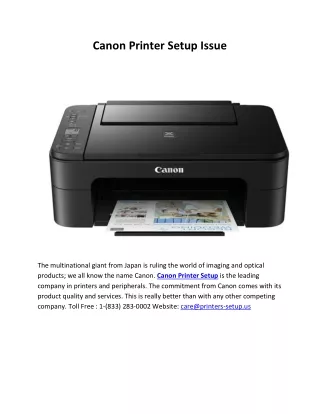
Canon MAXIFY Megtank GX7020X Wired Connection Suppose you have a router and want to establish a wired network connection between your printer and router. In that case, the following guidelines will help you. To begin with, get an Ethernet cable and connect it between your printer and router. Ensure you connect the printer to the ● same network to which your computer is connected. Download the compatible software from Canon’s official website. ● Locate the setup file in the Downloads folder and run the setup file. ● Go ahead with onscreen instructions. ● When you reach the Connection Type screen, pick the Wired network connection option. ● Proceed with the instructions and complete the installation. ● To Conclude This is the procedure for setting up your Canon Maxify GX7020X printer. For further questions and clarifications, get in touch with our technical experts. They will assist you in real time and help you solve all your troubles. You can reach us via the Call button on this page. Link : https://fixmyprinter.us/canon-maxify-gx7020x-setup/ Call us : 9097510101