Download
1 / 2
0 likes | 37 Views
The user should always prepare the material before laser engraving and cutting. Always ensure the surface is sparkling clean, flat, and free from dirt and moisture. This is particularly easy when working with the Snapmaker Ray 20W Laser Engraver and Cutter that has an automated smart air assist, which is controlled via Luban, making it more accessible as the user does not have to do it manually.

E N D
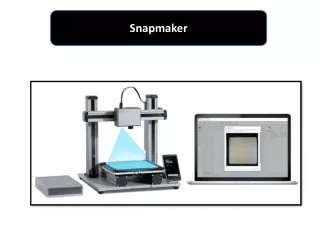
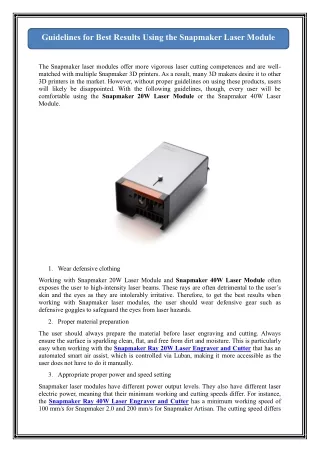
Guidelines for Best Results Using the Snapmaker Laser Module The Snapmaker laser modules offer more vigorous laser cutting competences and are well- matched with multiple Snapmaker 3D printers. As a result, many 3D makers desire it to other 3D printers in the market. However, without proper guidelines on using these products, users will likely be disappointed. With the following guidelines, though, every user will be comfortable using the Snapmaker 20W Laser Module or the Snapmaker 40W Laser Module. 1.Wear defensive clothing Working with Snapmaker 20W Laser Module and Snapmaker 40W Laser Module often exposes the user to high-intensity laser beams. These rays are often detrimental to the user’s skin and the eyes as they are intolerably irritative. Therefore, to get the best results when working with Snapmaker laser modules, the user should wear defensive gear such as defensive goggles to safeguard the eyes from laser hazards. 2.Proper material preparation The user should always prepare the material before laser engraving and cutting. Always ensure the surface is sparkling clean, flat, and free from dirt and moisture. This is particularly easy when working with the Snapmaker Ray 20W Laser Engraver and Cutter that has an automated smart air assist, which is controlled via Luban, making it more accessible as the user does not have to do it manually. 3.Appropriate proper power and speed setting Snapmaker laser modules have different power output levels. They also have different laser electric power, meaning that their minimum working and cutting speeds differ. For instance, the Snapmaker Ray 40W Laser Engraver and Cutter has a minimum working speed of 100 mm/s for Snapmaker 2.0 and 200 mm/s for Snapmaker Artisan. The cutting speed differs
by half between 40W and 20W, with 40W printers cutting at 20 mm/s. Therefore, the user must experiment with different speed levels to experience the most suitable engraving effects. 4.Use the most appropriate software For best results when working with Snapmaker laser modules, the user must ensure the software used is compatible with Snapmaker 3D printers. If the user chooses to use third- party software, they must be tested and proven to work effectively with Snapmaker products. When designing engraving materials, the user must do it in vector format for improved engraving outcomes. In a nutshell, every 3D manufacturer intends to maximize performance while using the Snapmaker laser modules. Given that different modules have different specifications, the user must ensure that they check specific needs before engaging each of them.