Download
1 / 21
210 likes | 600 Views
Differentiating Instruction with Clay Animation. Lou Jara Courtney Kaczka Appoquinimink School District. Presented at the Delaware Instructional Technology Conference April 19, 2007. What is Clay Animation?. Building clay character(s) Movement of character(s)

E N D
Differentiating Instruction with Clay Animation Lou Jara Courtney Kaczka Appoquinimink School District Presented at the Delaware Instructional Technology Conference April 19, 2007
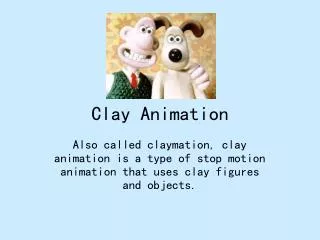
What is Clay Animation? Building clay character(s) Movement of character(s) Taking pictures of each movement Putting pictures together
Why Use Clay Animation? • Brings learning to life • Engaging • Motivating • Allows for different learning styles • Tactile • Visual • Logical • Musical
The Clay Animation Process • Storyboarding • Building characters • Taking pictures
Clay Animation in the Classroom • Instruction • To present new concepts • To review • Assessment • Concept attainment in various curricular areas • Public Service Announcement
Hints & Tricks for Characters • Start small • Use Armatures • Make big feet • Top lightnot Top heavy • Use lighter color clay first • Clean hands and tools often
Start small Shoot down with characters flat Use a box top Use a tripod Store all pictures in one folder Use JPEG format Name/number pictures Take lots of pictures for smoother action Hints & Tricksfor Pictures
Hints & Tricks • Remember to Save • Add Text • Save a Working Copy • Add sound effects or music • Try narration
Basic Supplies • Clay that won’t dry out • Camera that will take digital pictures • Software (Videoblender/Frames) • Plastic tablecloth • Microphone • Babywipes
Aluminum foil Pipecleaners Flexible straws Rolling pin Pasta machine Styrofoam balls Wiggle eyes Garlic Press Additional Supplies
Resources Tech4Learning Websitehttp://www.tech4learning.com/claykit/index.html Aardman Animationshttp://www.aardman.com/
Create Storyboard • Idea from mind to paper • Sketch out on storyboard • Transfer ideas into clay
Pictures • Take pictures of each and every movement • Take many pictures • The more pictures the smoother the movement
Frames Software • Upload pictures to software • Add or delete pictures as necessary • Create Introduction slide • Create ending/credits slide • Save as an AVI movie format.