Download
1 / 7
70 likes | 81 Views
Auto Data Recovery Tool in QuickBooks helps users to recover the data that they have lost or damaged. Here, we will know the procedure to download, install and use the QuickBooks Auto Data Recovery Tool.<br>

E N D
How to Use QuickBooks Auto Data Recovery Tool quickbookstoolhub.com
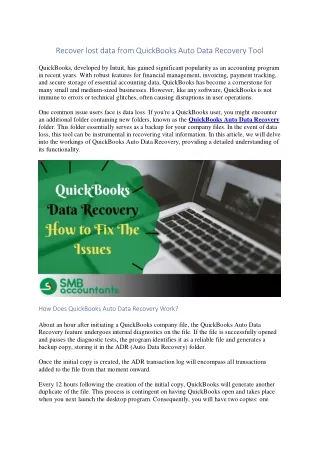
How to use QuickBooks Auto Data Recovery Tool When the users lose their QuickBooks data and it can effect on their business, then they try to recover it. QuickBooks Auto Data Recovery tool will be very helpful for them. It also helps users to take backup of their company file. Before using this tool, you should know some points. • It only accessible with QuickBooks Pro, Premier, or Enterprise. • It is not available in Accountants Edition. • The file size limitation is 1.5 Gigabytes. If the file size is more than 1.5 Gigabytes, then QuickBooks will not create the Auto Data Recovery file. • You have to use the latest updated version of QuickBooks, to get maximum efficiency from the tool. Below are the methods to use this tool.
Method 1: Recover Lost Data by Using .TLG File with. QBW. ADR File • Firstly, create a new folder on your Desktop and give the name QBTest. • Then, open the folder where the company file is saved. You can also get the company file location on the Product Information page and No Company Open Window. • After that, look for the .tlg file in your company file’s folder. (The file you are looking for has the same file name as your company file). • If you can’t determine the .tlg file, then follow these steps to Show File Extension- • Press Windows+E to open File Explorer. • And, click on the Organize tab and select the Folder to search for options (Only for Windows 10, 8.1, & 8). • Click on the View tab and select the Filename extension option. • Select the Hide extensions option. • Then, click on the Apply tab and press the Ok button.
When you get the.TLG file, then you need to copy and paste it to the QBTest folder. • You have to open the QuickBooks Auto Data Recovery folder. • And, copy the .QBW.adr file and paste it into the QBTest folder. Now, you have the.QBW.adr and .tlg files in the same folder. • Then, open the QBTest folder and press right-click on the .QBW.adr file then, choose the Rename option. • Choose the .adr option, and delete it. • In QuickBooks, you must open the company file that you have saved in the QBTest folder. • Verify and confirm that All transactions are available in the file using the account register. • Run the verify utility to check the integrity of your company files. • Now you can move a damaged file to a different location and replace it from QBTest to the original location.
Method 2: Recover Recent Transaction with . QBW.adr and .TLG.adr Files Follow these steps to use Auto Data Recovery tool in QuickBooks. • First of all, create a new folder on your Desktop and give the name QBTest. • Then, open the QuickBooks Auto Data Recovery folder, with the help of the QuickBooks company file feature. • You need to access both the files .QBW.adr and .TLG.adr. • If you can’t determine the .QBW.adr and.TLG.adr, then follow these steps to Show File Extension- • Press Windows+E to open File Explorer. • After that, click on the Organize tab and select the Folder to search for options (Only for Windows 10, 8.1, & 8).
Then, you have to click on the View tab and select the Filename extension option. • Now, select the Hide extensions for the known file types option. • After that, click on the Apply tab and press the Ok button. • When you get the .QBW.adr and.TLG.adr files, then you need to copy and paste it to the QBTest folder. • Now, remove the .adr files from both file names in the QBTest folder. • In QuickBooks, you must open the company file that you have saved on the QBTest folder and verify the transaction. • Run the verify utility to check the integrity of your company files. • Now, you can move the damaged company file to a different location and replace it from QBTest to the original location.