Download
1 / 6
60 likes | 79 Views
Poolfolie rund gu00fcnstig kaufen. Bei uns finden Sie runde Poolfolien zur einfachen Montage im Rundpool. In verschiedenen Farben blau, sand. Click here https://pool.net/poolfolie-rund/

E N D
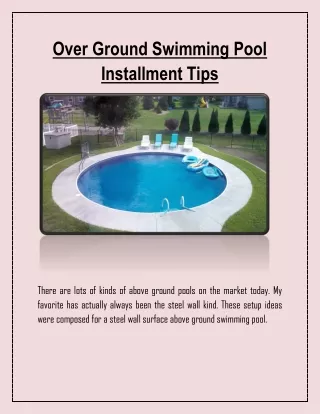
Over Ground Swimming Pool Installment Tips There are lots of kinds of above ground pools on the market today. My favorite has actually always been the steel wall kind. These setup ideas were composed for a steel wall surface above ground swimming pool.
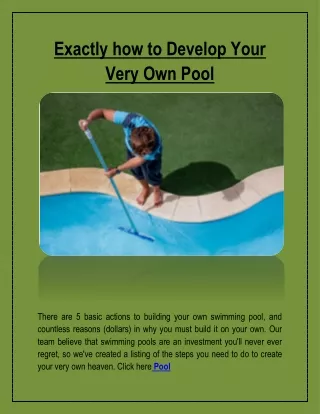
The two essential things you can do for your swimming pool is to make it completely level and perfectly round. Utilize a laser type level for every one of your ground prep as well as for establishing the footplates. Make use of a tape measure off of a facility indicate obtain the swimming pool round. You will certainly initially require to clear the pool location of all plants. Allow at least an additional two feet around the pool. If you have an 18' round swimming pool clear a location that is 22' round. The gotten rid of area now requires to be made flawlessly degree. It is advised that the high locations be dug to the degree of the low areas. This is not constantly possible nevertheless. If you need to complete any type of reduced locations make sure that area is securely loaded. Do not make use of sand or sandy dirt for leveling objectives. Link here Schwimmbecken
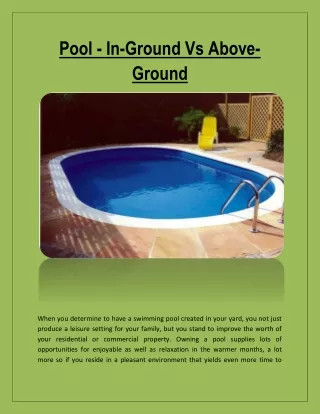
When the location is degree and smooth the bottom rails can be connected right into the footplates making a perfect circle. The next action is the most crucial so take your time. Set each private foot plate at precisely the exact same number on your level stick. If you are setting the messages on blocks after that the tops of the blocks ought to all coincide number. When the footplates are level go back as well as level the ground between each plate. The lower rails require to hinge on company, degree ground. Any type of high spots in the bottom rails can lead to kinking the sidewall. Invest a bit even more time at this point and also ensure the whole location inside of the bottom rails is level as well as smooth. High spots or reduced spots anywhere can create the lining to fill up erratically creating creases. If you are using sand for the base it need to be stacked in the center of the swimming pool right now. Take more info here Schwimmbecken You will certainly now be setting up the sidewall. It is best to set up the wall into about 5 rails at a time. You can after that build the structure of the pool as you are installing the wall. This keeps the swimming pool wall
surface from tipping over. When this phase is done the swimming pool should be totally put together with the exception of the lining. If whatever fits and the pool looks excellent you can prepare the base. If you are making use of sand you would certainly spread it out and also smooth it. When the base is done get out of the swimming pool. The remainder of the assembly can be done from outside of the swimming pool.
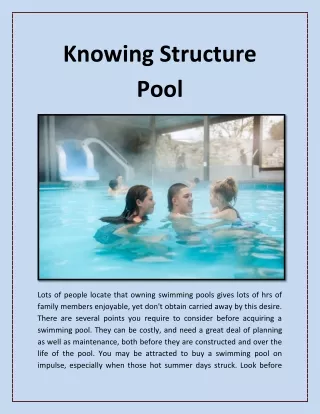
Prior to the lining obtains mounted see to it there are no sharp edges on the connection leading caps. Air duct tape can be used over any sharp edges to ensure they do not tear the lining. You can now open up the lining up and stretch it out. Several individuals need to be used to pick it up and also set it in the swimming pool, holding on to both ends. Read more here Schwimmbecken You will now draw the liner up as well as over the leading rails. Maintain working around the swimming pool bring up a bit extra each time. When the bottom seam is simply a couple of inches from the leading rail all-time low must be very smooth and also simply barely touching the sand in the center. Currently is the moment to begin the water dental filling. As the water loads you will slowly let the lining down as it obtains drew tight. When the water is about two to three inches from the side shut the hose off. You can now work around the pool taking a few rails off each time. Pull the liner tight over the wall and set up the coping and also stabilizer poles. Reinstall the top rails as well as remove a couple of even more. Do this up until they are all done and also start loading the swimming pool again.
When the water is just below the skimmer opening mount the filter and all of the fittings. When the pool is complete begin the filter and examine the system for leakages. If all looks excellent jump in and also have fun.Visit here Schwimmbecken