Download
1 / 5
0 likes | 16 Views
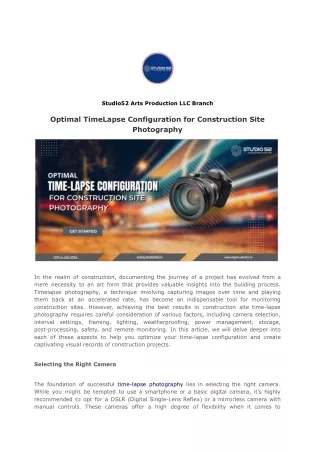
Master optimal timelapse photography for construction sites: camera choice, intervals, lighting, safety and more. Elevate project documentation and storytelling. Visit : https://studio52.tv/blog/optimal-timelapse-configuration-for-construction-site-photography/

E N D
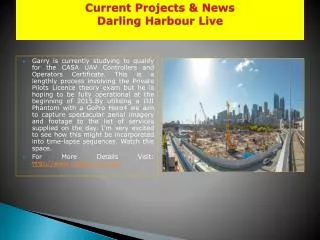
Studio52 Arts Production LLC Branch Optimal TimeLapse Configuration for Construction Site Photography In the realm of construction, documenting the journey of a project has evolved from a mere necessity to an art form that provides valuable insights into the building process. Timelapse photography, a technique involving capturing images over time and playing them back at an accelerated rate, has become an indispensable tool for monitoring construction sites. However, achieving the best results in construction site time-lapse photography requires careful consideration of various factors, including camera selection, interval settings, framing, lighting, weatherproofing, post-processing, safety, and remote monitoring. In this article, we will delve deeper into each of these aspects to help you optimize your time-lapse configuration and create captivating visual records of construction projects. power management, storage, Selecting the Right Camera The foundation of successful time-lapse photography lies in selecting the right camera. While you might be tempted to use a smartphone or a basic digital camera, it’s highly recommended to opt for a DSLR (Digital Single-Lens Reflex) or a mirrorless camera with manual controls. These cameras offer a high degree of flexibility when it comes to
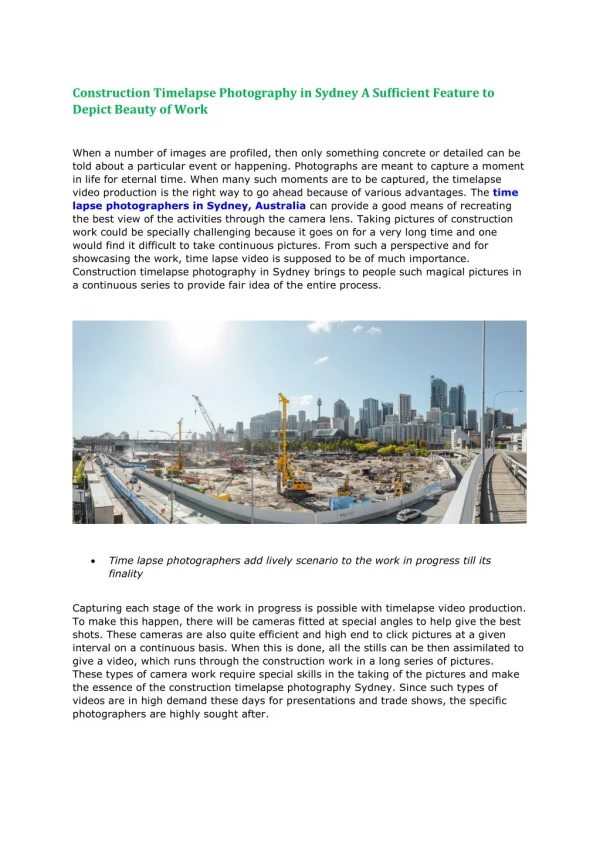
adjusting exposure settings, which is essential for capturing consistent and high-quality images throughout the duration of your construction project. In addition to manual controls, a camera with a high-resolution sensor should be a priority. The high resolution ensures that your images are sharp and detailed, allowing viewers to observe even the smallest developments in your construction site. Choosing the Ideal Interval The interval between shots is a critical parameter to consider. Shorter intervals, such as taking a photo every few seconds, can capture more details of the construction process but may result in a vast number of images that can be challenging to manage. On the other hand, longer intervals, like capturing an image every few minutes, might miss significant developments in your project. Finding the ideal interval involves striking a balance between detail and file management. Factors like the duration and complexity of your project play a role in determining the right interval. Fortunately, many modern cameras offer built-in intervalometer features, making it easier to experiment and fine-tune your settings. Setting Up the Camera Proper camera setup is essential to ensure your time-lapse sequence turns out as intended. Begin by configuring the exposure settings, including aperture, shutter speed, and ISO. These settings influence the overall look and feel of your time-lapse. Aperture controls the depth of field in your images. A higher aperture (e.g., f/8 or higher) can help keep the entire construction site in focus. Shutter speed determines how long each exposure lasts. Slow shutter speeds can capture motion blur, while fast shutter speeds freeze action. Adjusting these settings according to the specific conditions on your site is crucial. Framing and Composition Once your camera settings are dialed in, it’s time to think about framing and composition. Positioning your camera to capture the entire construction site while avoiding obstructions is vital. Consider the angle and perspective from which you’ll capture the project’s progress. A well-composed shot can make your time-lapse sequence visually engaging and informative.
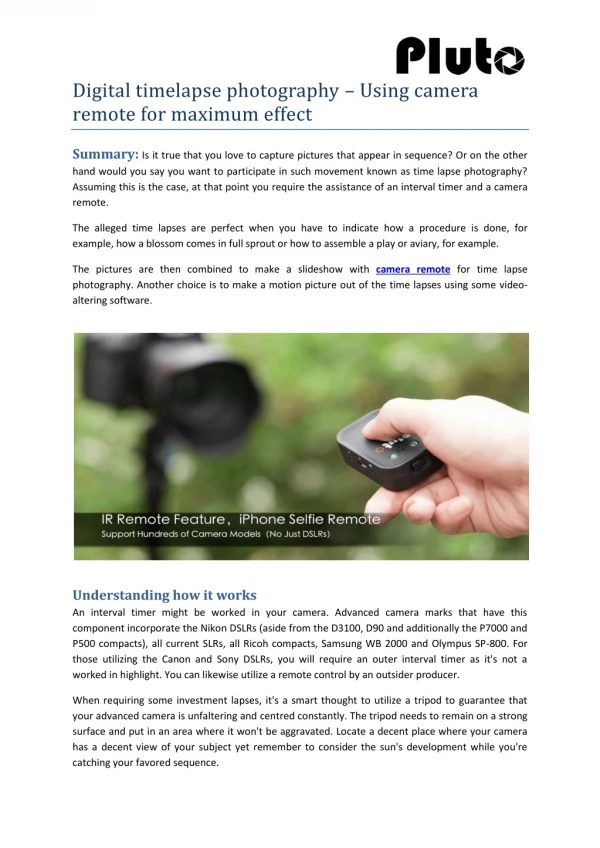
Lighting Considerations Natural light is a dynamic element that changes throughout the day. These changes can significantly impact the quality of your time-lapse. To maintain consistent exposure, you may need to adjust your camera settings or use additional lighting equipment. Be prepared to monitor and adapt to changing lighting conditions, especially during dawn and dusk. Weatherproofing Construction sites are notorious for exposing equipment to various weather conditions, from scorching heat to heavy rain. Protecting your camera and other equipment from the elements is essential for the longevity of your setup. Invest in weatherproofing solutions such as camera enclosures or protective covers. These measures will ensure your gear remains operational, even in challenging environments. Power Source Management A stable power source is critical for a seamless time-lapse capture. The last thing you want is your camera running out of battery mid-sequence. To avoid interruptions, use external power solutions like AC adapters or battery grips. These options provide continuous power and eliminate the need for frequent battery changes.
Memory Storage Solutions Long-term construction projects can generate a substantial amount of image data. To ensure you don’t run out of storage space, invest in high-capacity memory cards or consider external storage options. It’s crucial to have a reliable system for storing and organizing your images throughout the project’s duration. Post-Processing Techniques Once you’ve captured the images, the journey is far from over. Post-processing plays a crucial role in enhancing your time-lapse sequences. Techniques like color correction, stabilization, and frame interpolation can significantly improve the quality of your footage. Color correction ensures consistent colors throughout your sequence, while stabilization reduces the effects of camera shake. Frame interpolation can be used to create smoother transitions between frames, especially if you’ve captured images at longer intervals. Safety Measures Safety should always be a top priority when setting up your time-lapse equipment on a construction site. Secure your camera and related gear to prevent accidents or damage to property or personnel. Make sure your setup is stable and well-protected, even in adverse conditions. Remote Monitoring Remote experience. Consider using a dedicated remote monitoring system that allows you to adjust settings and monitor progress from a safe distance. This not only increases efficiency but also provides peace of mind, knowing that your equipment is secure. monitoring capabilities can greatly enhance your time-lapse photography Benefits of Optimal Configuration Optimizing your time-lapse configuration yields numerous benefits. It provides accurate documentation of the construction process, aids in project management by identifying bottlenecks and delays, and showcases the project’s evolution effectively to stakeholders and clients. Moreover, a well-executed time-lapse sequence can serve as a powerful marketing tool, highlighting your construction company’s expertise and commitment to excellence.
Conclusion In conclusion, time-lapse photography offers a unique and captivating perspective on construction site progress. By carefully considering camera selection, interval settings, framing, lighting, weatherproofing, power management, storage, post-processing, safety, and remote monitoring, you can optimize your time-lapse configuration to create compelling visual records of construction projects. These records serve both practical and creative purposes, from project management to marketing and historical documentation. Now that you have a comprehensive understanding of optimal time-lapse configuration, you can embark on your own projects with confidence and creativity. Remember that successful time-lapse photography is not just about capturing moments but about telling the story of a construction project in a visually stunning and informative way. Contact us today at +971-04-454-1054 or mail us at Sales@studio52.tv