Effortless Canopy Setup Tips for Going Solo
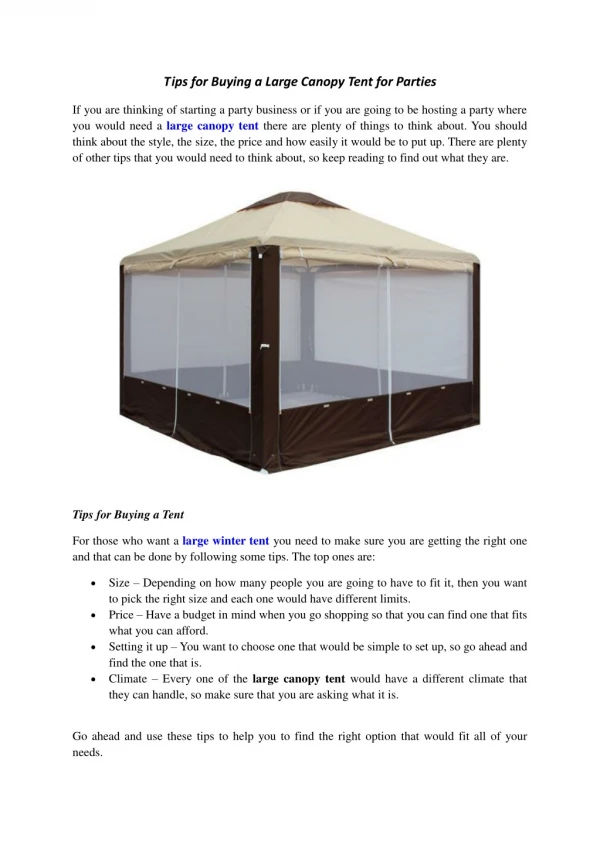
Setting up a 10x10 canopy tent solo might seem daunting, but with proper planning and the right steps, it can be a breeze. Whether for a trade show, market day, or a backyard event, mastering the solo setup of your canopy tent will save you time and effort, especially when assistance is unavailable. With a few tips and techniques, youu2019ll have your 10x10 pop up canopy ready in no time!<br>For more details, visit Rocket Canopy or https://www.rocketcanopy.com/products/10x10-pop-up-canopy


Effortless Canopy Setup Tips for Going Solo
E N D
Presentation Transcript
How to Set Up a Pop Up Canopy Solo Tips for a Hassle-Free Setup www.rocketcanopy.com
INTRODUCTION Setting up a 10x10 pop up canopy on your own may sound challenging, but with the right steps and a little planning, it can be surprisingly smooth. Whether you’re preparing for a trade show, market day, or a backyard gathering, learning how to set up your 10x10 canopy tent solo will save time and effort, especially when help isn’t around.
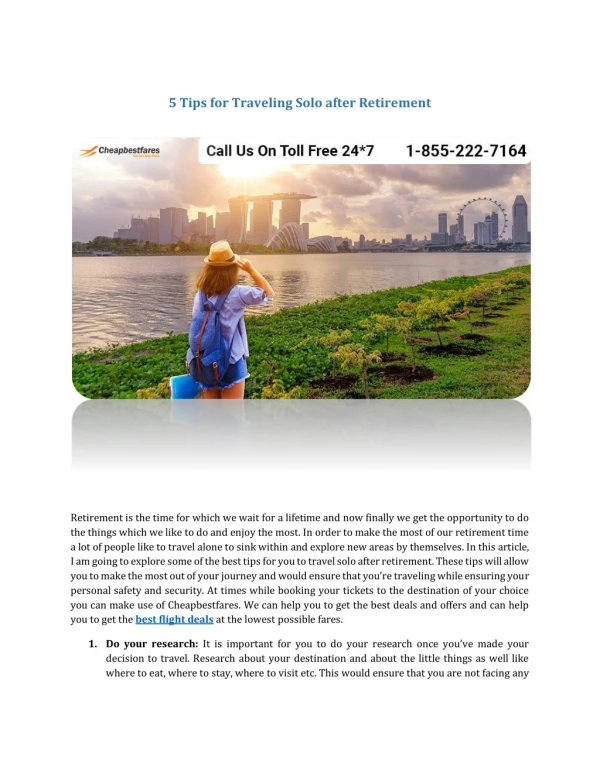
This guide walks through solo setup techniques, safety tips, and simple tricks to help get your 10x10 pop up tent ready without the hassle. • Prepare the Area: Begin by assessing the setup location to ensure it has a flat surface free of obstacles like rocks or roots. Check for overhead clearance to avoid trees or power lines and be mindful of wind conditions, steering clear of open, windy areas.
Unpack and Organize: Take all components out of the carry bag and lay them out in an organized manner. A standard 10x10 pop-up canopy typically includes a folded frame, a canopy top, stakes or weights, and optional sidewalls or attachments. • Expand the Frame Partially: Stand at one corner of the collapsed frame and grab the truss bars. Slowly walk backward while lifting to open the frame about halfway, which facilitates easier attachment of the canopy top.
Attach the Canopy Top: With the frame partially open, drape the canopy top over it, aligning the corners with the truss connectors. Secure the corners and midsection with Velcro or hook-and-loop fasteners to keep the fabric taut. • Fully Expand the Frame: Once the canopy is attached, gently lift one corner of the tent while pushing the frame outward. Repeat this for the other corners, working diagonally to ensure even alignment. • Lock the Frame and Raise the Legs: After fully extending the frame, engage the locking mechanisms at each corner to secure it. Adjust the leg heights in stages for balance, particularly if the ground is uneven.
Anchor the Tent: Secure your canopy tent using appropriate anchoring methods based on the surface; use stakes and guy ropes for grass or dirt, and weight bags or sandbags for pavement. • Optional Accessories: If your tent includes sidewalls or banner signs, attach them after raising the frame, ensuring they are lightweight for easier installation.
Final Tips for a Smooth Setup ● Practice Makes Perfect: Rehearse setup in a controlled environment to get familiar with the motion and balance. ● Choose Lightweight Materials: Some 10x10 pop up tents are made with lightweight aluminum or steel alloy frames for easier handling. ● Use Storage Bags with Wheels: This makes transportation to the site easier, especially if you’re carrying gear alone.
CONCLUSION • Ready for a 10x10 pop up canopy that makes solo setup effortless? Rocket Canopy offers premium-grade 10x10 canopy tents designed for fast deployment, durability, and professional presentation — ideal for events, markets, or mobile businesses. • Explore our selection of pop-up tents built for solo setup and backed by features that keep things stress-free from the first pull to the final anchor.
Contact Us +1 (919) 650 1868 www.rocketcanopy.com contact@rocketcanopy.com 300 Dominion Dr Ste 450, Morrisville NC 27560
THANK YOU www.rocketcanopy.com