Download
1 / 2
0 likes | 59 Views
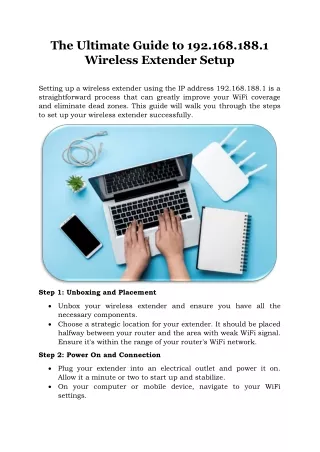
Setting up a wireless extender using the IP address 192.168.188.1 is a straightforward process that can greatly improve your WiFi coverage and eliminate dead zones. This guide will walk you through the steps to set up your wireless extender successfully.

E N D
The Ultimate Guide to 192.168.188.1 Wireless Extender Setup Setting up a wireless extender using the IP address 192.168.188.1 is a straightforward process that can greatly improve your WiFi coverage and eliminate dead zones. This guide will walk you through the steps to set up your wireless extender successfully. Step 1: Unboxing and Placement Unbox your wireless extender and ensure you have all the necessary components. Choose a strategic location for your extender. It should be placed halfway between your router and the area with weak WiFi signal. Ensure it's within the range of your router's WiFi network. Step 2: Power On and Connection Plug your extender into an electrical outlet and power it on. Allow it a minute or two to start up and stabilize. On your computer or mobile device, navigate to your WiFi settings.
Look for available networks, and you should see the extender's default WiFi network (e.g., "EXTENDER-SSID" or something similar). Connect to this network. You might be asked for a password, which is usually provided on a label or in the extender's manual. Step 3: Accessing the Extender's Web Interface Open a web browser (e.g., Chrome, Firefox, or Safari) on the device connected to the extender's network. In the address bar, type "192.168.188.1" and press Enter. This should take you to the extender's setup page. Step 4: Configuration You'll be prompted to log in. The default login credentials are typically "admin" for both the username and password. If these don't work, check your extender's manual or the label on the device for the correct credentials. Follow the setup wizard or interface provided to configure your extender. You'll typically need to select your existing WiFi network and enter the network's password (your WiFi password). You might have the option to set a new network name (SSID) and password for the extender, or you can choose to use the same network name and password as your main router. The extender will apply your settings, and it will restart. Step 5: Reconnect to Your WiFi Network Once the extender has restarted, go back to your device's WiFi settings. Reconnect to your main WiFi network. The extender should now be extending your WiFi coverage. Step 6: Testing Your Extended Network Move to the area where you previously had weak WiFi signal and check if the signal strength has improved. Ensure that your devices are connecting to the extended network. With these steps, you should have successfully set up your wireless extender using the IP address 192.168.188.1. Enjoy the improved WiFi coverage and a more seamless online experience throughout your home or office.