Download
1 / 2
0 likes | 8 Views
Discover the full hail damage repair process, from inspection to restoration, ensuring your vehicle returns to its original condition with expert care.

E N D
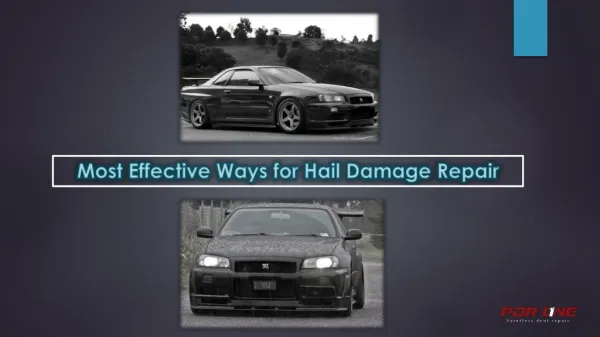
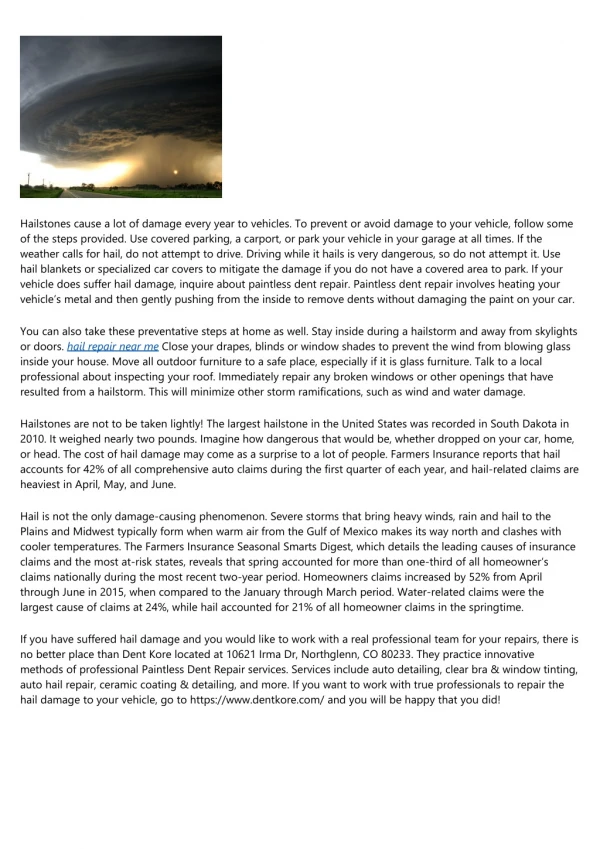
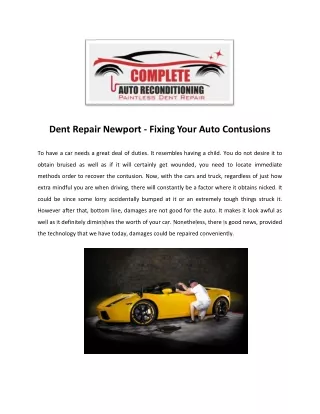
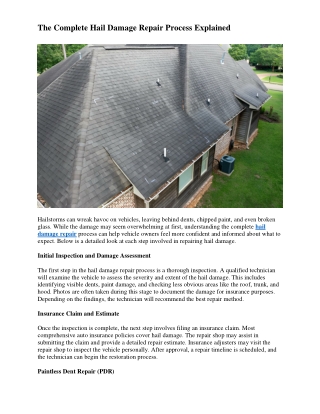
The Complete Hail Damage Repair Process Explained Hailstorms can wreak havoc on vehicles, leaving behind dents, chipped paint, and even broken glass. While the damage may seem overwhelming at first, understanding the complete hail damage repair process can help vehicle owners feel more confident and informed about what to expect. Below is a detailed look at each step involved in repairing hail damage. Initial Inspection and Damage Assessment The first step in the hail damage repair process is a thorough inspection. A qualified technician will examine the vehicle to assess the severity and extent of the hail damage. This includes identifying visible dents, paint damage, and checking less obvious areas like the roof, trunk, and hood. Photos are often taken during this stage to document the damage for insurance purposes. Depending on the findings, the technician will recommend the best repair method. Insurance Claim and Estimate Once the inspection is complete, the next step involves filing an insurance claim. Most comprehensive auto insurance policies cover hail damage. The repair shop may assist in submitting the claim and provide a detailed repair estimate. Insurance adjusters may visit the repair shop to inspect the vehicle personally. After approval, a repair timeline is scheduled, and the technician can begin the restoration process. Paintless Dent Repair (PDR)
In cases where the hail has not damaged the paint, Paintless Dent Repair (PDR) is often the preferred method. PDR involves using specialized tools to gently push or pull the dents out from the inside of the panel. This technique maintains the original factory paint and is both time- efficient and cost-effective. PDR is suitable for minor to moderate dents and often yields excellent results without the need for repainting. Traditional Dent Repair and Repainting For more severe hail damage, especially when the paint has cracked or chipped, traditional dent repair is required. This process involves filling the dent with body filler, sanding the area smooth, and repainting it to match the rest of the vehicle. In some cases, entire panels may need to be replaced if the damage is too extensive. This method takes longer than PDR but is necessary for restoring heavily damaged surfaces. Glass and Trim Replacement Hail can also damage windshields, windows, mirrors, and trim. If any glass components are cracked or shattered, they are removed and replaced with new ones. Trim pieces, moldings, and other accessories affected by the storm are also restored or replaced. This step ensures that the vehicle looks and functions as it did before the hailstorm. Final Inspection and Quality Check Before the vehicle is returned to the owner, a final inspection is conducted to ensure all repairs meet quality standards. The technicians check for any remaining dents, paint inconsistencies, and overall structural integrity. The car is washed and polished to give it a clean, finished look. The repair shop may also provide a warranty for the work completed. Conclusion Understanding the complete hail damage repair process by ream roofing helps vehicle owners make informed decisions and manage their expectations. From initial inspection to final detailing, each step is designed to restore the vehicle’s appearance and value while ensuring safety and satisfaction.