Download
1 / 3
30 likes | 53 Views
Guidance for HP Envy 5544 All in one printer setup. Easy Steps will be given by experts. For more information visit us now!

E N D
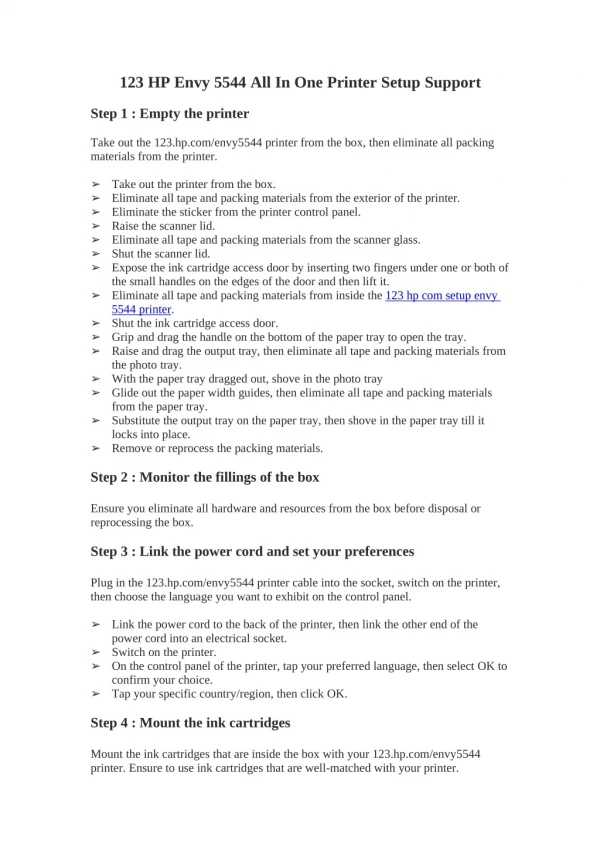
123 HP Envy 5544 All In One Printer Setup Support Step 1 : Empty the printer Take out the 123.hp.com/envy5544 printer from the box, then eliminate all packing materials from the printer. ➢ ➢ ➢ ➢ ➢ ➢ ➢ Take out the printer from the box. Eliminate all tape and packing materials from the exterior of the printer. Eliminate the sticker from the printer control panel. Raise the scanner lid. Eliminate all tape and packing materials from the scanner glass. Shut the scanner lid. Expose the ink cartridge access door by inserting two fingers under one or both of the small handles on the edges of the door and then lift it. Eliminate all tape and packing materials from inside the 123 hp com setup envy 5544 printer. Shut the ink cartridge access door. Grip and drag the handle on the bottom of the paper tray to open the tray. Raise and drag the output tray, then eliminate all tape and packing materials from the photo tray. With the paper tray dragged out, shove in the photo tray Glide out the paper width guides, then eliminate all tape and packing materials from the paper tray. Substitute the output tray on the paper tray, then shove in the paper tray till it locks into place. Remove or reprocess the packing materials. ➢ ➢ ➢ ➢ ➢ ➢ ➢ ➢ Step 2 : Monitor the fillings of the box Ensure you eliminate all hardware and resources from the box before disposal or reprocessing the box. Step 3 : Link the power cord and set your preferences Plug in the 123.hp.com/envy5544 printer cable into the socket, switch on the printer, then choose the language you want to exhibit on the control panel. ➢ Link the power cord to the back of the printer, then link the other end of the power cord into an electrical socket. Switch on the printer. On the control panel of the printer, tap your preferred language, then select OK to confirm your choice. Tap your specific country/region, then click OK. ➢ ➢ ➢ Step 4 : Mount the ink cartridges Mount the ink cartridges that are inside the box with your 123.hp.com/envy5544 printer. Ensure to use ink cartridges that are well-matched with your printer.
➢ Expose the ink cartridge access door by inserting two fingers under one or both of the small handles on the sides of the ink cartridge access door and then raising. The Door Open screen exhibits on the 123 hp com setup envy 5544 printer control panel with the message ‘The ink cartridge access door is open. Shut the door to continue.’ Eliminate one of the ink cartridges from its package. Be cautious to only touch the black plastic on the ink cartridge. Eliminate the protective tape. Locate the ink cartridge carriage on the right side of the HP Envy 5544 all in one printer, glide the new ink cartridge into the empty slot in the carriage, then softly shove in the ink cartridge until it locks into place. Pull out the tri-color ink cartridge and black cartridge into the left slot and right slot respectively. Recap these steps to download the other ink cartridge. Shut the ink cartridge access door. When the door is fully closed, the Door Open message fades, and the printer control panel proceeds to the Home screen. Click OK. Wait for the printer to complete the standardization cycle. ➢ ➢ ➢ ➢ ➢ ➢ ➢ ➢ Step 5 : Mount paper into the paper tray Before you place the ink cartridges, mount the paper tray of 123.hp.com/envy5544 with plain white paper. ➢ Grip the handle on the lowest of the input tray, and then pull the tray toward you to open it. The Close Tray screen exhibits on the printer control panel with the message, ‘A paper tray is open. Ensure the paper you want to use is mounted, and then close the tray to proceed.’ With the paper tray pulled out, shove in the photo tray as far as possible. Glide out the paper width guides as far as possible. Mount plain white paper into the paper tray. Push the load of paper towards the back of the paper tray until the paper stops. Softly slide in the paper width guides till they slightly rest against the edges of the paper. Shove in the paper tray until it snaps into place. Wait while the HP Envy 5544 all in one printer mechanically prints an alignment page. If the alignment page does not print, follow the steps below to finish the alignment On the printer control panel, scroll to the left, and then click Setup Tap Tools, and then select Align Printer. Raise the scanner lid, then align the alignment page with the print side down on the scanner glass. Locate the alignment page rendering to the engraved guides around the glass. Shut the scanner lid, then tap OK. The printer scans the alignment page, finishing the alignment. Tap Finish, and then remove or recycle the alignment page. ➢ ➢ ➢ ➢ ➢ ➢ ➢ ➢ ➢ ➢ ➢ ➢ ➢ ➢
Step 6 : Download the 123 hp com setup envy 5544 printer software Your 123.hp.com/envy5544 printer hardware is now ready and you can download the printing software. Do not try to connect the printer to a computer until initiated to do so by the printing software.