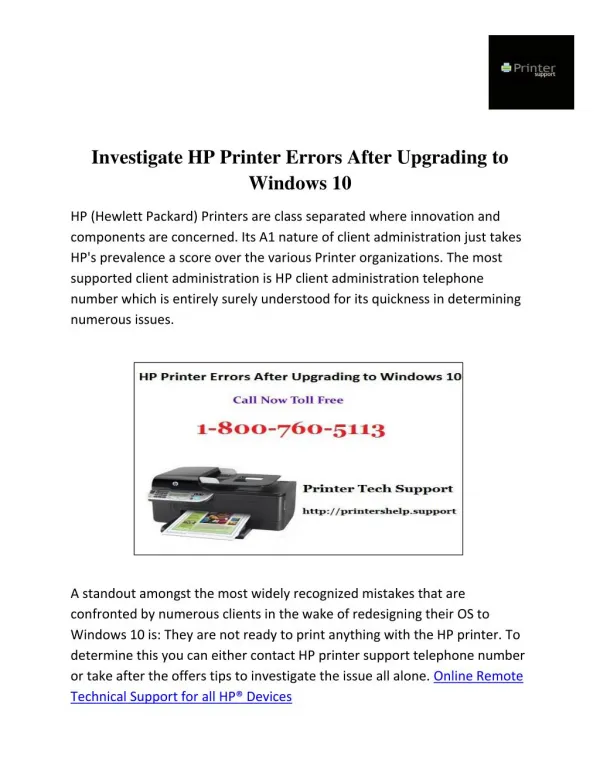
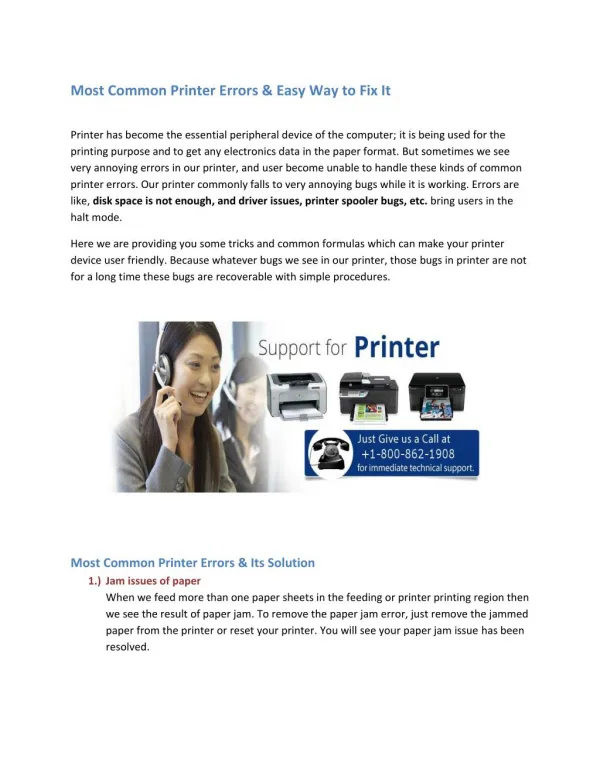
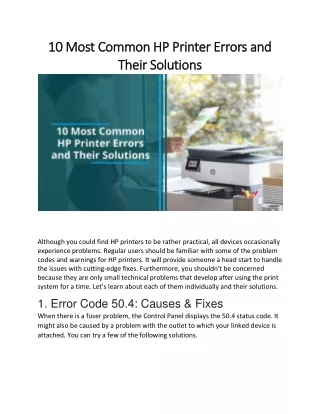
10 Most Common HP Printer Errors and Their Solutions
While you may find HP printers pretty convenient, there are some issues that every device goes through. If you are a regular user, you must know some of the HP printer error codes and messages.

10 Most Common HP Printer Errors and Their Solutions
E N D
Presentation Transcript
10 Most Common HP Printer Errors and 10 Most Common HP Printer Errors and Their Solutions Their Solutions Although you could find HP printers to be rather practical, all devices occasionally experience problems. Regular users should be familiar with some of the problem codes and warnings for HP printers. It will provide someone a head start to handle the issues with cutting-edge fixes. Furthermore, you shouldn't be concerned because they are only small technical problems that develop after using the print system for a time. Let's learn about each of them individually and their solutions. 1. Error Code 50.4: Causes & Fixes When there is a fuser problem, the Control Panel displays the 50.4 status code. It might also be caused by a problem with the outlet to which your linked device is attached. You can try a few of the following solutions.
Solution 1: Restart the Printer •the print system and your device must be turned off. •Remove it from any power sources or the power strip. •Put it directly into the wall socket at this point. •To erase the status code, turn it back on. Solution 2: Check the Wall Socket •You need to inspect the outlet where the printer is plugged in. •Check to see if it is functioning properly or if it is the problem. 2. Error Code 79: Causes & Fixes There are two potential reasons why code 79 would appear in the Control Panel. Either a firmware or a service fault could be the cause. You must examine your print system to determine the cause of the problem and follow the recommendations accordingly. Solution 1: Fix Firmware Error •Turn off the power for at least 30 seconds before you begin. •Then, after the printer has finished initialising, switch it back on. •If you are using a surge protector, remove it. •And directly attach it to the wall socket. •Start up your printing device. •Unplug any USB or network cables if the issue still occurs. •Next, run a power cycle. •Verify the firmware version and update if necessary. •Send a short test print after cancelling all other print jobs. Solution 2: Resolve the Service Error •Power should be turned off for at least 30 seconds. •Then, after the printer has finished initialising, switch it back on. •If you are using a surge protector, remove it. •And directly attach it to the wall socket. •After that, turn on your printing system. •Unplug any USB or network cables if the problem persists.
•Do the power cycle after that. •Verify the firmware version and update if necessary. •To verify the error, send a test print job. •Install a compatible DIMM if the error code still appears. 3. HP Printer No Toner Error: Causes & Fixes When the toner cartridge is fitted properly, the Control Panel displays the error message "No Toner." Sometimes the problem may be caused by improper installation of the drum unit. The answer to attempt is listed below. Solution: Reset the TCP/ IP Port •Visit the printers and scanners first. •Open the Settings area after going to Start. •You must now select Devices. •Select your model, then tap Manage. •Then select Printer Properties. •Select the Ports tab. •Select Standard TCP/IP Port under Add Port by navigating there. •Observe the wizard's directions. •The port name will also be filled in automatically. •Set the IP Address as the Printer Name or IP Address. •Next, locate your model by selecting Next. •After that, you must tap Finish. •Click Close on the Ports window. Read More: - 10 Most Common HP Printer Errors and Their Solutions About Us: - At Printer Tales, our goal is to provide you with quick and working solutions to your printer issues every time you reach out to us. We are available 24/7 because printers can show errors at any time of the day. We are not related to any printer manufacturing company in any way.
Contact Info EMAIL: - info@printertales.com CONTACT US +1-877-469-0297 UK +44-800-054-8150 ADDRESS 698 NE 1st Ave, Miami FL 33132