Download
1 / 5
0 likes | 16 Views
This article provides a step-by-step guide on how to seal a concrete floor. The process is relatively simple and can be done by anyone with DIY skills. The article also includes tips on how to choose the right sealer for your floor and how to apply it properly.

E N D
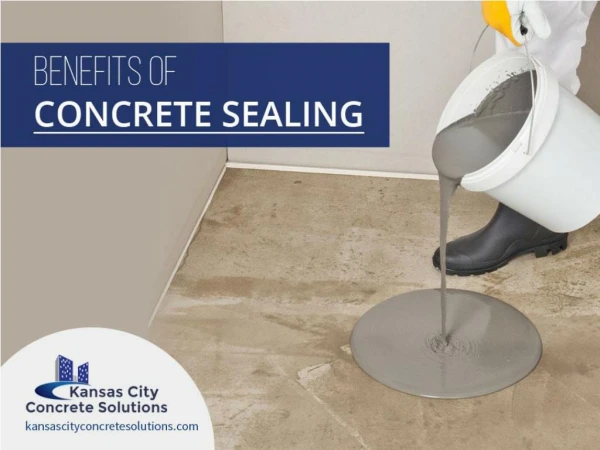
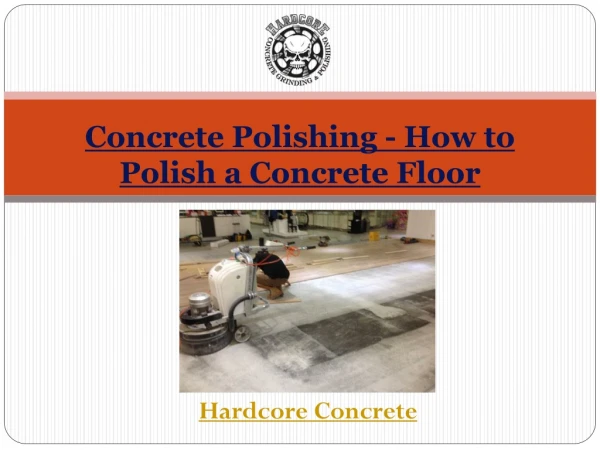
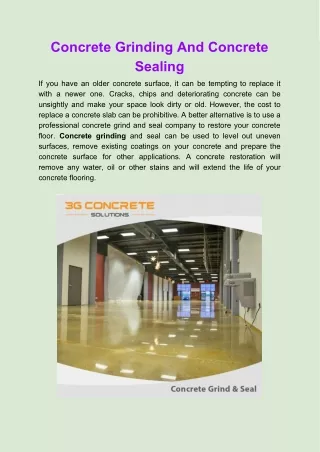
What is the Procedure for Sealing a Concrete Floor? Ready mix concrete has revolutionized the construction industry by providing a convenient, cost-effective, and high-quality solution for concrete production. But you know what? Concrete is a porous material, which means it can absorb stains and other contaminants if left unprotected. Sealing not only enhances the floor's aesthetics but also provides a shield against damage and extends its lifespan. Steps to Professionally Seal Bare Concrete Sealing untreated raw concrete is a process that involves careful preparation and the precise application of penetrating sealers. This: ● Fortifies the surface ● Safeguards it against moisture Further, here is a detailed step-by-step guide: Surface Evaluation: Begin by examining the concrete surface. Take note of its age, texture, condition, and any previous treatments. Look for cracks, holes, rough areas, or scaling that may require repair. Moreover, understanding the state of the concrete is important for successful sealing. Cleaning: Before sealing, the concrete must be impeccably clean. Start by using degreasers and suitable cleaning agents to remove dirt, dust, debris, and any oils that may inhibit sealer absorption. Furthermore, rinse the surface so that no residue remains. Etching: ● To improve sealer penetration, lightly etch the concrete surface. This step is needed for smoother-troweled concrete surfaces. ● Now, use a diluted acid solution to open up the concrete's pores. ● Afterward, rinse the surface completely and allow it to dry. Moreover, this procedure strengthens the sealer's adhesion to the concrete.
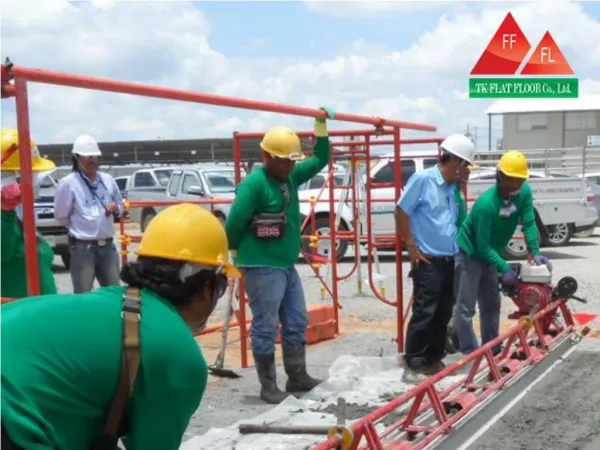
Patching and Repairs: You must address any imperfections in the concrete surface by filling divots, cracks, and holes with hydraulic cement patches. Smoothing the surface profile guarantees an even application of the sealer. Now, allow the patches to cure fully before proceeding. First Coat: Apply the first coat of a suitable solvent-based sealer, and for this, you can explore various options. The choice depends on the specific needs of your concrete surface. A paint roller, brush, or pressurized sprayer can be utilized to apply the sealant. Moreover, this initial coat provides oil and stain protection. Allow the sealer to dry overnight. Second Coat: ● Apply the second coat of the concrete sealer, similar to the first coat. The second application improves resistance to dampness. ● Wait for the sealer to cure for 48 hours before allowing light foot traffic. ● The double coating confirms a more robust layer. Finish Coat (Optional): For a glossy finish, you may apply an optional third coat of sealer. Alternatively, you can opt for a finishing wax or a urethane coating to add a sheen to the surface. This step is optional but can enhance the appearance and longevity of the concrete. Curing Time: After sealing, leave the sealer to fully cure for 5-7 days before subjecting the concrete surface to regular use. Choosing the Right Concrete Floor Sealers When selecting a sealer for your bare concrete, consider the following options: Acrylic Sealers: These sealers are known for easy cleanup with soap and water and offer good resistance to pedestrian traffic. However, they may require annual reapplication. Also, low VOC options are available for environmentally conscious consumers. Epoxy Sealers: Epoxy sealers establish robust bonds, delivering exceptional resistance to oils and chemicals. They are particularly recommended for industrial floors, but reapplication may involve:
● The use of solvents ● Mechanical methods Polyurethane Sealers: You know the best part? These sealers extend the protection of acrylic sealers and offer outstanding abrasion resistance. Besides, they make themselves suitable for high-traffic areas. It is important to know that they may develop a yellowish tint over time. Penetrating Sealers: Silane, siloxane, or siliconate blends chemically react with the concrete to give long-term water repellency. While they require reapplication every 3-5 years, they offer a lasting shield against moisture infiltration. The Right Supplies for DIY Concrete Sealing Homeowners opting to seal concrete themselves should gather the following: Protective Gear: Prioritize safety with gloves, goggles, a mask, and knee pads to protect yourself during the sealing process. Tools: Also, equip yourself with a range of tools, for instance: ● A high-pressure washer for cleaning ● A bucket mop for easy application Moreover, you need paint rollers for even coverage, a paintbrush for precision work, and brooms for surface preparation. Concrete Sealer Product: Now, choose a reputable brand offering solvent-based or water-based acrylic, epoxy, or polyurethane formulations. The quality of your sealer can greatly affect the final result, so don't compromise with hardware store alternatives. Sandpaper: Use sandpaper to roughen up cracked areas before patching them. In this way, you will get a smooth and uniform finish.
Hydraulic Cement: One must keep a fast-setting hydraulic cement compound on hand to effectively patch cracks and holes in the concrete. Plastic Sheeting: ● Protect your furniture, walls, and baseboards from overspray using plastic sheeting as a masking barrier. ● Afterward, accelerate the curing and drying times of the sealer by using fans. Further, your choice of supplies can make a significant difference in the final outcome of your DIY concrete sealing project. Tips for Sealing Concrete Effectively Follow these professional tips for optimal concrete sealing outcomes: ● Test sealers in isolated sections first to verify results before larger applications. ● Apply in thin, even coats and avoid puddling. Two thin coats are better than one thick coat! ● Work in sections and maintain wet edges to minimize lap marks at overlaps. ● Moreover, use edging tools near walls and curbs for a tidy finish. ● Arrange adequate airflow to accelerate drying while preventing drafts from carrying dust into the freshly applied sealer. ● The floor can be walked on after 24 hours, but allow 72 hours before vehicles. ● Moreover, clean tools immediately after use with solvents before the sealer hardens. When you use the right technique and quality products, sealed concrete floors gain longevity and a refreshed appearance. Cleaning and Maintaining Sealed Concrete Here is a detailed breakdown of how to keep your sealed concrete floors looking their best: Sweeping: Begin by sweeping your floors regularly to eradicate loose dirt and debris. As a result, it will stop these particles from scratching the surface during more extensive cleaning. Regular Cleaning: Sweeping, mopping, or scrubbing your sealed concrete floors should be a consistent practice. You better use pH-neutral cleaners. Moreover, these cleaners prevent the degradation of the sealer, which acts as a safeguarding barrier for your concrete.
Scrubbing: For a deeper clean, especially in high-traffic areas, consider using a scrubber with a soft brush attachment. Moreover, it helps remove: ● Tough stains ● Dirt buildup All without harming the sealer! Prompt Spill Cleanup: Accidents happen, and when they involve chemicals or oil spills, it is vital to address them immediately. Besides, these substances can etch or penetrate the sealer and damage the concrete beneath. Therefore, use an absorbent material like paper towels or a cloth to soak up the spilled substance. Once the spill is absorbed, clean the affected area using a pH-neutral cleaner and rinse thoroughly. Resealing: The frequency of resealing your concrete floors depends on the level of wear and tear. Generally, it is recommended to reseal every 2-3 years. This resealing process is essential for: ● Maintaining the protective layer ● Preserving the appearance of your concrete Conclusion Whether you plan to sell your home or enjoy it for years to come, a sealed concrete floor can be a significant asset. Trust Pro-Mix Concrete as your go-to partner for sealing concrete floors. Contact us today, and let's discuss how we can transform your concrete floors.