Download
1 / 3
0 likes | 53 Views
Netgear Extender Setup is the process of installing and configuring a Netgear Wi-Fi range extender to enhance the wireless coverage of your existing home or office network.

E N D
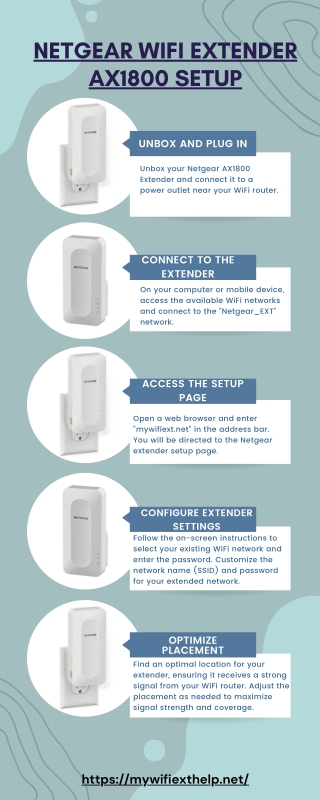
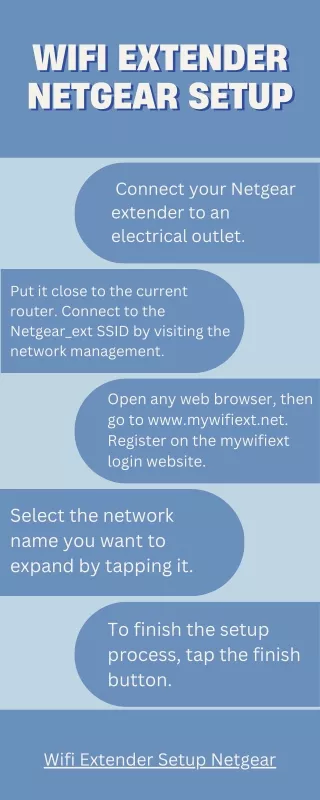
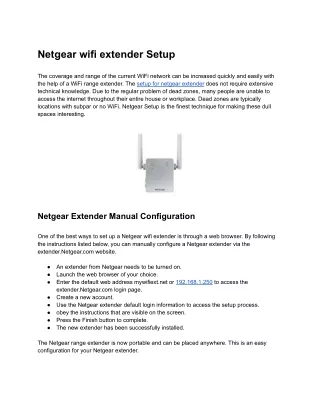
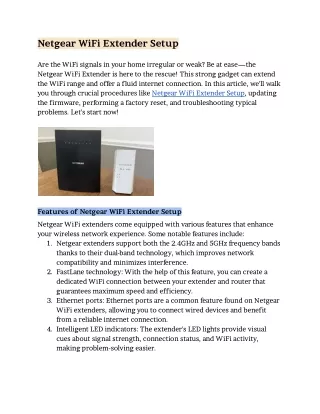
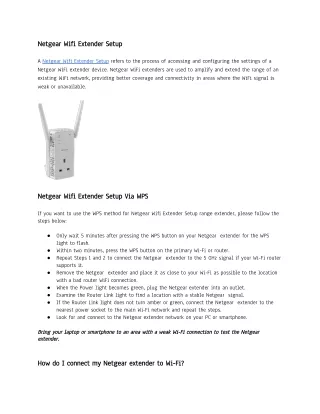
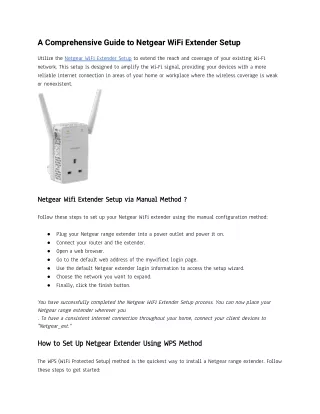
A Comprehensive Guide to Netgear WiFi Extender Setup Utilize the Netgear WiFi Extender Setup to extend the reach and coverage of your existing Wi-Fi network. This setup is designed to amplify the Wi-Fi signal, providing your devices with a more reliable internet connection in areas of your home or workplace where the wireless coverage is weak or nonexistent. Netgear Wifi Extender Setup via Manual Method ? Follow these steps to set up your Netgear WiFi extender using the manual configuration method: Plug your Netgear range extender into a power outlet and power it on. Connect your router and the extender. Open a web browser. Go to the default web address of the mywifiext login page. Use the default Netgear extender login information to access the setup wizard. Choose the network you want to expand. Finally, click the finish button. ● ● ● ● ● ● ● You have successfully completed the Netgear WiFi Extender Setup process. You can now place your Netgear range extender wherever you . To have a consistent internet connection throughout your home, connect your client devices to "Netgear_ext." How to Set Up Netgear Extender Using WPS Method The WPS (WiFi Protected Setup) method is the quickest way to install a Netgear range extender. Follow these steps to get started:
Ensure the extender is powered on. Locate the WPS button on your device and press it for a few seconds. Press the WPS button on your existing router. The LED light will turn solid green once the router and extender are successfully configured. Repeat the procedure for a dual-band range extender if applicable. Finally, access the Netgear extender login page to establish a network connection using the extender. Refer to the manual for the default username and password of the WiFi extender. Your Netgear range extender is now configured. ● ● ● ● ● ● ● ● If you encounter difficulties setting up your Netgear range extender even after following these instructions, don't hesitate to reach out to our experienced experts. They will guide you through the entire setup process for a Netgear extender. Netgear WiFi Extender Setup | Without Ethernet Port Setting up a Netgear Extender without an Ethernet port can be done wirelessly. Here are the general steps: ● Reset the extender to factory defaults. ● Establish a WiFi connection with the extender. ● Access the device's online interface by logging in. ● Input the WiFi extender's default password and Netgear extender login credentials. ● Connect to your router by following the installation wizard's instructions. ● Connect your WiFi-capable devices last. If you still face issues setting up your Netgear range extender, get immediate technical support from highly qualified specialists. Common Problems During Netgear Range Extender Setup Incorrect mywifiext password Extender connected but no internet access Unable to connect to mywifiext.local Extender not connected to the network Issues with Netgear genie app opening Problems accessing 192.168.1.250 IP address Lost configuration CD ● ● ● ● ● ● ●
WiFi connectivity problems Forgot the extender’s default password Unstable LED lights on the extender Firmware update issues Extender not connecting to the internet Difficulty finding the extender network name Extender not functioning properly Red light on Netgear extender causing issues Trouble performing the extender reset process Internet is connected but not working ● ● ● ● ● ● ● ● ● ● Troubleshooting Netgear WiFi Extender Setup If you encounter issues during the setup, try these troubleshooting steps: Placement: Ensure the extender is positioned midway between your router and the area with weak WiFi signals. LED Lights: Check if the LED lights on the extender are solid green. Connect to Extender: Connect your device to the "NETGEAR_EXT" network using the default WiFi password on the extender. Setup Wizard: Access the setup wizard through a web browser and follow the on-screen instructions. Use Same SSID: Consider giving your extender the same WiFi network name (SSID) and password as your main router. Firmware Update: Check for firmware updates in the extender's settings. Secure Your Extender: Change the default admin password for security. Range Test: Use a WiFi signal strength app to check if the extender is improving the signal. If issues persist, perform a factory reset and go through the setup process again. ● ● ● ● ● ● ● ● ● If you still need assistance, feel free to contact our technical support for further help.