Download

1 / 5
0 likes | 3 Views
Reinforcing your camper roof post-repair is essential for long-term durability and protection against harsh weather. In this guide, we explore expert techniques to strengthen your roof, from applying high-quality sealants to installing additional support structures. Whether youu2019re tackling DIY fixes or seeking professional help, these strategies ensure your camper roof withstands the test of time. For reliable solutions tailored to your needs, trust the expertise of Camper Roofing Michiganu2014your partner in keeping your camper safe and road-ready.

E N D
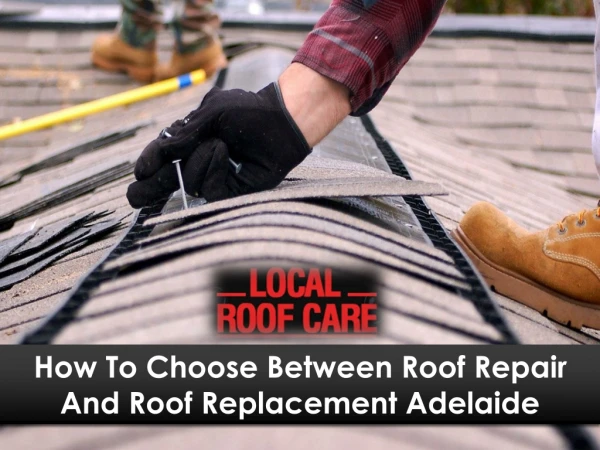
How to Reinforce a Camper Roof for Added Durability Post-Repair Ben Nagel • November 18, 2024 How to Reinforce a Camper Roof for Added Durability Post-Repair A camper roof is one of the most critical components of your recreational vehicle. It shields you from weather elements and ensures the integrity of your entire camper. However, even after repairing damage, a weak roof can remain vulnerable if not properly reinforced. This guide will walk you through the process of fortifying your camper roof, ensuring it remains durable for years to come. Understanding the Need for Reinforcement: Post-repair reinforcement is essential for extending the life of your camper roof. Repairs, while effective at addressing immediate issues, may not restore the roof to its original strength. Weather exposure, aging materials, and previous damage may have compromised its structural integrity. Reinforcing your roof after a repair can prevent future leaks, enhance weight-bearing capacity, and protect your investment. Evaluating the Current Condition of Your Camper Roof:
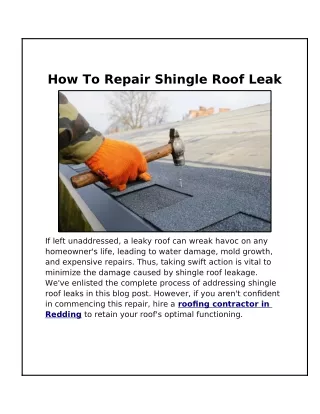
Before starting any reinforcement project, thoroughly inspect the repaired roof. Look for weak spots, uneven surfaces, or signs of stress around the repair area. Check the seams, edges, and any regions prone to pooling water. A comprehensive assessment will help you identify specific areas that need extra support. Choosing the Right Materials for Roof Reinforcement: The materials you select for reinforcing your camper roof play a crucial role in its long-term durability. Common options include: Roof Sealants: High-quality sealants add a waterproof layer, ensuring no • moisture seeps through the repair. Fiberglass or Aluminum Sheets: These provide additional structural support for • weakened areas. Reinforcement Tape: Specialized tapes designed for camper roofs can strengthen • seams and prevent splitting. Roof Coatings: Liquid roof coatings, such as EPDM or silicone-based products, • create a durable protective barrier over the roof. Selecting the right materials depends on your camper roof’s original construction. Ensure compatibility to avoid issues with adhesion or durability. Cleaning and Preparing the Roof: Proper preparation is key to ensuring the reinforcement materials adhere correctly. Start by cleaning the roof thoroughly to remove dirt, grease, or old sealant residues. Use a mild detergent and a soft-bristle brush to avoid damaging the roof surface. After cleaning, allow the roof to dry completely. If the roof surface is uneven or damaged, sand down any rough edges and apply a patching compound to fill gaps. Ensuring a smooth, clean surface will enhance the effectiveness of the reinforcement materials. Reinforcing Seams and Joints: Seams and joints are common weak points on camper roofs. After repairs, these areas often need additional reinforcement to prevent leaks or splits. Use a specialized seam
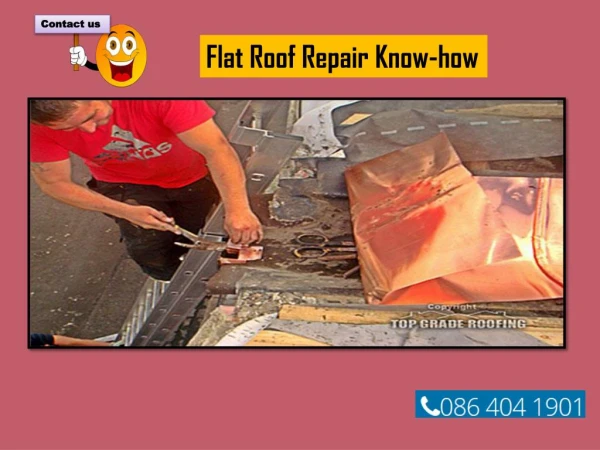
tape to secure these vulnerable spots. Apply the tape evenly, pressing firmly to ensure a tight seal. For added protection, apply a layer of roof sealant over the taped seams. This creates a double barrier, reducing the risk of future damage. Strengthening Flat Roof Areas: Flat areas of the roof are particularly susceptible to pooling water, which can weaken the structure over time. Reinforcing these sections involves applying a protective coating that prevents water accumulation and adds a durable layer. Use a liquid roof coating, such as silicone or polyurethane, for these areas. These products not only waterproof the surface but also provide UV protection, reducing wear from sun exposure. Apply the coating with a roller or brush in multiple layers, allowing adequate drying time between applications. Adding Structural Support: For camper roofs that need additional strength, installing reinforcement panels can be a game-changer. Fiberglass or lightweight aluminum panels can be secured to the roof, distributing weight evenly and minimizing stress on repaired areas. Begin by measuring and cutting the panels to fit the specific areas that need reinforcement. Use strong adhesive and screws to attach the panels, ensuring they are flush with the roof surface. Seal the edges with waterproof tape or sealant to prevent moisture intrusion. Reinforcing Roof Edges: The edges of a camper roof are often overlooked during reinforcement projects. These areas can become weak due to exposure to wind, rain, and movement. Reinforce the edges with a high-strength edge sealant or tape. For added protection, consider installing aluminum edge trims to shield against physical damage. Replacing or Upgrading Roof Insulation: Reinforcement is not just about the exterior; interior insulation plays a significant role in maintaining the durability of your camper roof. Damaged or outdated insulation
can lead to condensation, weakening the roof from the inside. Replace old insulation with moisture-resistant materials such as closed-cell foam. This upgrade will enhance thermal efficiency and protect your roof structure. Inspecting and Maintaining the Reinforced Roof: Reinforcement doesn’t mean you can neglect your roof. Regular inspections are essential to ensure the materials remain effective. Check for signs of wear, such as peeling coatings, loose panels, or deteriorating sealants. Addressing minor issues promptly can prevent costly repairs in the future. Maintenance tasks such as cleaning the roof and reapplying coatings every few years can significantly extend its lifespan. Always use gentle cleaning methods and avoid harsh chemicals that might damage the reinforcement materials. Bene?ts of a Reinforced Camper Roof: Reinforcing your camper roof offers multiple benefits. It enhances structural integrity, ensuring the roof can withstand harsh weather, heavy loads, and prolonged use. A reinforced roof also improves insulation, reducing energy costs and making your camper more comfortable in extreme temperatures. Additionally, it boosts resale value, as buyers often look for well-maintained and durable vehicles. When to Seek Professional Help? While many reinforcement tasks can be completed by confident DIYers, some projects may require professional expertise. If your camper roof has extensive damage or structural weaknesses, consulting a professional ensures the job is done correctly. They can assess the roof's condition, recommend the best materials, and carry out the work with precision. Conclusion: Reinforcing your camper roof after a repair is a critical step to ensure the longevity and durability of your recreational vehicle. By addressing weak points, applying protective coatings, and adding structural support, you can significantly extend the life of your camper roof and safeguard your investment. Whether it's reinforcing seams, installing additional panels, or upgrading insulation, each step contributes to a
roof that can withstand harsh weather and heavy use. For those in Michigan, taking special precautions is even more essential due to the state’s diverse weather conditions, from snowy winters to humid summers. Ensuring your camper roof is properly reinforced helps protect against moisture damage, UV exposure, and temperature fluctuations. Local expertise in Camper Roofing Michigan can be invaluable for sourcing the right materials and understanding the best practices for your specific region. Regular maintenance and inspections are also crucial to preserving the integrity of your roof. By keeping the surface clean, reapplying coatings as needed, and addressing minor issues promptly, you can prevent costly repairs down the line. Whether you choose to reinforce your roof as a DIY project or work with professionals, prioritizing this step ensures you’ll enjoy worry-free travels with a camper that’s ready for any adventure. For camper owners in Michigan, consulting local roofing specialists familiar with regional challenges can make all the difference. Investing in quality materials and professional guidance will not only enhance your camper’s performance but also give you peace of mind for years to come. Report content on this page