Download

1 / 3
0 likes | 8 Views
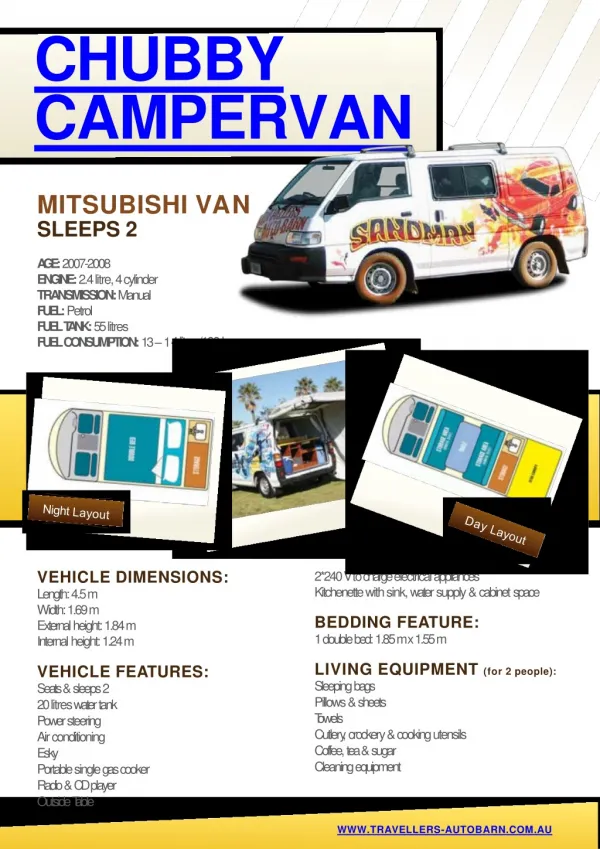
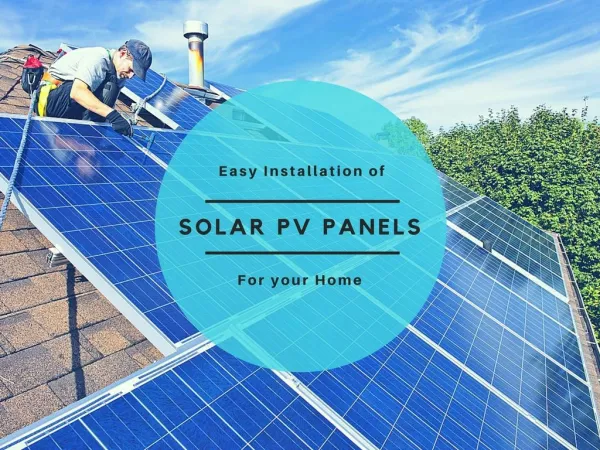
As the trend of van life continues to grow, more adventurers are seeking sustainable and efficient energy<br>solutions to power their travels.

E N D
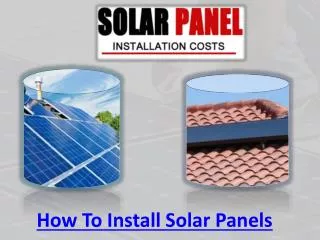
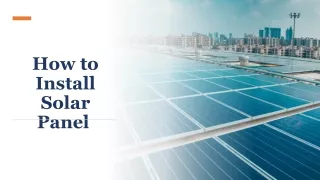
How to Install Solar Power in Your Camper Van As the trend of van life continues to grow, more adventurers are seeking sustainable and efficient energy solutions to power their travels. One of the most effective ways to achieve this is by installing solar power for camper vansetups. Harnessing the sun’s energy not only allows for greater independence on the road but also promotes a sustainable lifestyle. In this article, we will explore the steps necessary to install solar power in your camper van, ensuring you are well-prepared for your next journey. Understanding Solar Power Systems Before embarking on the installation process, it’s crucial to understand the components of a solar power system. A typical solar power setup consists of solar panels, a charge controller, batteries, an inverter, and various wiring and mounting equipment. Each component plays a vital role in converting sunlight into usable electricity for your camper van. Solar Panels are the heart of the system. They capture sunlight and convert it into direct current (DC) electricity. The amount of power generated depends on the size and efficiency of the panels, as well as the amount of sunlight they receive. Charge Controllers regulate the flow of electricity from the solar panels to the batteries, preventing overcharging and ensuring the batteries maintain a safe charge level. They are essential for protecting your battery investment and prolonging its lifespan. Batteries store the energy generated by the solar panels, allowing you to use electricity even when the sun isn’t shining. Choosing the right type of battery is crucial for a successful solar power setup, with options including lead-acid, lithium-ion, and AGM batteries, each having their advantages and disadvantages. Inverters convert the DC electricity stored in the batteries into alternating current (AC) electricity, which is what most appliances in your camper van use. Selecting the right inverter size is essential to ensure it 1/3
can handle the power demands of your devices. Planning Your Solar Power System The first step in installing solar power for your camper van is to plan your system. This involves evaluating your energy needs, determining the appropriate size and type of solar panels, and selecting compatible components. Calculating Energy Needs Start by calculating your daily energy consumption. List all the devices and appliances you plan to use, along with their wattage and estimated usage time. For example, if you have a refrigerator that consumes 100 watts and runs for 10 hours a day, it will draw 1,000 watt-hours (Wh) of energy daily. Doing this for each appliance will give you a clear picture of your total energy needs.Once you have your daily consumption in watt-hours, you can choose the size of your solar panel system. A general rule of thumb is to size your solar array to produce 1.5 times your daily consumption to account for inefficiencies and variations in sunlight. For instance, if you calculate a need of 1,500 Wh per day, you would aim for a solar panel system that can generate approximately 2,250 Wh. Choosing Solar Panels When selecting solar panels, consider their efficiency, size, and weight. Monocrystalline panels are often preferred for their high efficiency and space-saving characteristics, making them ideal for smaller camper vans. Polycrystalline panels are generally less expensive but less efficient, requiring more space.Additionally, consider the mounting options for your panels. Roof-mounted systems are the most common, but portable panels can be a great alternative for flexibility. Assess your camper van’s roof space to determine how many panels you can install, and ensure they can be securely mounted to withstand wind and travel conditions. Installing Your Solar Power System With your system planned and components selected, it’s time to begin the installation process. While this can seem daunting, with proper preparation and safety precautions, you can successfully set up solar power for your camper van. Gathering Tools and Materials Before starting the installation, gather all necessary tools and materials. Common tools include a drill, wrenches, wire cutters, a multimeter, and safety gear such as gloves and goggles. Ensure you have all components on hand, including solar panels, charge controller, batteries, inverter, mounting hardware, and wiring. Mounting the Solar Panels 2/3
Begin by mounting the solar panels to your camper van’s roof. Ensure the roof is clean and free of debris. Use a measuring tape to position the panels evenly, ensuring they will receive maximum sunlight exposure. Mark the locations for drilling holes and be careful not to compromise the integrity of your roof. Secure the panels with the appropriate mounting hardware, ensuring they are firmly attached. Wiring the System Once the panels are mounted, run the wiring from the solar panels to the charge controller. Carefully follow the manufacturer’s instructions for wiring connections, ensuring positive and negative terminals are correctly aligned. Secure the wiring to prevent it from becoming loose during travel.Next, connect the charge controller to the batteries. This connection is crucial, as it regulates the charging process and protects your batteries from overcharging. After this, connect the inverter to the batteries, ensuring it is positioned in a well-ventilated area to prevent overheating. Testing the System Once all connections are made, it’s time to test your solar power system. Use a multimeter to check that the system is functioning correctly, ensuring the charge controller is receiving power from the solar panels and that the batteries are charging appropriately. This step is crucial, as it allows you to identify and resolve any issues before hitting the road. Maintaining Your Solar Power System After successfully installing solar power for your camper van, ongoing maintenance is essential to ensure optimal performance. Regularly inspect the solar panels for dirt and debris, as buildup can significantly reduce their efficiency. Cleaning the panels with a soft cloth and mild soap will help maintain their performance.Additionally, monitor the battery charge levels and ensure the charge controller is functioning correctly. Periodically check all connections for signs of wear or corrosion, as these can impact the overall efficiency of your system. Conclusion Installing solar power in your camper van opens up a world of possibilities, allowing you to travel freely while minimizing your environmental impact. By understanding the components of a solar system, planning your energy needs, and carefully installing the system, you can enjoy the benefits of renewable energy on the road. Embracing solar power for camper van setups not only enhances your adventures but also contributes to a sustainable future. With proper maintenance and care, your solar power system will serve you well for years to come, providing reliable energy wherever your travels take you. 3/3