Download

1 / 6
60 likes | 85 Views
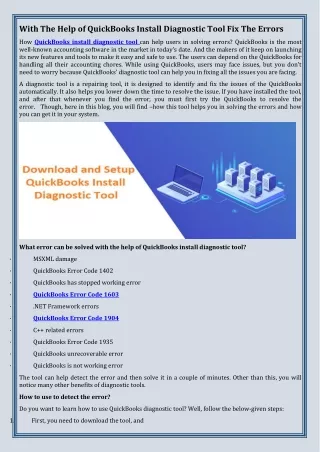
It is a useful tool developed by Intuit to diagnose and fix common errors and issues that emerge during QuickBooks installation on your computer.

E N D
QB Install Diagnostic Tool Toll-Free-Number :- 1-888-986-7735
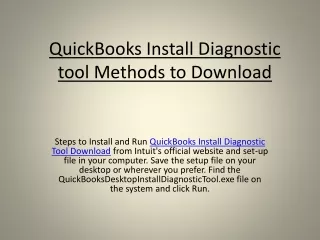
QuickBooks Install Diagnostic Tool • QuickBooks Install Diagnostic Tool automatically identifies and rectifies installation errors. It is highly recommended to run QuickBooks Install Diagnostic Tool before trying to resolve it manually.
How you can install and use the robust diagnostic tool • Download QuickBooks Install Diagnostic Tool from Intuit’s official website and set-up file in your computer. • Save the setup file on your desktop or wherever you prefer. • Find the .exe file on the system and click Run. • Restart your computer after the diagnosis is complete to ensure that all QuickBooks components are updated.
Steps to fix QuickBooks Installation Errors • Steps #1: First, run the QuickBooks Install Diagnostic Tool • Steps #2: Download the latest Windows updates • Steps #3: Manually fix errors • Steps #4: Uninstall/ Install QuickBooks Desktop
Steps to Fix Errors Using QB Install Diagnostic Tool • Here is how you can fix an installation error with QB Diagnostic Tool • Firstly, Start your computer in selective start-up mode. • Open Run command by pressing Windows and R keys together. • In the box that appears before you, type ‘msconfig’ and click ‘OK‘. • After that select the General Tab and then select ‘Hide all Microsoft Services.’ • Choose ‘Disable all’ option from the open tab. • Next, unmark ‘Hide Microsoft services’ checkbox. • Now check the ‘list of services’ and select the ‘Windows Installer checkbox.’ Ensure to check this box and press ‘OK‘. • Go to system configuration and select ‘Restart’ and that would restore your computer to its ‘Normal Configuration.’
Thank You Toll Free : 1-888-986-7735 qbpointofsalesupport.com