1 / 12
110 likes | 187 Views
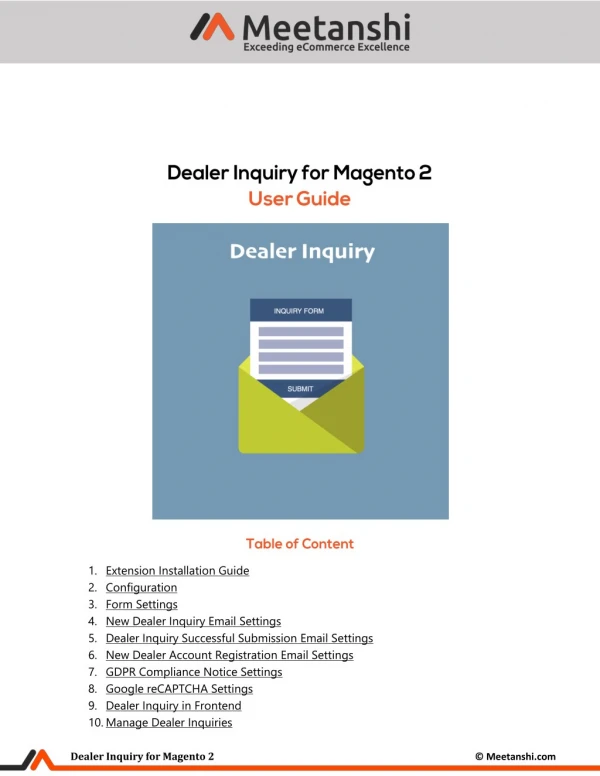
Magento 2 Dealer Inquiry by Meetanshi helps manage new dealer inquiries by enabling a custom form for the same.

E N D
1.Extension Installation Guide 2.Configuration 3.Form Settings 4.New Dealer Inquiry Email Settings 5.Dealer Inquiry Successful Submission Email Settings 6.New Dealer Account Registration Email Settings 7.GDPR Compliance Notice Settings 8.Google reCAPTCHA Settings 9.Dealer Inquiry in Frontend 10.Manage Dealer Inquiries Dealer Inquiry for Magento2 © Meetanshi.com
1.Extension Installation •Extract the zip folder and upload our extension to root of your Magento 2 directory via FTP. •Login to your SSH and run below commands step by step: ophp bin/magentosetup:upgrade oFor Magento version 2.0.x to 2.1.x - php bin/magentosetup:static-content:deploy oFor Magento version 2.2.x & above - php bin/magentosetup:static-content:deploy -f ophp bin/magentocache:flush •That’s it. 2.Configuration To configure the extension, login to Magento 2 backend, move to Stores → Dealer Inquiry where you can find various settings to configure the extension. •Dealer Inquiry: Enable the extension from here. •Page Meta Title: Enter page meta title. •Meta Description: Add page meta description to make it SEO friendly. •Page URL Key: Enter the URL key for dealer inquiry form page. •Show Page URL in Top link: Set YES if the page URL is to be displayed in the top link. •Show Page URL in Footer: Set YES if the page URL is to be displayed in the footer. •Add New Dealers in Customer Group: Select the customer group to add new dealer customer account for the approved dealers. → Configuration → → Dealer Inquiry for Magento2 © Meetanshi.com
3.Form Settings •Form Options oForm Title: Set the form title. oForm Description: Enter the form description. oSubmit Button Label: Set the label for the submit button. oForm Submission Success Message: Enter the message to be displayed on successful form submission. oShow Form Fields: Select the form fields to enable it in the frontend. oAllowed Upload File Types: Add the file types to be allowed to attach with the form. Dealer Inquiry for Magento2 © Meetanshi.com
•Custom Form Labels Configure the form labels for all the form fields as shown here: Dealer Inquiry for Magento2 © Meetanshi.com
4.New Dealer Inquiry Email Settings Whenever a new dealer inquiry is submitted from the frontend, admin gets an Email based on the below settings. •Email Template: Select the Email Template from the drop-down menu. •Email ID of Admin: Input the Email ID of Admin. 5.Dealer Inquiry Successful Submission Email Settings Refer the settings below for dealer inquiry successful submission Email to the customers. •Email Sender: Select the Email Sender from the dropdown. •Email Template: Select the Email Template for successful submission Email. Dealer Inquiry for Magento2 © Meetanshi.com
6.New Dealer Account Registration Email Settings Configure the new dealer account registration Email settings to send credentials to the newly created dealer accounts. 7.GDPR Compliance Notice Settings The module is compatible with EU’s GDPR after the following settings are configured: •GDPR Compliance Notice in Form: Enable the GDP Compliance Notice in the form. •Notice Text: Add the custom text for GDPR Compliance notice. Dealer Inquiry for Magento2 © Meetanshi.com
8.Google reCAPTCHA Settings Enable Google reCAPTCHA in the dealer inquiry form to avoid spam inquiries. •Google reCAPTCHA: Enable the Google reCAPTCHA. •Site Key: Enter the site key obtained while registration with Google reCAPTCHA. 9. Dealer Inquiry in Frontend Once the settings are configured properly, the Admin and Customer gets Emails for notification of new dealer inquiry and successful form submission. •Dealer Inquiry Form in Frontend The dealer inquiry form is displayed with Google reCAPTCHA enabled as shown here. Also, the URL key is displayed as set from the backend. The user can submit the form with Submit button. Dealer Inquiry for Magento2 © Meetanshi.com
Dealer Inquiry for Magento2 © Meetanshi.com
•Email to Admin on New Dealer Inquiry The image shows the Email received by the admin when a new dealer inquiry form is submitted to notify admin for the same. Dealer Inquiry for Magento2 © Meetanshi.com
•Email to Customers on Successful Inquiry Submission The image shows the Email sent to customers to notify them about the successful inquiry submission. Dealer Inquiry for Magento2 © Meetanshi.com
10. Manage Dealer Inquiries in Backend The module supports a backend grid from where the admin can manage new dealer inquiries. The grid is updated on a new dealer inquiry form submission and the admin can view its details and create a customer from here as shown in the figure. If you have any question or need support, Contact us athttps://meetanshi.com/contacts/ Dealer Inquiry for Magento2 © Meetanshi.com