1 / 20
200 likes | 218 Views
On this ppt, you get complete solution of HughesNet email login settings to set up on iPhone, Android, or Thunderbird email client.

E N D
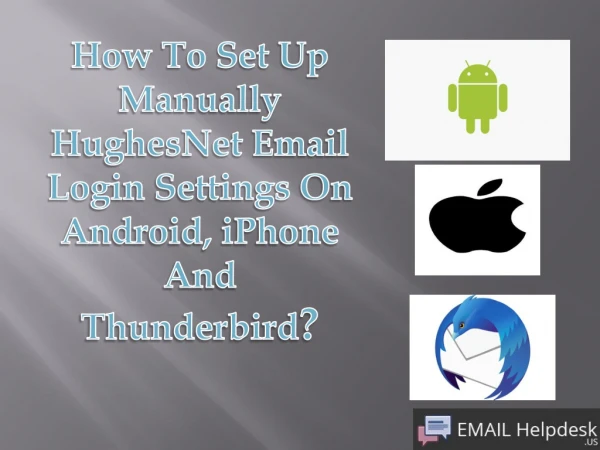
How To Set Up Manually HughesNet Email Login Settings On Android, iPhone And Thunderbird?
Overview HughesNet was founded in 1971 and it is headquartered in Germantown, Maryland. It is a provider of satellite-based communications services. Hughesnet offer one-way and two-way satellite Internet access technology and services. They provide a high-speed satellite internet service, HughesNet, which is the largest service.
Steps Step 1: First go to the Mail from your applications settings. Enter your HughesNet email address and password. Step 2: After that, Select Manual Setup.
Cont…. Step 3: Select IMAP setting under incoming mail server settings. Step 4: After selection of IMAP setting, make sure to enter below settings are correct and click on next. • IMAP Server: mail.hughes.net • Security type: None • Port number: 143 for IMAP
Cont…. • Secure - Port: 993 • Security Type: SSL/TLS (Accept all certificate)s • Insecure - Port: 143 • Security Type: None (Accept all certificates) Step 5: Enter the below outgoing SMTP Settings for HUGHES.NET and click Select Next. • SMTP Server: smtp.hughes.net • Security type: None • Port is 587 for outgoing SMTP
Cont…. • Outgoing (SMTP) Secure - Port: 465 for • Security Type: SSL/TLS (Accept all certificates) • Outgoing (SMTP roaming server) Secure - Port: 587 • Security Type: SSL/TLS (Accept all certificates) • Outgoing (SMTP) - Port: 25 • Security Type: None (Accept all certificates) • Outgoing (SMTP roaming server) Insecure - Port: 587 • Security Type: None (Accept all certificates) Step 6: Click on finish button.
Steps Step 1: First go to, settings on your iPhone. Step 2: Under settings tap on Mail. • Step 3: After that, Click on Accounts. Step 4: • Under accounts section Click on Add Account. Step 5: Then, Select other from the email menu.
Cont…. Step 6: After clicking on other tap on Add Mail Account. Step 7: After that fill up all details like, Your Name, Your HughesNet Email & Password and then click on Next button. Step 8: Select IMAP settings from Incoming Mail Server and enter all the relevant details, then repeat the same process for Outgoing Mail Server, and then select on Next.
Cont…. • User Name is your complete HughesNet email address. • Password is your secure HughesNet email password. • Incoming Mail Server Host Name is mail.hughes.net. • Outgoing Mail Server Host Name is smtp.hughes.net. Step 9: You may get a pop-up to verify incoming and outgoing servers – you can click on continue for each or tap on "Details" and then click on "Trust" and Save. Step 10: Select your newly added HughesNet email account.
Cont…. Step 11: Now, Select the SMTP server. Step 12: Check for the SMTP settings and click on done. Outgoing Mail Server SMTP Settings: • Hosting Server for HughesNet is “smtp.hughes.net” • User Name is your complete HughesNet email address. • Password is your secure HughesNet email password. • SSL is enabled.
Cont…. Outgoing (SMTP) Secure - Port: 465 for and Security Type: SSL/TLS (Accept all certificates) Outgoing (SMTP roaming server) Secure - Port: 587 and Security Type: SSL/TLS (Accept all certificates) Outgoing (SMTP) - Port: 25 and Security Type: None (Accept all certificates) Outgoing (SMTP roaming server) Insecure - Port: 587 and Security Type: None (Accept all certificates) • Authentication is required: Yes. • Server Port Number is 587. Step 13: Finally finish the process.
Set up Manually HughesNet Email login settings on Thunderbird
Steps Step 1: Start Thunderbird. Click on Local Folders >> Email Step 2: • Click on Skip and use your existing email. • Step 3: You need to enter below information and click on continue. • Name: Type your full name. • Email: Your complete HughesNet email address. • Password: Your HughesNet email password.
Cont…. Step 4: Select the type of email account you will be using IMAP or POP. • IMAP port settings for HughesNet Email: • Incoming Port: 143, Outgoing Port: 587 • 1)Secure - Port: 993 and Security Type: SSL/TLS (Accept all certificates) • 2)Insecure - Port: 143 and Security Type: None (Accept all certificates • Not ticked: This server requires an encrypted connection (SSL) • Use the following type of encrypted connection is None
Cont…. • POP port settings for HughesNet Email: • Incoming Port: 110, Outgoing Port: 587 • General settings for POP • 1)Secure - Port: 995 and Security Type: SSL/TLS (Accept all certificates) • 2)Insecure - Port: 110 and Security Type: None (Accept all certificates) • Not ticked: This server requires an encrypted connection (SSL) • Use the following type of encrypted connection is None • General SMTP port settings for HughesNet Email: • Outgoing (SMTP) Secure - Port: 465 for and Security Type: SSL/TLS (Accept all certificates) • Outgoing (SMTP roaming server) Secure - Port: 587 and Security Type: SSL/TLS (Accept all certificates)
Cont…. • Outgoing (SMTP) - Port: 25 and Security Type: None (Accept all certificates) • Outgoing (SMTP roaming server) Insecure - Port: 587 and Security Type: None (Accept all certificates) Step 5: Click on Done button. • Step 6: Click on Confirm for Security check.
Conclusion Congratulations! You process is completely done for set up HughesNet email account on other email client. If you still have problems please contact HughesNet email support team.