Download
1 / 6
0 likes | 23 Views
If you have any issues regarding your extender, you can contact our toll-free number ( 1-323-471-3045) or<br> email: support@mywifiextension.net<br>

E N D
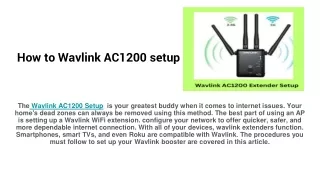
Wavlink AX1800 setup The Wavlink AX1800 setup is a robust device designed to enhance the reach of your wireless network, guaranteeing a consistent and dependable internet connection throughout your residence or workplace. In this comprehensive guide, we will walk you through the setup process to ensure a seamless and efficient experience.
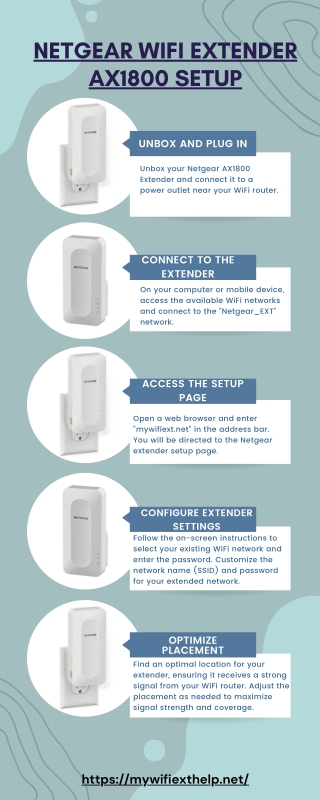
Setting up wavlink AX1800 Extender using manual method Wavlink AX1800 Setup using the manual method typically involves these general steps: • Plug the Wavlink AX1800 extender into a power outlet. • Grab a smart device. • Launch a web browser and input either "ap.setup" or "192.168.10.1" into the address bar, then hit Enter. • Now the wavlink extender login page appears on the display. • Enter your username and password to jump to the next step. • Now follow the on-screen instructions to complete the wavlink ax1800 setup. • Three LED lights have turned solid green; this indicates that your extender setup has been successfully completed. That’s how you can easily set up your extender with the help of a manual method. If you’ve any queries then contact our professional experts via toll-free no. or live chat. They will guide you.
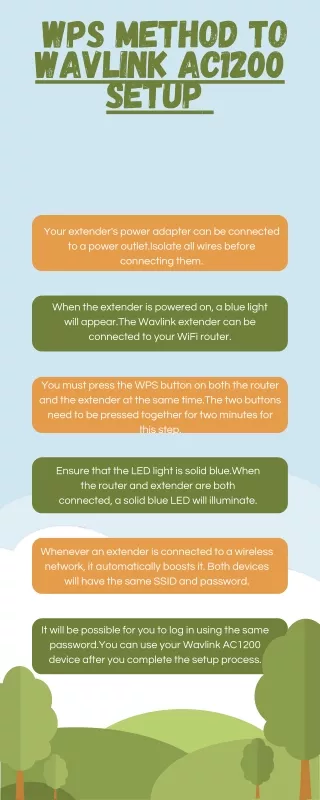
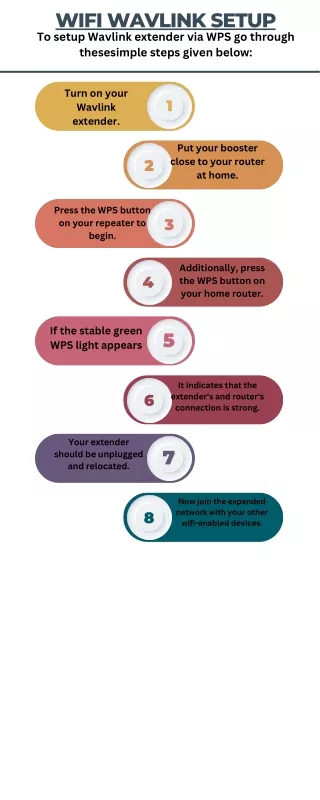
Wavlink AX1800 Setup: WPS method Configuring a Wavlink AX1800 extender through the WPS (Wi-Fi Protected Setup) method is a common simple process. Here are the steps to follow: • Ensure you plug the Wavlink AX1800 extender into a power outlet. • On the extender, locate the WPS button. Press and hold it for about 5 seconds until the WPS LED starts blinking. • Please press the WPS button on your Wi-Fi router within the next two minutes. • Once the WPS LED on the extender turns solid green, it means the connection is successful. An overview of the WPS setup procedure for the Wavlink AX1800 extender is given in these instructions. Consult the user manual or official documentation for your device for precise and comprehensive instructions.
How do I perform a Factory Reset on the Wavlink AX1800 Extender? If you need to reset your extender to its factory settings, follow these steps: • Locate the reset button on your extender (usually a small hole labeled "Reset"). • Take a paperclip or a pin and press and hold the reset button for approximately 10 seconds. • The extender will reboot, and all settings will be reset to their default values. Performing a factory reset will clear out all the configurations and settings on your extender and restore it to its factory default settings. Before moving forward, make sure you have any necessary setup information available.
If you have any issues regarding your extender, you can contact our toll-free number (+1-323-471-3045) or email: support@mywifiextension.net