Download
1 / 4
0 likes | 41 Views
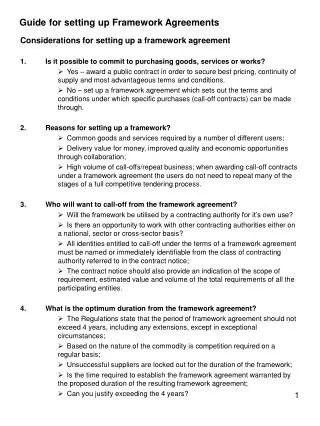
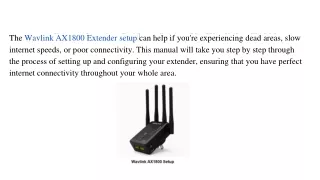
Welcome to the thorough setup Tutorial for the Wavlink AX1800 Extender! The Wavlink AX1800 Extender improves your current WiFi network by extending coverage and boosting signal strength throughout your house or place of business, ensuring a stable and strong WiFi connection for staying connected.<br><br>

E N D
A Comprehensive Guide to Setting Up Wavlink AX1800 The Wavlink AX1800 Extender setup can help if you're experiencing dead areas, slow internet speeds, or poor connectivity. This manual will take you step by step through the process of setting up and configuring your extender, ensuring that you have perfect internet connectivity throughout your whole area.
How to setup Wavlink AX1800 Manually? • Connect the Wavlink AX1800 extender to a power outlet within the WiFi range of your router. • Watch for the LED lights on the extender to stabilize. • Join the WiFi network 'Wavlink_Ext' on the extender to use your PC or mobile device. • 'http://ap.setup' or 'http://192.168.10.1' should be typed into the address bar of a web browser after it has been started. • The Wavlink extender setup page will be displayed. • Follow the instructions displayed on screen. • From the list of available networks, select your network. • For the wider network, you have the option of setting up a new SSID and password. • After completing the configuration, wait for the extender to reboot. • Once it has come back online, move the extender to a location with poor WiFi coverage. • To get better coverage, join a wider WiFi network with your devices.
Wavlink AX1800 setup Using WPS method • Turn on the extender using the power button. • Locate the WPS button on both your router and the extender. • Press the WPS button on the extender. Hold it down for a few seconds. • During this process, the WPS LED on both devices may blink. • Once the WPS LED on both the router and extender becomes steady or stops blinking, it indicates a successful connection. • Find a suitable location for your extender. • The extender might create a new network with "_EXT". • Connect your devices to the extender's network and test the internet connectivity.
How to Perform a Factory Reset on Wavlink AX1800 ? • Locate the reset button on the extender,which is often marked by a tiny pinhole. • While the extender is turned on, press and hold the reset button for around 10 seconds. • After holding the reset button down for ten seconds, let go. • It will reset the extender to its factory default settings. • Give the rextender a few minutes to restart. • Access the extender’'s web interface using the default login credentials (typically admin/admin or admin/password). • Change any necessary extender configurations, including those for the WiFi network and internet.