Download
1 / 2
20 likes | 30 Views
Lawrence Equipment Company is a large modern manufacturing enterprise engaged in technology introduction and application, equipment production, marketing and after-sales service.

E N D
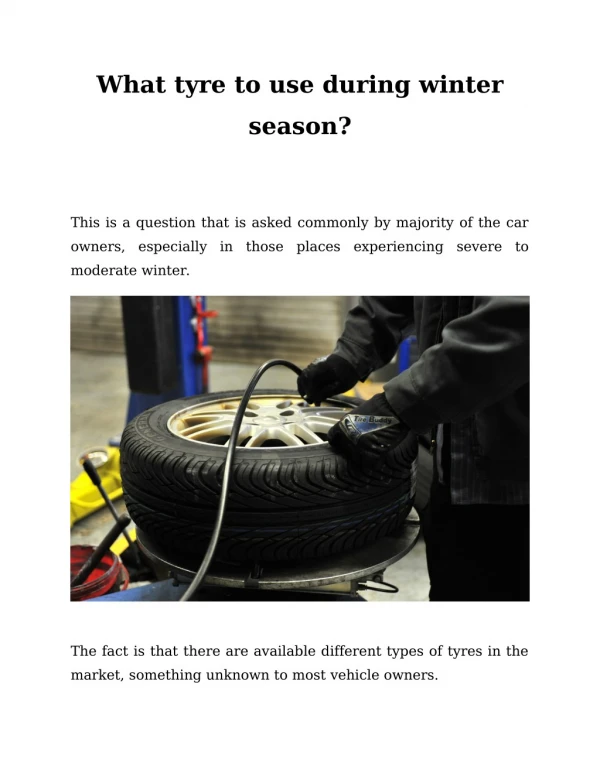
Guide to use your manual tyre changer Changing a tyre might seem to be complicated but it is a simple thing to do. However, it can be aggravating at times without proper equipment and knowledge to perform the task. From stubborn bolts to a jack that won't stay in, the procedure may be fraught with obstacles, some of which are seriously dangerous. But the right manual tyre changer can be the solution. A manual tyre changer is a tool that allows users to replace a tyre on its rim in the simplest way. There are two main parts of the rig: 1. A wheel mount- It holds and secures the wheel. 2. A pry bar- It assists in removing and replacing the tyres. We are here to help you know more about how to use a manual tyre changer properly. This guide will help you understand the process of using the manual tyre changer step by step. These simple steps will help you perform the task without much effort. Steps to using a manual tyre changer First Step: Releasing the air- First of all, you need to turn the stem valve on and release all the extra air out. Second step: Positioning the wedge- This step is to set the tyre over the triangular wedge that is located above one of the legs of the changer. You have to ensure that the wedge is aligned well. Third step: Embedding the wedge- In this step, you have to embed or insert the drop-down wedge into the empty space between the tyre and the rim. Then you have to take the pry bar and place it into the side slot of your changing tool. Now, put pressure on the pry bar downside to free the tyre from the rim’s grip. Fourth step: Rotating- Now you have to rotate the rim 180 degrees and repeat the previous two steps to release the rim on the opposite side. Fifth step: Flipping- Now, flip the rim completely and repeat the second, third, and fourth steps.
Sixth step: Placing- Before you place the tyre on the freshly disclosed stem, you have to unscrew and release the machine’s top. Then, you have to insert the spider lock washer valve over to the upper half of the tyre and screw the loosened top back to its previous position. Seventh step: Removing edge from the rim- In this step, you need to apply lubricant to the edges. After that, you have to insert the flat end of the pry bar in the gap between the wheel rim and the tyre. Then, in a clockwise manner, turn your pry bar around the perimeter to dislodge the edge from its rim. Eighth step: Remove the old tyre- Now, elevate your tyres and put the flat end of the pry bar into the area between the rim and the opposite side. Now, use the pry bar again, spin it clockwise to completely remove the worn-out tyre from the rim. Ninth step: Lubricating- Apply lubrication along the edges of your new tyre before attaching it to make the equipment easier to use. Then place it over the rip. Final step: Fit and secure- Finally, you have to fit the tyre well on the rim with the help of the pry bar and secure it. Now, you can remove the manual changer. These simple steps can help you easily change your tyre anywhere anytime. Source: https://www.lawrence.ltd/tire_changers/