Tp Link Wireless Router Mac Filter Configuration | Easy Guide
20 likes | 29 Views
TP-Link routers are quite easy to configure and use. Make use of step by step instruction to perform Setup and Tp Link Wireless Router Mac Filter Configuration

Tp Link Wireless Router Mac Filter Configuration | Easy Guide
E N D
Presentation Transcript
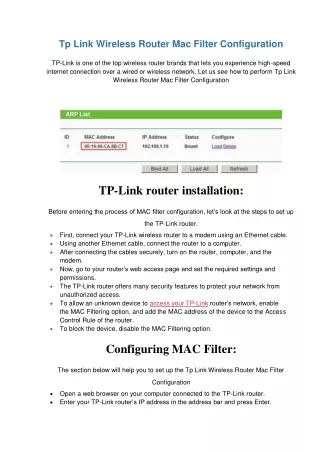
Tp Link Wireless Router Mac Filter Configuration TP-Link is one of the top wireless router brands that lets you experience high-speed internet connection over a wired or wireless network. Let us see how to perform Tp Link Wireless Router Mac Filter Configuration TP-Link router installation: Before entering the process of MAC filter configuration, let’s look at the steps to set up the TP-Link router. First, connect your TP-Link wireless router to a modem using an Ethernet cable. Using another Ethernet cable, connect the router to a computer. After connecting the cables securely, turn on the router, computer, and the modem. Now, go to your router’s web access page and set the required settings and permissions. The TP-Link router offers many security features to protect your network from unauthorized access. To allow an unknown device to access your TP-Link router’s network, enable the MAC Filtering option, and add the MAC address of the device to the Access Control Rule of the router. To block the device, disable the MAC Filtering option. Configuring MAC Filter: The section below will help you to set up the Tp Link Wireless Router Mac Filter Configuration Open a web browser on your computer connected to the TP-Link router. Enter your TP-Link router’s IP address in the address bar and press Enter.
To sign in to the router’s web access page, enter its credentials in the given fields and click the OK button. On the router’s web access screen, locate and click the IP & MAC Binding tab followed by ARP List. If you have enabled the MAC Filtering option already, then all the MAC addresses will be listed on the screen. To add a new MAC Address, go to the Wireless menu section. Select the Wireless MAC Filtering option. Now the Wireless MAC Filtering page will open. On this page, locate and click the Add New button. Read More